How to create a chatflow in HubSpot
Here is how to create a chatflow in hubspot
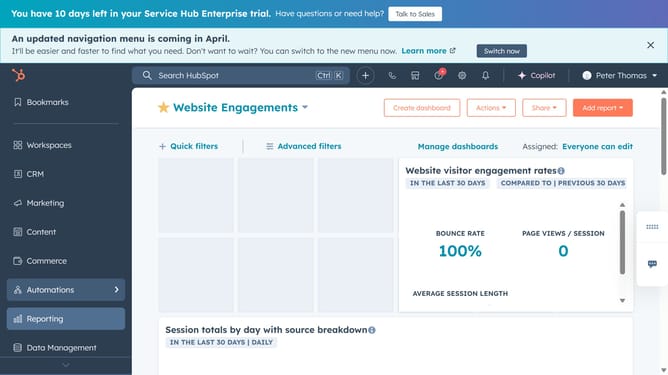
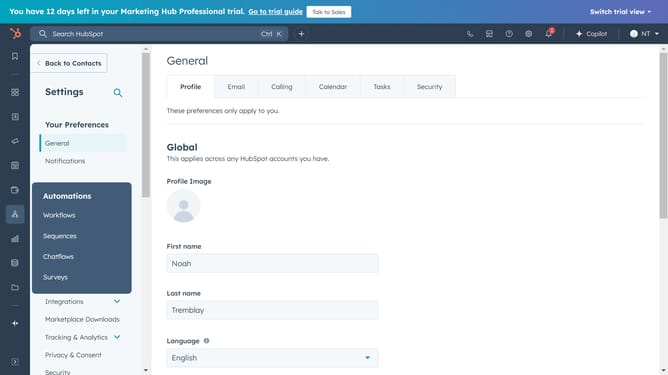
- First click on Automations in the left sidebar and select "Chatflows"
- Then click "Create chatflow" button in the top right corner
- Next select "Website" option in the channel selection screen
- Click the dropdown menu and select "Inbox" or "Help Desk" option
- Choose your preferred language for your chatflow
- Click on the "Next" button
- Select the chatflow type you want
- Click on the pencil icon at the top of the current name of your chat
- Then give a name to your chat
- In the Build tab, you can configure the welcome message, enable the knowledge base search, and automatically assign conversations to specific team members
- Once done, navigate to "Target" tab to set visibility rules
- Click on the "Display" tab to customize appearance
- Click "Choose chat avatar"
- Set the "Chat heading" to define the title visitors see and configure for when the primary assignee is unavailable
- Navigate in the Options tab, customize the chat language and enable a consent step for data privacy
- Finally click the checkmark button in the top right to save and publish the chatflow
Why should you create a chatflow in HubSpot
HubSpot is a powerful platform designed to streamline marketing, sales, and customer service efforts.
Creating a chatflow in HubSpot allows businesses to engage with website visitors in real time, fostering a personalized experience. This feature empowers teams to capture leads efficiently and address customer inquiries immediately, enhancing customer satisfaction.
With chatflows, businesses can automate interactions, saving time while ensuring prospects receive the information they need promptly. This capability not only improves communication but also accelerates conversion rates.
Last update