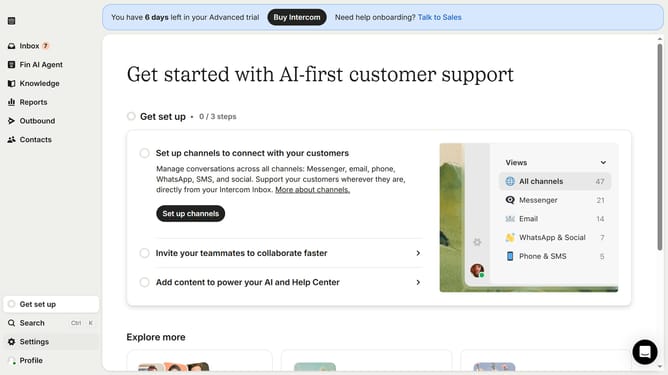
How to create a back-office ticket in Intercom
Here is how to create a back-office ticket in intercom
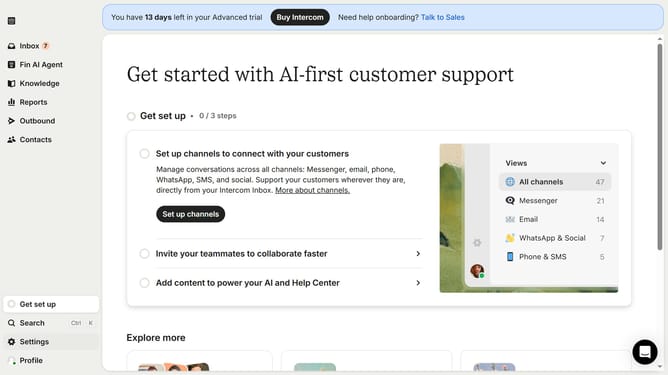
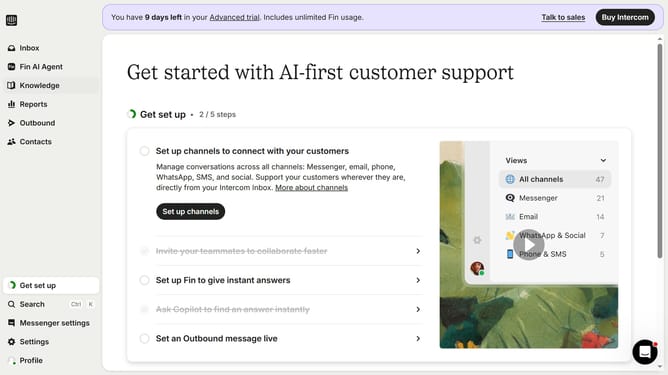
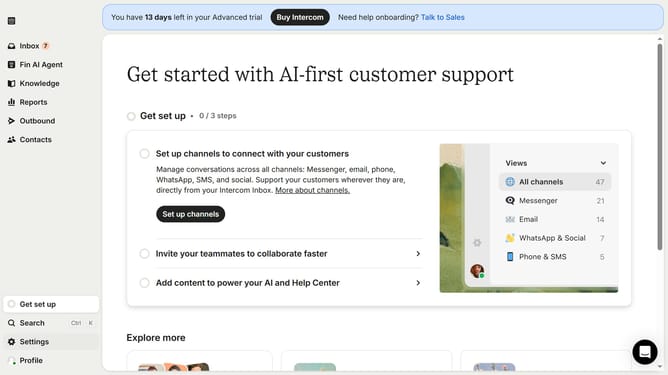
- First click on the "Inbox" item in the left sidebar
- Then click on the "+" button in the main header
- Next click on "Ticket" option in the dropdown menu
- Select "Test back-office ticket" from the ticket type list
- Click in the "Add title..." field to enter the ticket title
- Click on the "Add customer" dropdown button
- Select a customer from the dropdown list
- Finally click on the "Create ticket" button at the bottom of the form
Why should you create a back-office ticket in Intercom
Intercom is a powerful tool designed to facilitate seamless communication between businesses and their customers.
Creating a back-office ticket in Intercom allows for streamlined handling of internal requests and customer inquiries, ensuring efficient resolution of issues.
This feature enhances collaboration by directing requests to the right team members, reducing response times and improving customer satisfaction.
Utilizing back-office tickets aids in maintaining organized workflows and enhances overall operational efficiency.
Last update