How to change the divider thickness in an email campaign in Mailchimp
Here is how to change the divider thickness in an email campaign in mailchimp
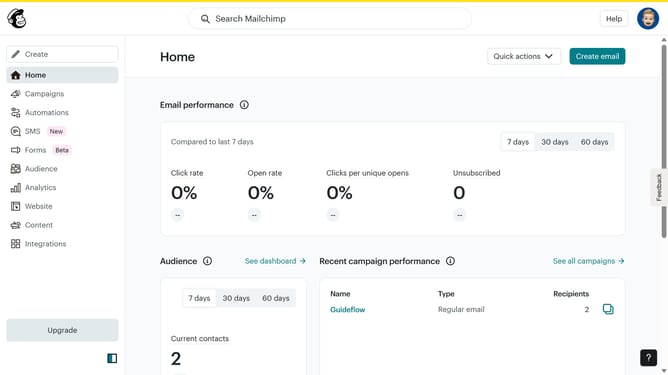
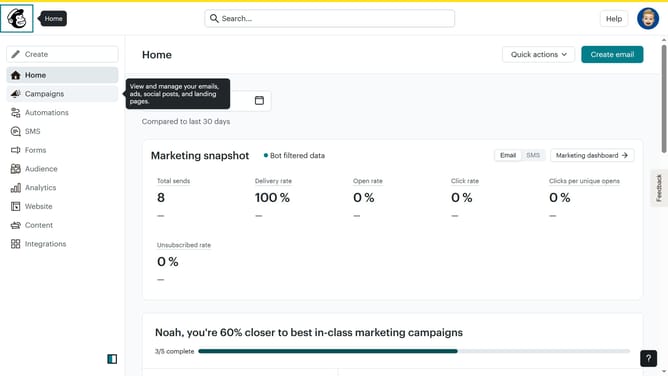
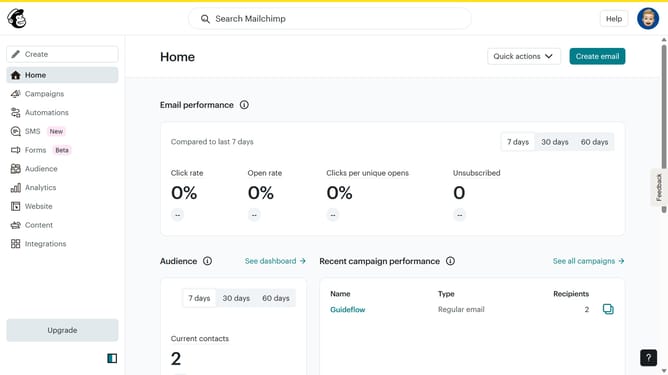
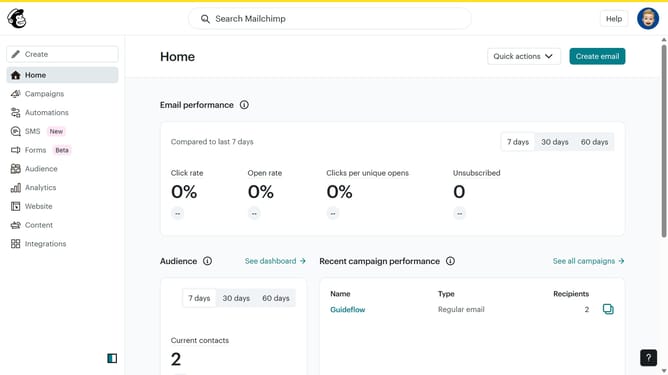
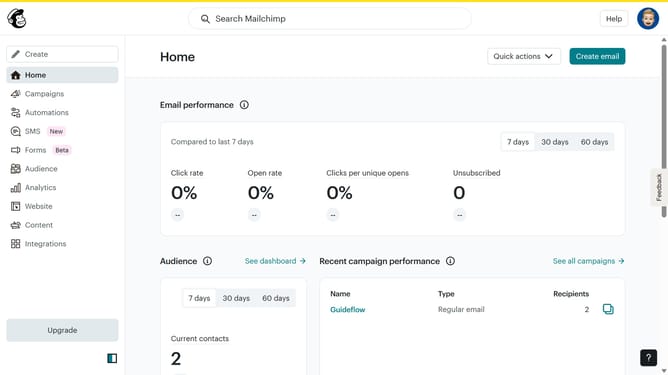
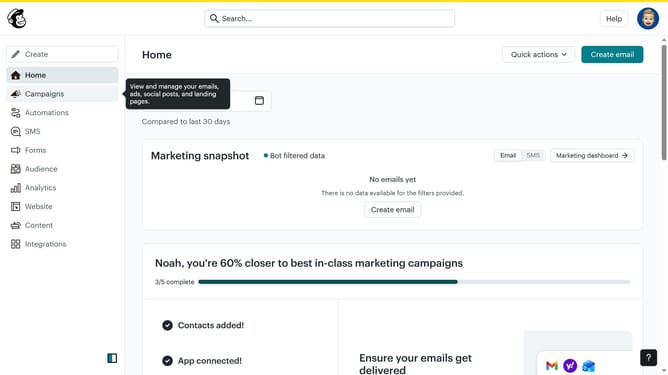
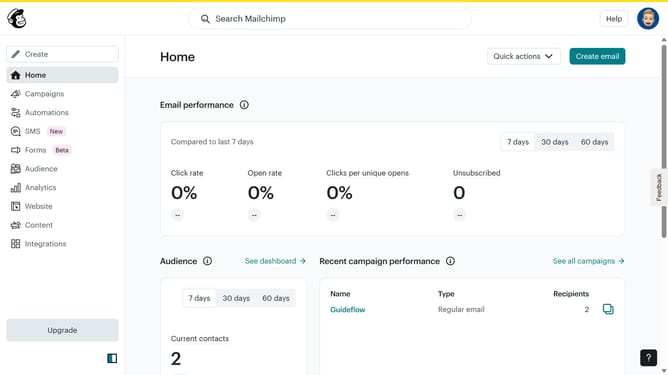
- First click on "Campaigns" in the left sidebar menu
- Then click on the "Edit" button
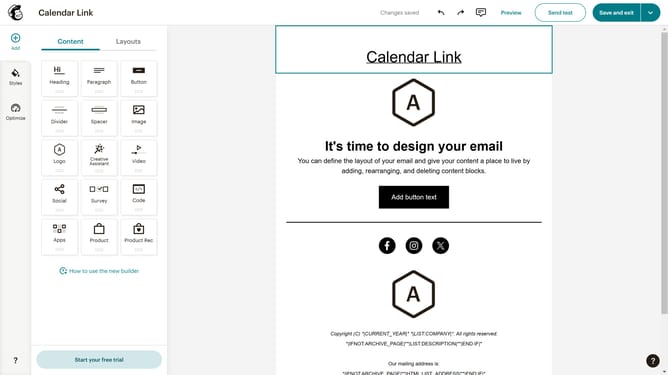
- Next, click on the "Edit design" button at the bottom of the page
- Then, in the left panel, click on "Styles"
- In the Styles panel, click on "Divider"
- Finally, adjust the "Thickness" slider in the Divider settings
Why should you change the divider thickness in an email campaign in Mailchimp
Mailchimp, a versatile email marketing tool, empowers businesses to connect with their audience seamlessly.
Enhancing your email campaigns with stylistic elements like divider thickness can significantly impact the visual hierarchy of your content, drawing attention exactly where needed. Customizing the divider thickness allows you to maintain a clean, professional design that aligns with your brand's aesthetic.
Incorporating this feature ensures your messages are not only informative but also visually appealing, capturing your readers' interest effectively.
Last update