How to attach media to an article in Zendesk Guide Admin
Here is how to attach media to an article in zendesk guide admin
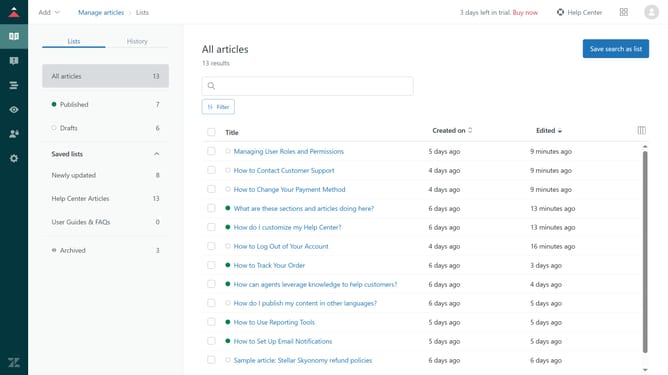
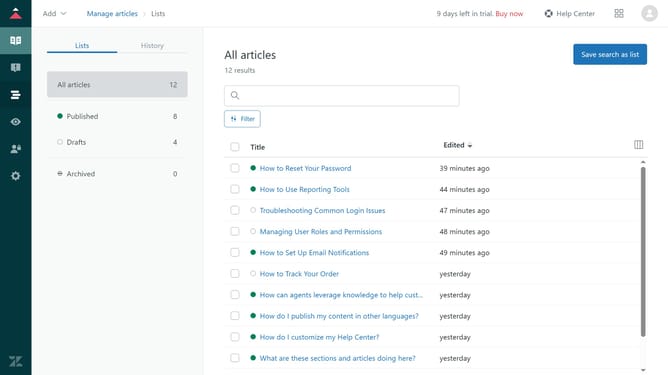
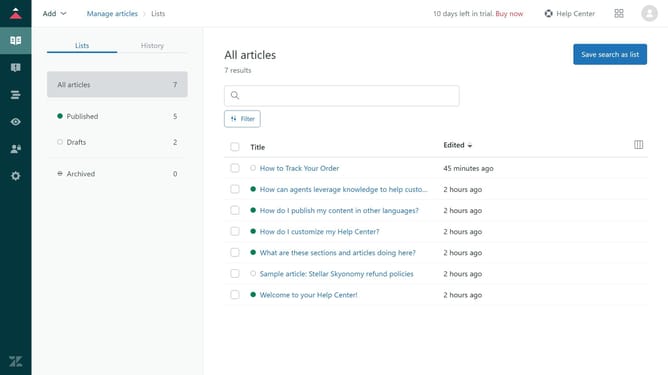
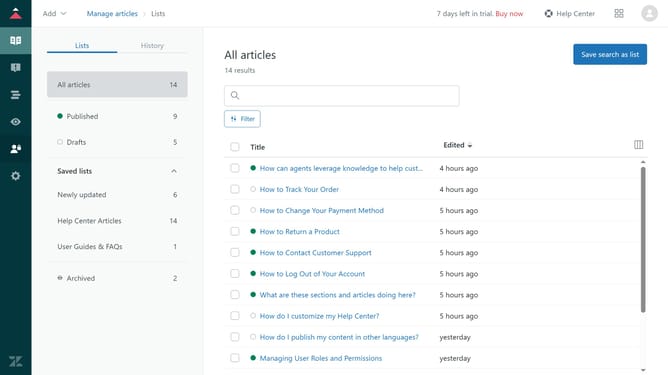
- First in Guide admin, click on the "Manage articles" icon in the left sidebar
- Then find and click on the article you want to edit in the list
- Next click on the expand arrow in the "Placement" section located in the right sidebar
- Scroll down to the "Attachments" section and click the "Manage attached media" button
- In the media library modal, you can see all media attached to the article. Use the tabs to filter the media you want to manage
- To upload a new file, click on "Upload media" button in the top-right corner
- Select the media you want to attach from the list
- Click on the "Attach media" button to proceed
- Finally, click "Update settings" button to save the changes
Why should you attach media to an article in Zendesk Guide Admin
Zendesk is a versatile platform designed to enhance customer service experiences seamlessly.
The feature to attach media to an article in Zendesk Guide Admin significantly enriches content by allowing visual and auditory information to complement text, creating a more dynamic and engaging user experience.
Incorporating media can simplify complex information, engaging readers with visually appealing content while improving comprehension and retention, ultimately elevating the effectiveness of your support materials.
Last update