How to apply border radius to an element in Webflow
Here is how to apply border radius to an element in webflow
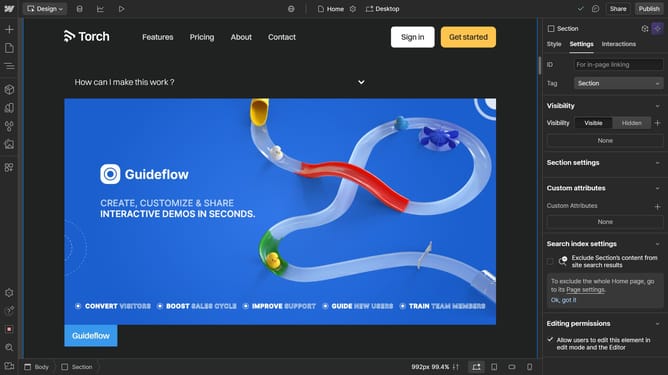
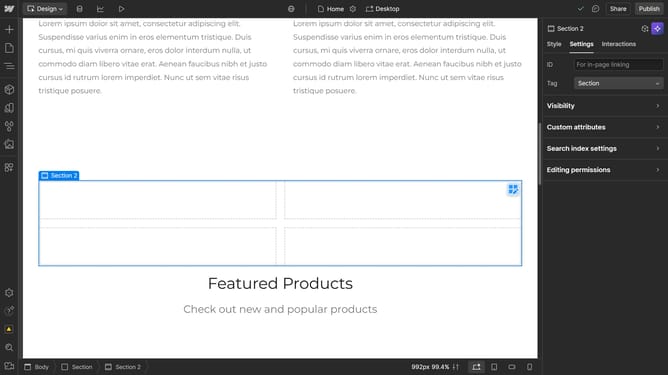
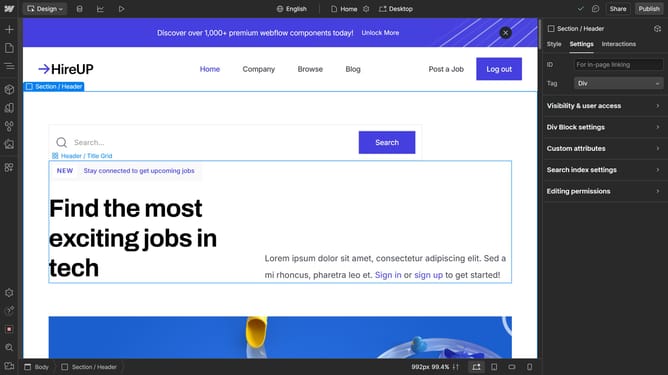
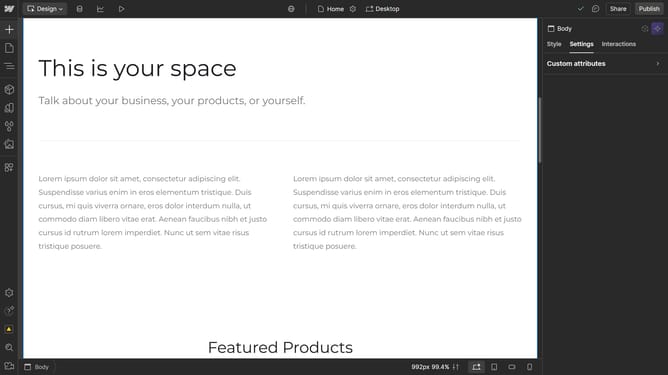
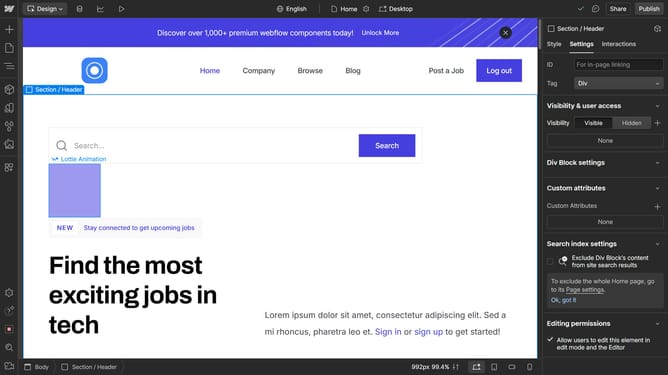
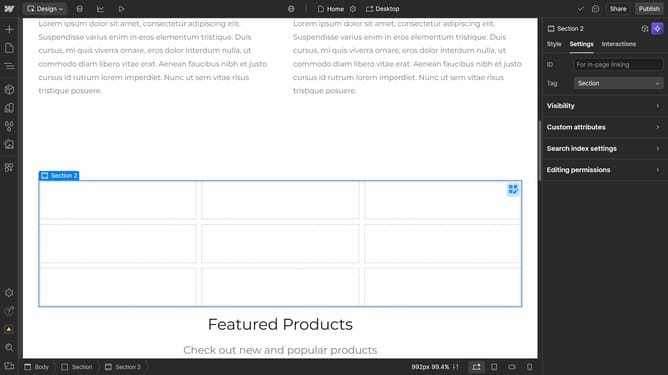
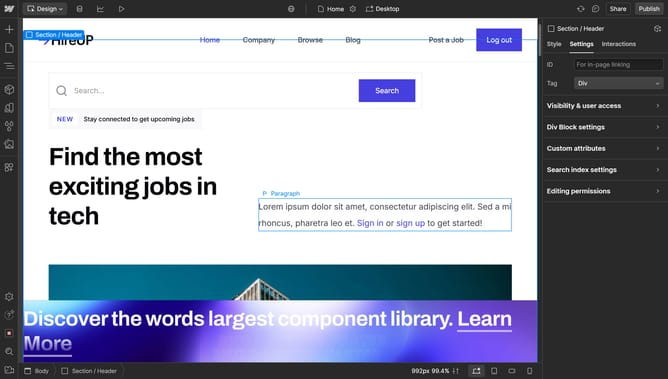
- First, select the element to which you want to add a border
- Then click on the "Style" tab in the right sidebar
- Next click on the "Borders" option in the style settings panel
- Finally click on the "Radius" control in the borders settings to adjust the border radius
Why should you apply border radius to an element in Webflow
Webflow is a powerful platform that empowers users to design and develop responsive websites visually.
Applying a border radius to an element in Webflow enhances the visual appeal by allowing designers to create smooth, rounded corners on elements such as buttons and images.
This feature not only adds a modern and softer touch to the overall design but also subtly guides the viewer's attention towards specific content sections.
Utilizing border radius in Webflow contributes to creating visually engaging and user-friendly interfaces, ensuring an optimal user experience.
Last update