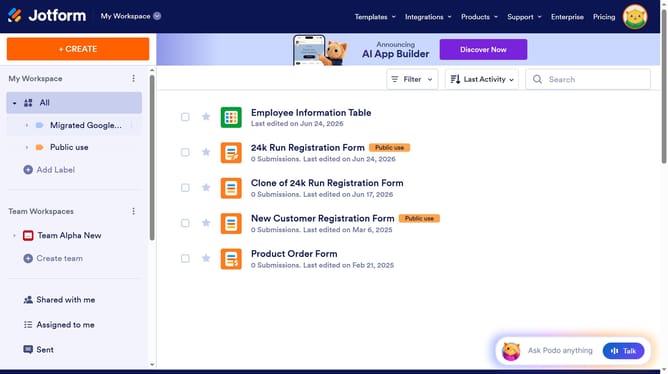
How to add an assignee column in a data table in Jotform
Here is how to add an assignee column in a data table in jotform
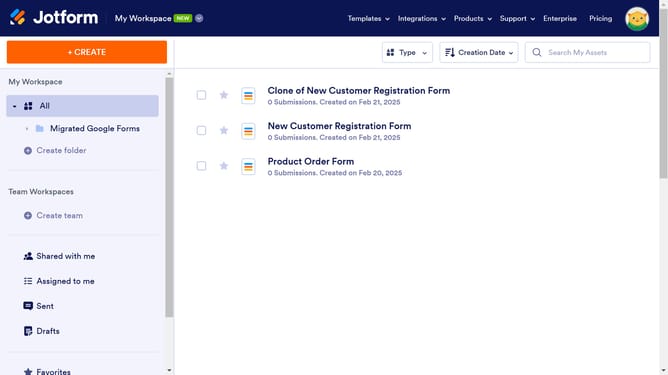
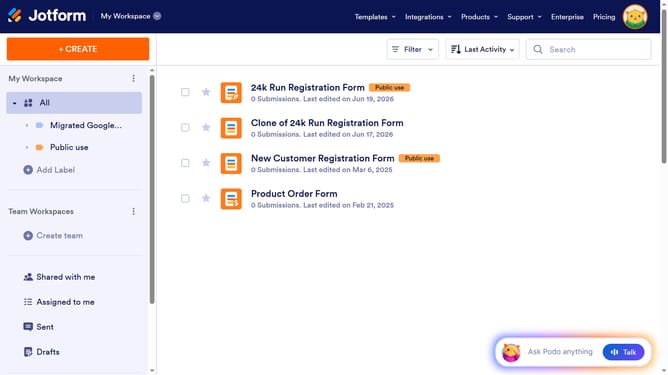
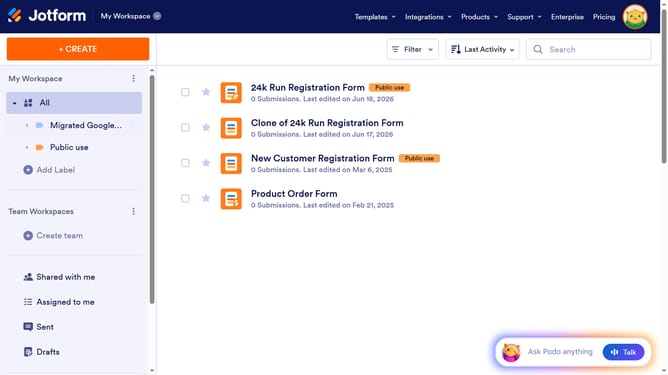
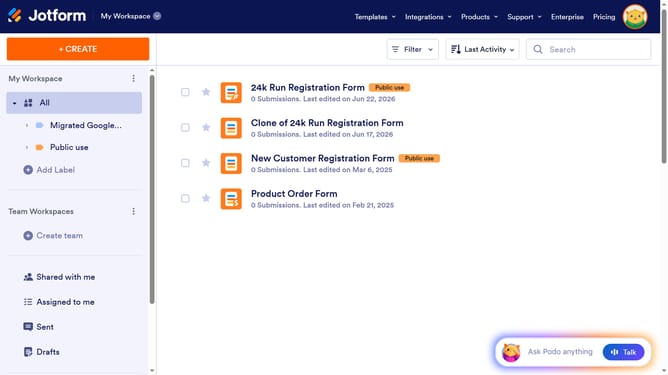
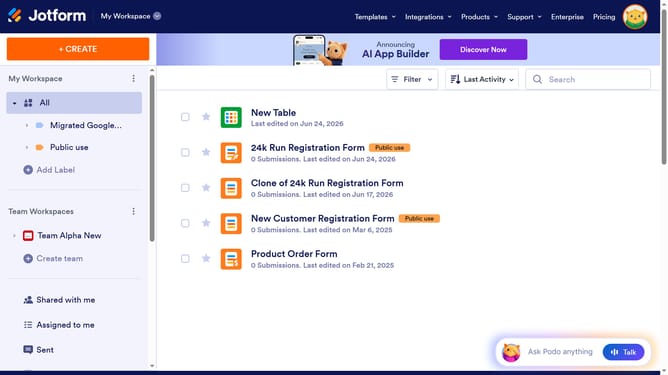
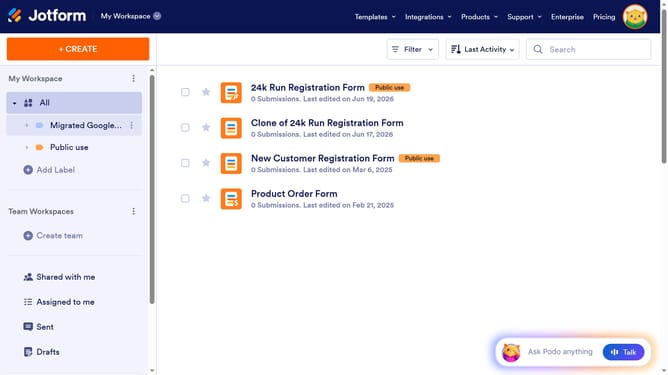
- First, click on the "All" option in the left sidebar
- Next click on "View Table" button at the right side of the table name that you want to manage
- Next, click on the "Add" button with a plus icon
- Then, select the "Assignee" option from the available column types
- Next, click on the "Next" button
- Then, enter column name into the "Enter a column name" input field
- Next, click on the "Next" button
- Finally, click on the "Create Column" button
Why should you add an assignee column in a data table in Jotform
Jotform is a versatile platform that empowers users to create seamless online forms with ease.
Adding an assignee column in a Jotform data table significantly streamlines task management by allowing users to delegate responsibilities directly within their data tables. This feature ensures that every task is visibly accounted for, enhancing efficiency and accountability.
By utilizing the assignee column, you can easily track progress and update stakeholders, making team collaboration more transparent and productive. It eliminates confusion and keeps your projects organized.
Last update