How to add a Yes/No field in a form in Zapier
Here is how to add a yes/no field in a form in zapier
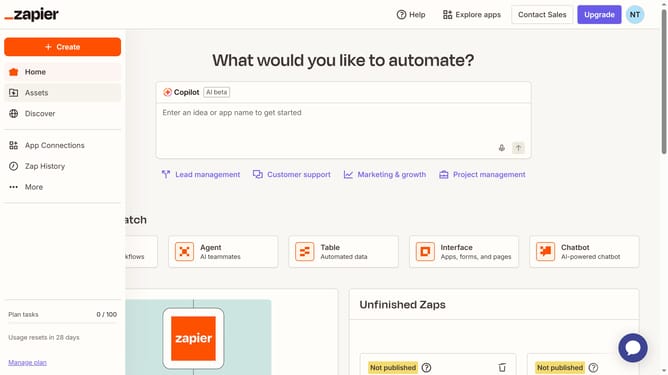
- First click on "Assets" in the left sidebar
- Then click on "Forms" in the left sidebar
- Next click on the form from the list to open it
- Then click on the page in the top navigation to view the form page
- Then click on "Add field" button in the form editor
- Next click on the "Field name in Table" text input field and enter the field title in the field name input
- Next click on the "Type" dropdown menu box
- Then select "Yes/No" from the type dropdown options
- Next click on the "Required" checkbox in the Options section
- Finally click on "Create field" button to save the new field
Why should you add a Yes/No field in a form in Zapier
Zapier is a powerful automation tool designed to seamlessly connect your favorite apps and streamline your workflows.
Integrating a Yes/No field in a form within Zapier enhances your data collection process by simplifying user input collection with just two options. This feature can greatly improve decision-making and analysis for your business operations.
Utilizing a Yes/No field allows for efficient data classification, providing clear and concise responses that can be easily automated for further actions, boosting productivity and accuracy.
Last update