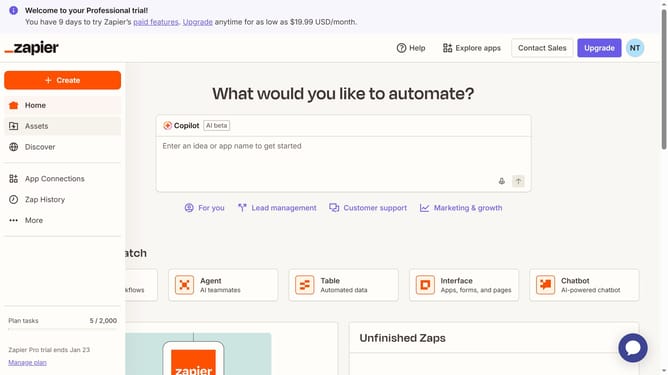
How to manage notifications in the free plan in Zapier
Here is how to manage notifications in the free plan in zapier
- First click on your profile icon in the top right corner of the header
- Then click on the "Settings" option in the dropdown menu
- Next click on the "Notifications" option in the left sidebar
- Next click on the "My notification settings" section to expand notification options
- Then click on the "Edit" button in the Default notification section
- Next click on the "Frequency" dropdown menu to view frequency options
- Click on your preferred frequency option
- Then click on the "Priority label" dropdown menu to view priority options
- Next select your preferred option from the priority label dropdown menu
- Finally click on the "Save" button to save the notification settings
Why should you manage notifications in the free plan in Zapier
Zapier is a powerful automation tool designed to connect your apps and streamline workflows effortlessly.
Within its free plan, managing notifications is a seamless process that ensures you stay updated on essential activities and changes without being overwhelmed.
By customizing these notifications, you streamline your focus and increase efficiency, highlighting critical tasks and updates.
This simple feature enhances communication and organization, allowing users to prioritize what's truly important without extra effort or cost.
Last update