How to add a column header in a table in Zapier
Here is how to add a column header in a table in zapier
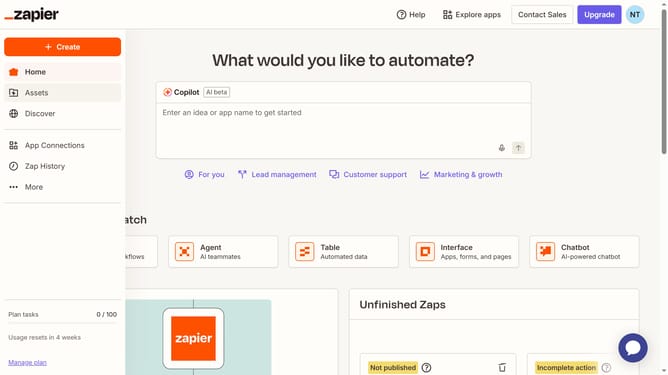
- First click on "Assets" in the left sidebar navigation menu
- Then click on "Tables" in the left sidebar submenu under Assets
- Next click on table link from the tables list in the main content area
- Then click on "Add field" button in the top right section of the table toolbar
- Next click the type of field you want to add
- Click on the "Name" text input field in the Create field dialog panel and type your column header
- Finally click on the "Create" button at the bottom of the Create field dialog panel
Why should you add a column header in a table in Zapier
Zapier is a powerful automation tool that seamlessly connects your apps and services.
Adding a column header in a table within Zapier is a straightforward feature that enhances data organization and clarity. By labeling columns, users can easily identify the type of data stored and ensure consistency across various platforms.
This feature is crucial for maintaining structured and understandable data sets, especially when automating workflows between different applications. Utilizing column headers enhances both usability and readability, ensuring that your tables are as efficient and clear as possible.
Last update