How to add a shape in a Miro board
Here is how to add a shape in a miro board
- First open the board where you want to add the shape
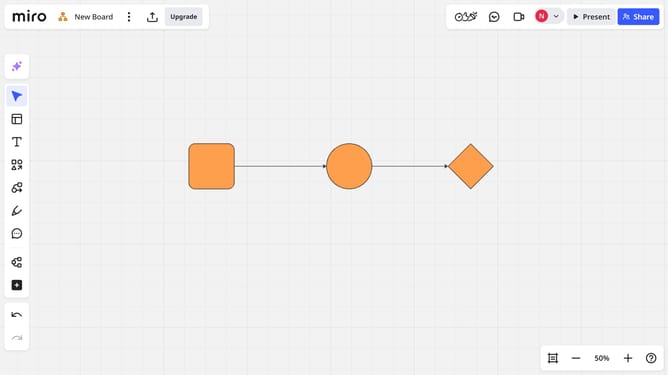
- Next click the "Shape" icon in the left toolbar
- Then select the shape you want to use from the shapes menu (e.g., rectangle, circle, triangle)
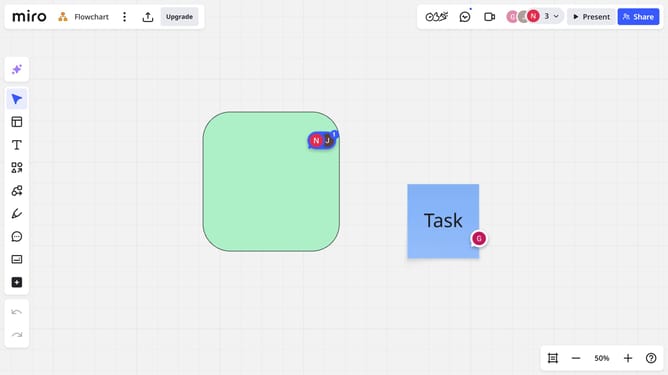
- Finally click anywhere on the board to place the shape
- You’ve now successfully added a shape to your Miro board
- Use this toolbar to change the size, fill color, border style, and more if needed
Why should you add a shape in a Miro board
Miro is a collaborative online whiteboarding platform designed to help teams work more creatively and efficiently.
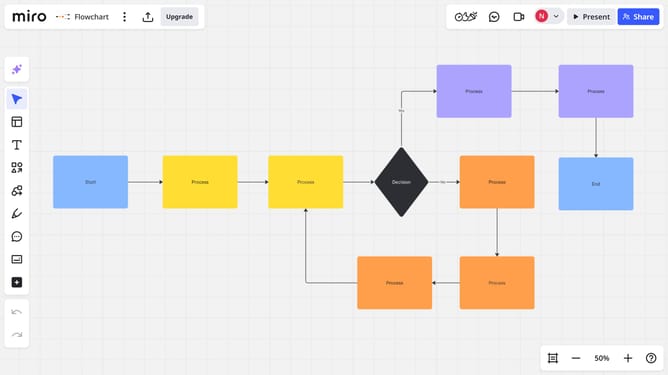
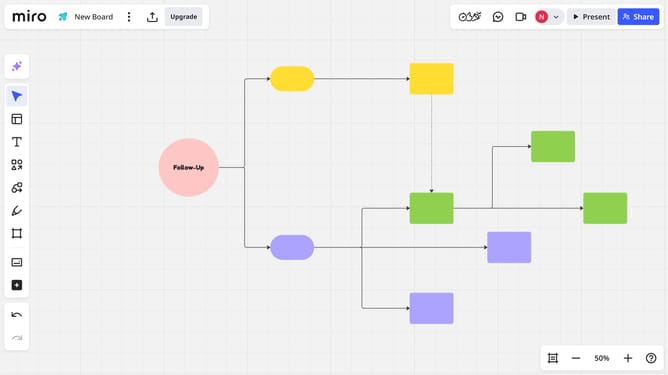
Adding shapes to a Miro board enhances creative expression and facilitates better communication among team members. Shapes serve as building blocks in visual storytelling, illustrating concepts, processes, and relationships effortlessly.
Using this feature encourages visual learning and idea organization, making complex information more digestible. It paves the way for more engaging discussions, ultimately driving innovation and effective decision-making.
Last update