How to add a multiple selection column in a data table in Jotform
Here is how to add a multiple selection column in a data table in jotform
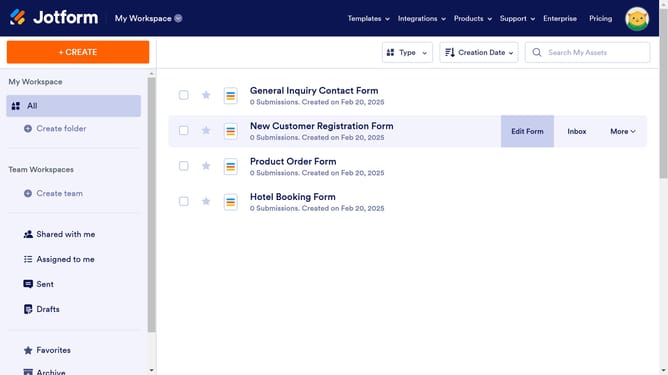
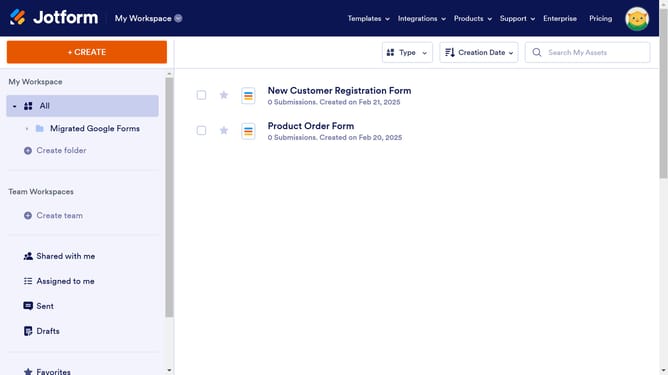
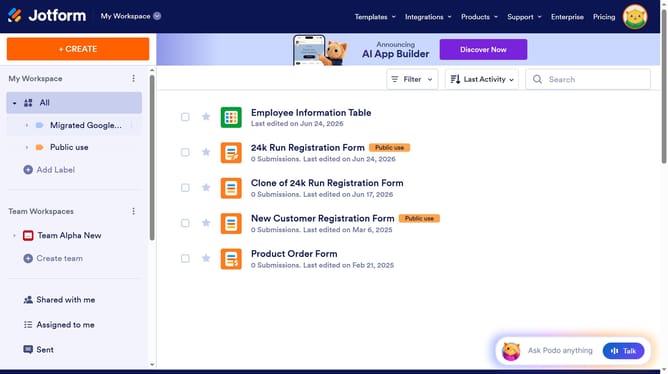
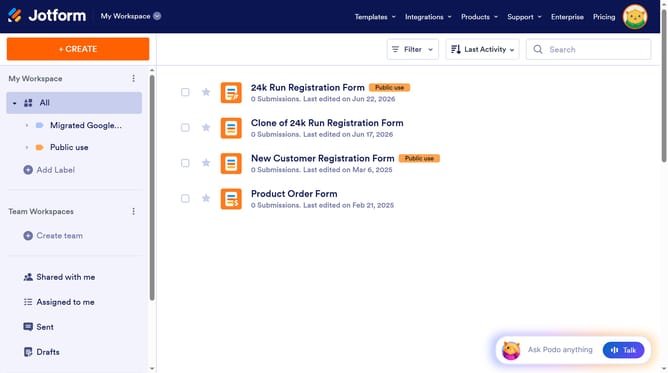
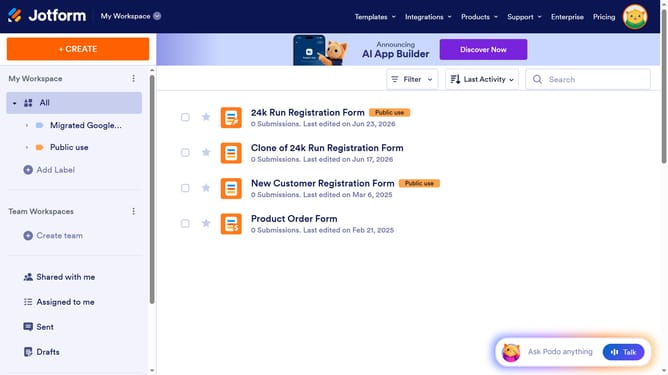
- First click on "All" in the left sidebar
- Next click on "View Table" button at the right side of the table name that you want to manage
- Click on the "+ ADD" button
- Then click on the "Multiple Selection" option
- Click on the "NEXT" button
- Then click on the text input field for "ENTER A COLUMN NAME" and enter your column name
- Click on the "NEXT" button.
- Then click on the text input field for options and enter your first option
- Click on the "+ Add" button
- Then click on the text input field for options and enter your second option
- Click on the "+ Add" button
- Then click on the text input field for options and enter your third option
- Finally click on the "CREATE COLUMN" button
Why should you add a multiple selection column in a data table in Jotform
Jotform is a versatile online form builder that streamlines data collection with ease and efficiency.
Adding a multiple selection column in a data table with Jotform enhances your ability to organize and analyze diverse sets of data. This feature empowers users by allowing them to select multiple options within a single column, providing a comprehensive view of responses or preferences.
This functionality is beneficial for surveys, inventories, or any scenario where multi-faceted input is crucial. Improved data clarity ensures better decision-making, aligning with Jotform's focus on user-friendly data management.
Last update