How to add a buffer to an event type in Calendly
Here is how to add a buffer to an event type in calendly
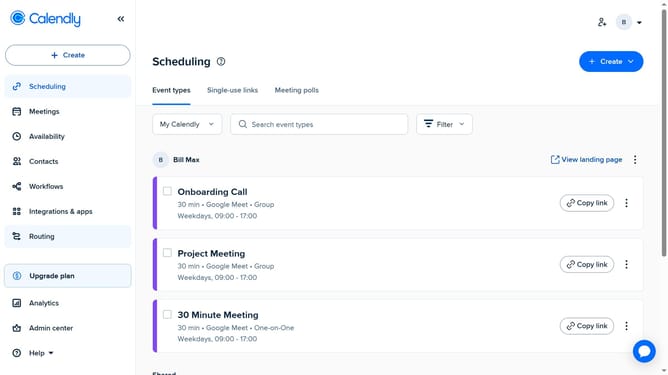
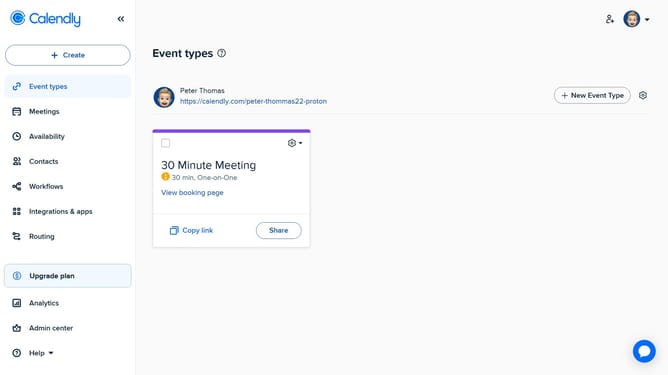
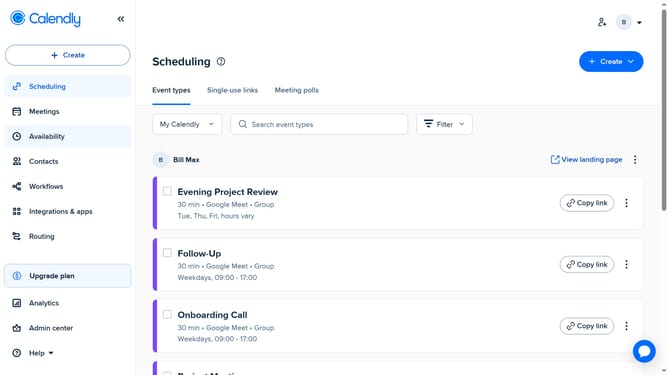
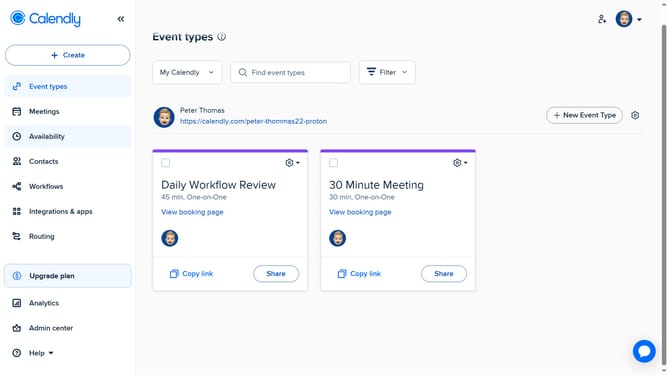
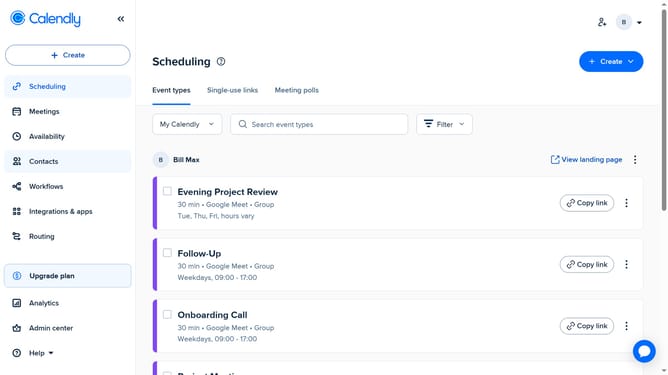
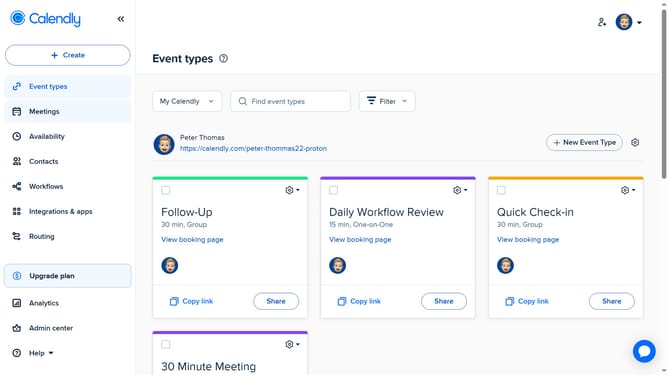
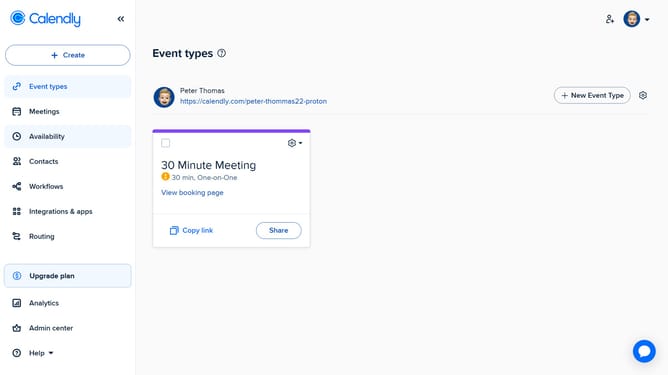
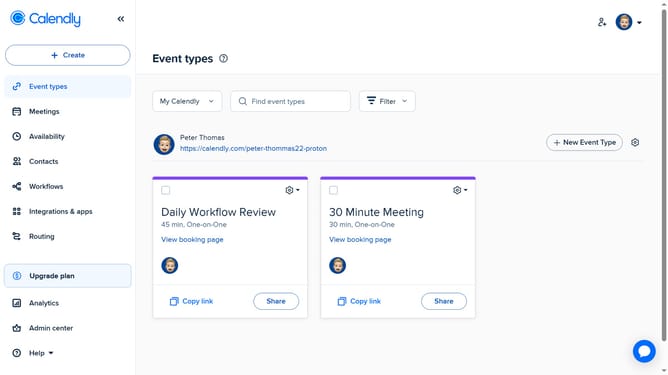
- First click on the "Event types" option in the left sidebar menu
- Next, select the event type where you want to add a buffer
- In the settings panel, click on the "More options" button
- Select the "Limits and buffers" section in the settings menu
- Then click on the "Set buffer time" button
- Choose how much time you want before, after, or both
- Finally, click the "Save changes" button to apply the buffer time settings
Why should you add a buffer to an event type in Calendly
Calendly is an intuitive scheduling platform designed to make meeting arrangements seamless and stress-free.
One standout feature is the ability to add a buffer to an event type, offering users the flexibility to include breaks before or after meetings.
This feature ensures professionals can transition smoothly between commitments, reducing back-to-back meeting fatigue.
By allowing buffer times, Calendly users can optimize their schedules for better productivity and mental clarity.
Last update