Create your own interactive guide with Guideflow
How it works
Here is a step-by-step guide on how to activate the HubSpot plugin in Framer:
1. First open your Framer project and click on the "plugins" button at the top left
2. Next search "Hubspot" in the search bar
3. Click the "Log in" button to sign in to your account
4. Then click the "Connect app" button to authorize HubSpot integration
5. To create a form, click on the "Create form" button in the HubSpot Forms dashboard
6. Complete all the required settings and click on "Update" to save and publish your form
7. After publishing, copy the embed code of your form
8. You can now start using HubSpot. Select the component you'd like to add to your project, such as a form
9. Click on form to add it to your canvas
10. In the right sidebar, find the "Portal ID" and "Form ID" under Hubspot form section. Paste the embed code if empty; otherwise, it's already connected
11. Place the form in your desired section within your project
12. Next preview your Framer project to confirm it works
13. Fill in the form fields and click "Submit" to confirm that submissions are being captured
14. Go to your HubSpot account, and you'll see that the data submitted through the form has been recorded successfully.
Why should you use this feature?
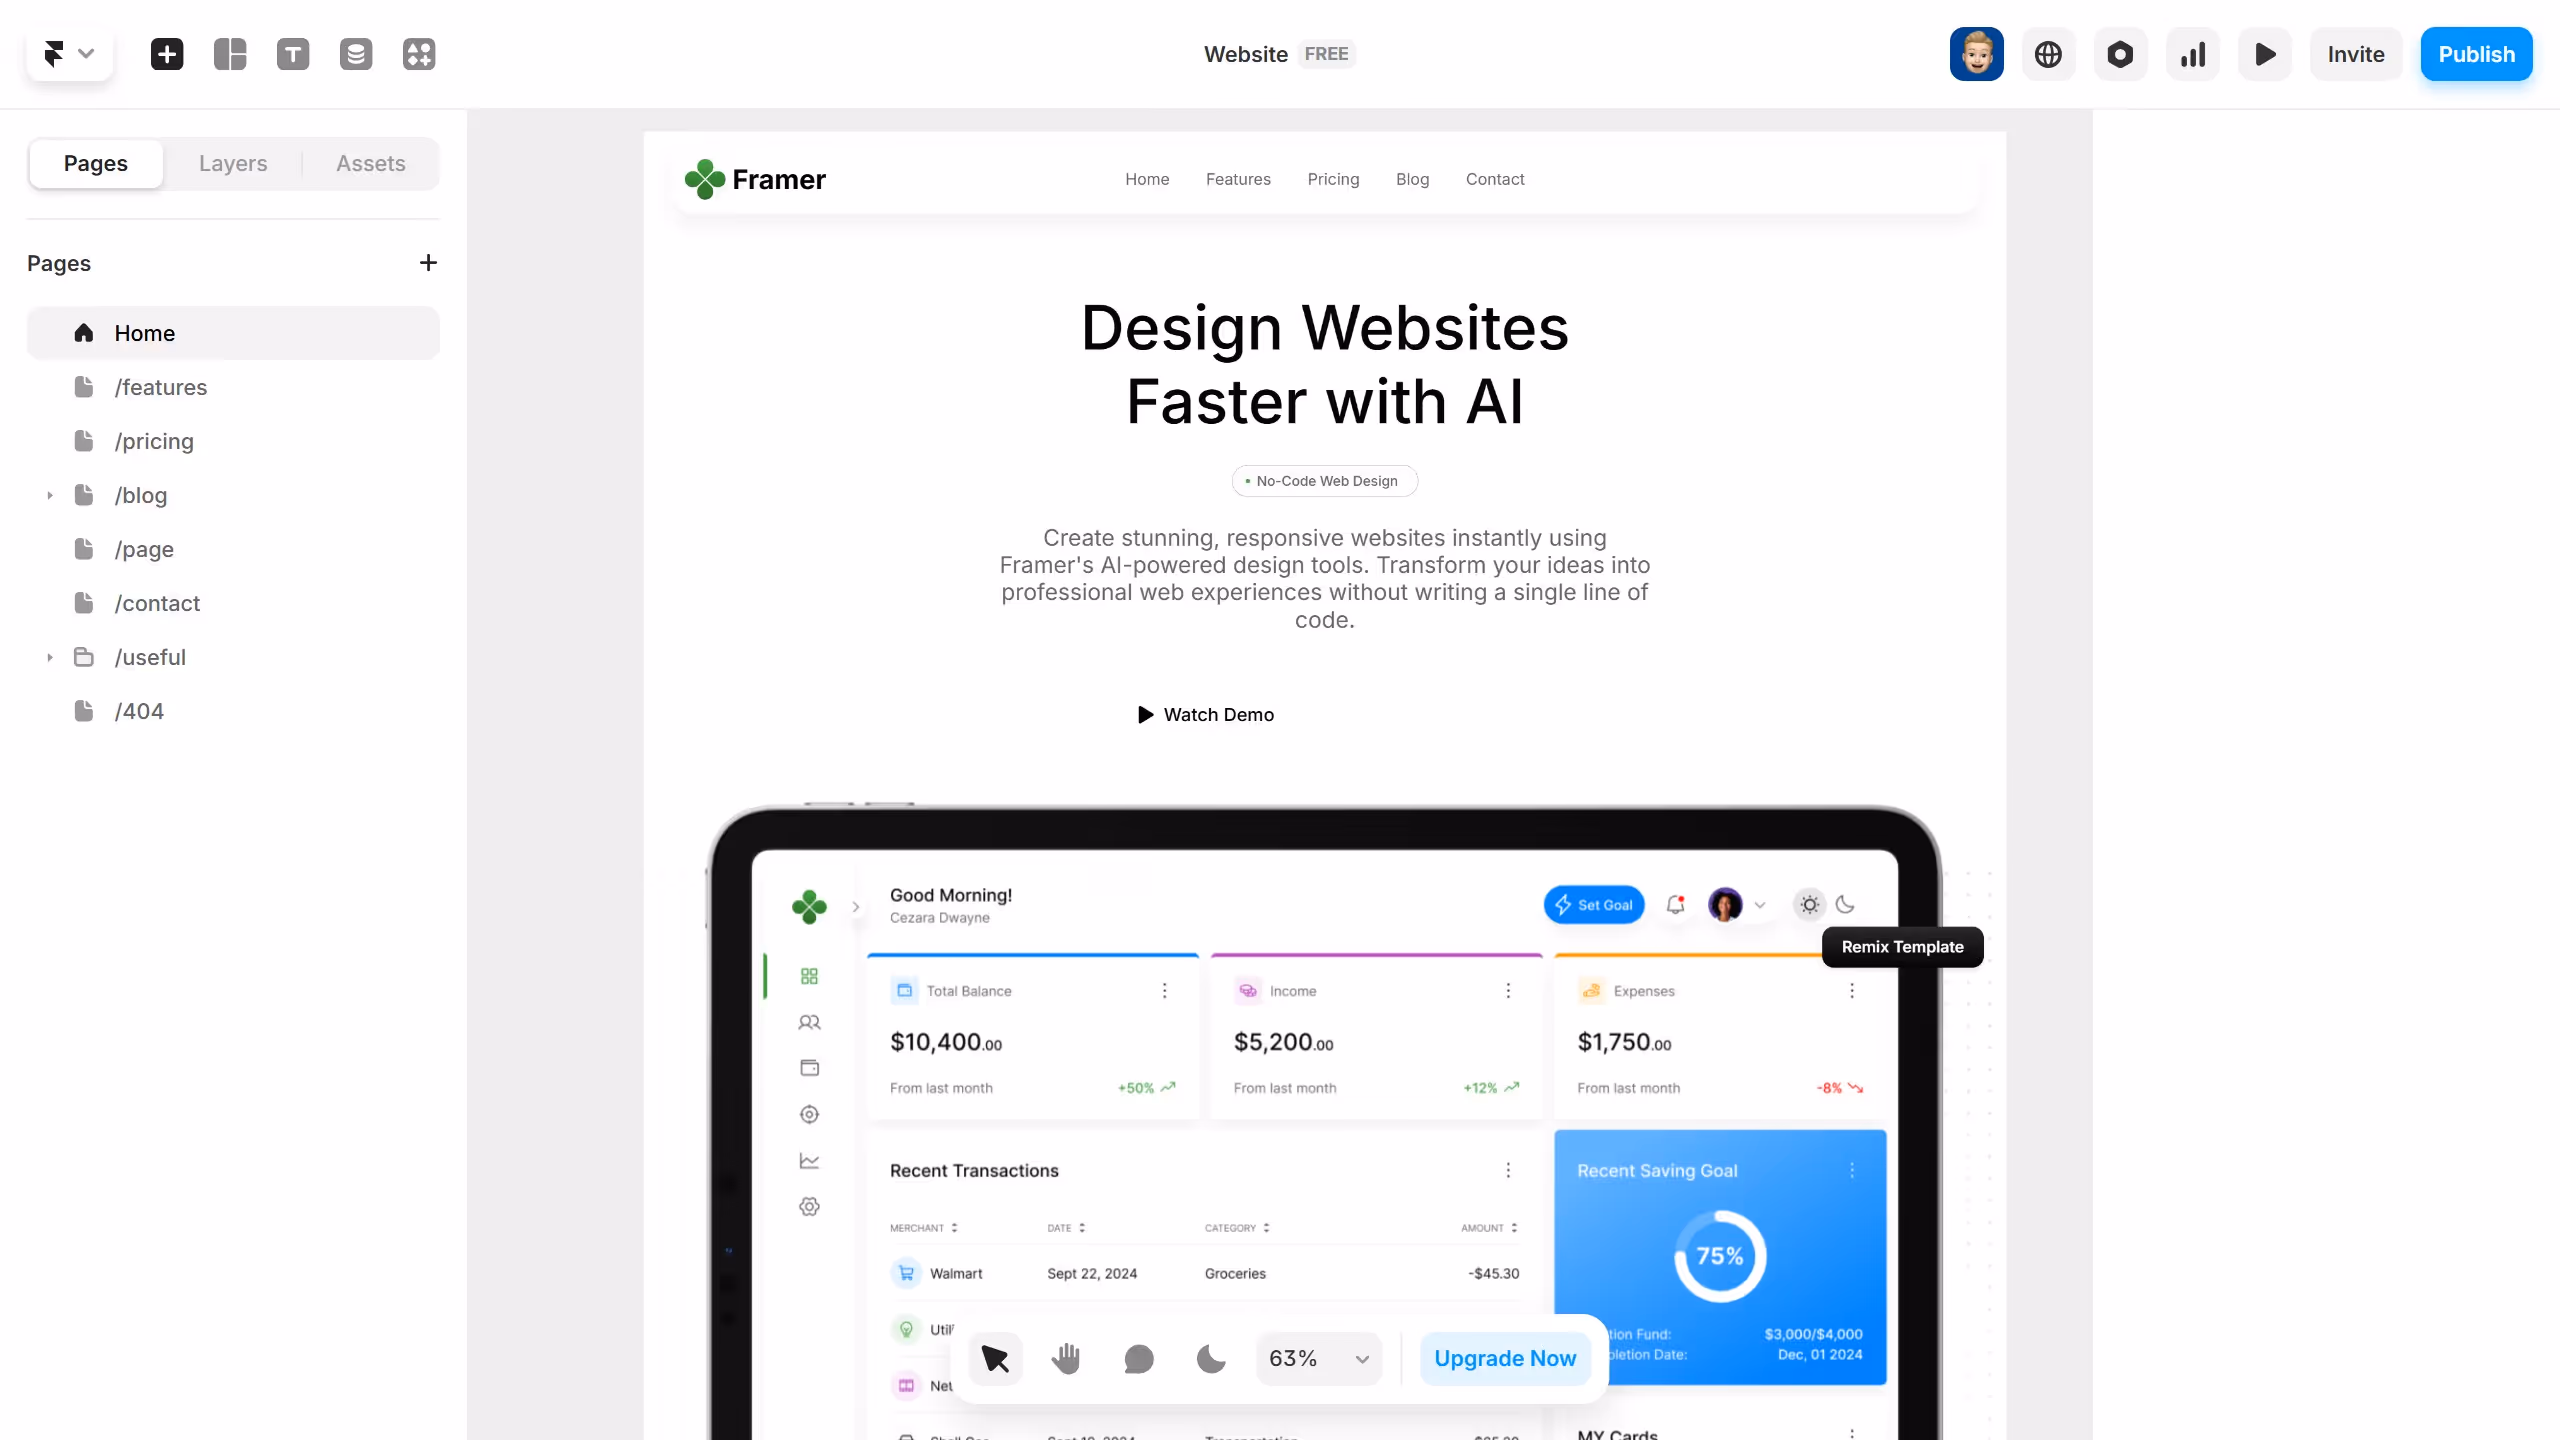
Framer is a dynamic platform designed to empower designers and developers with intuitive prototyping tools.
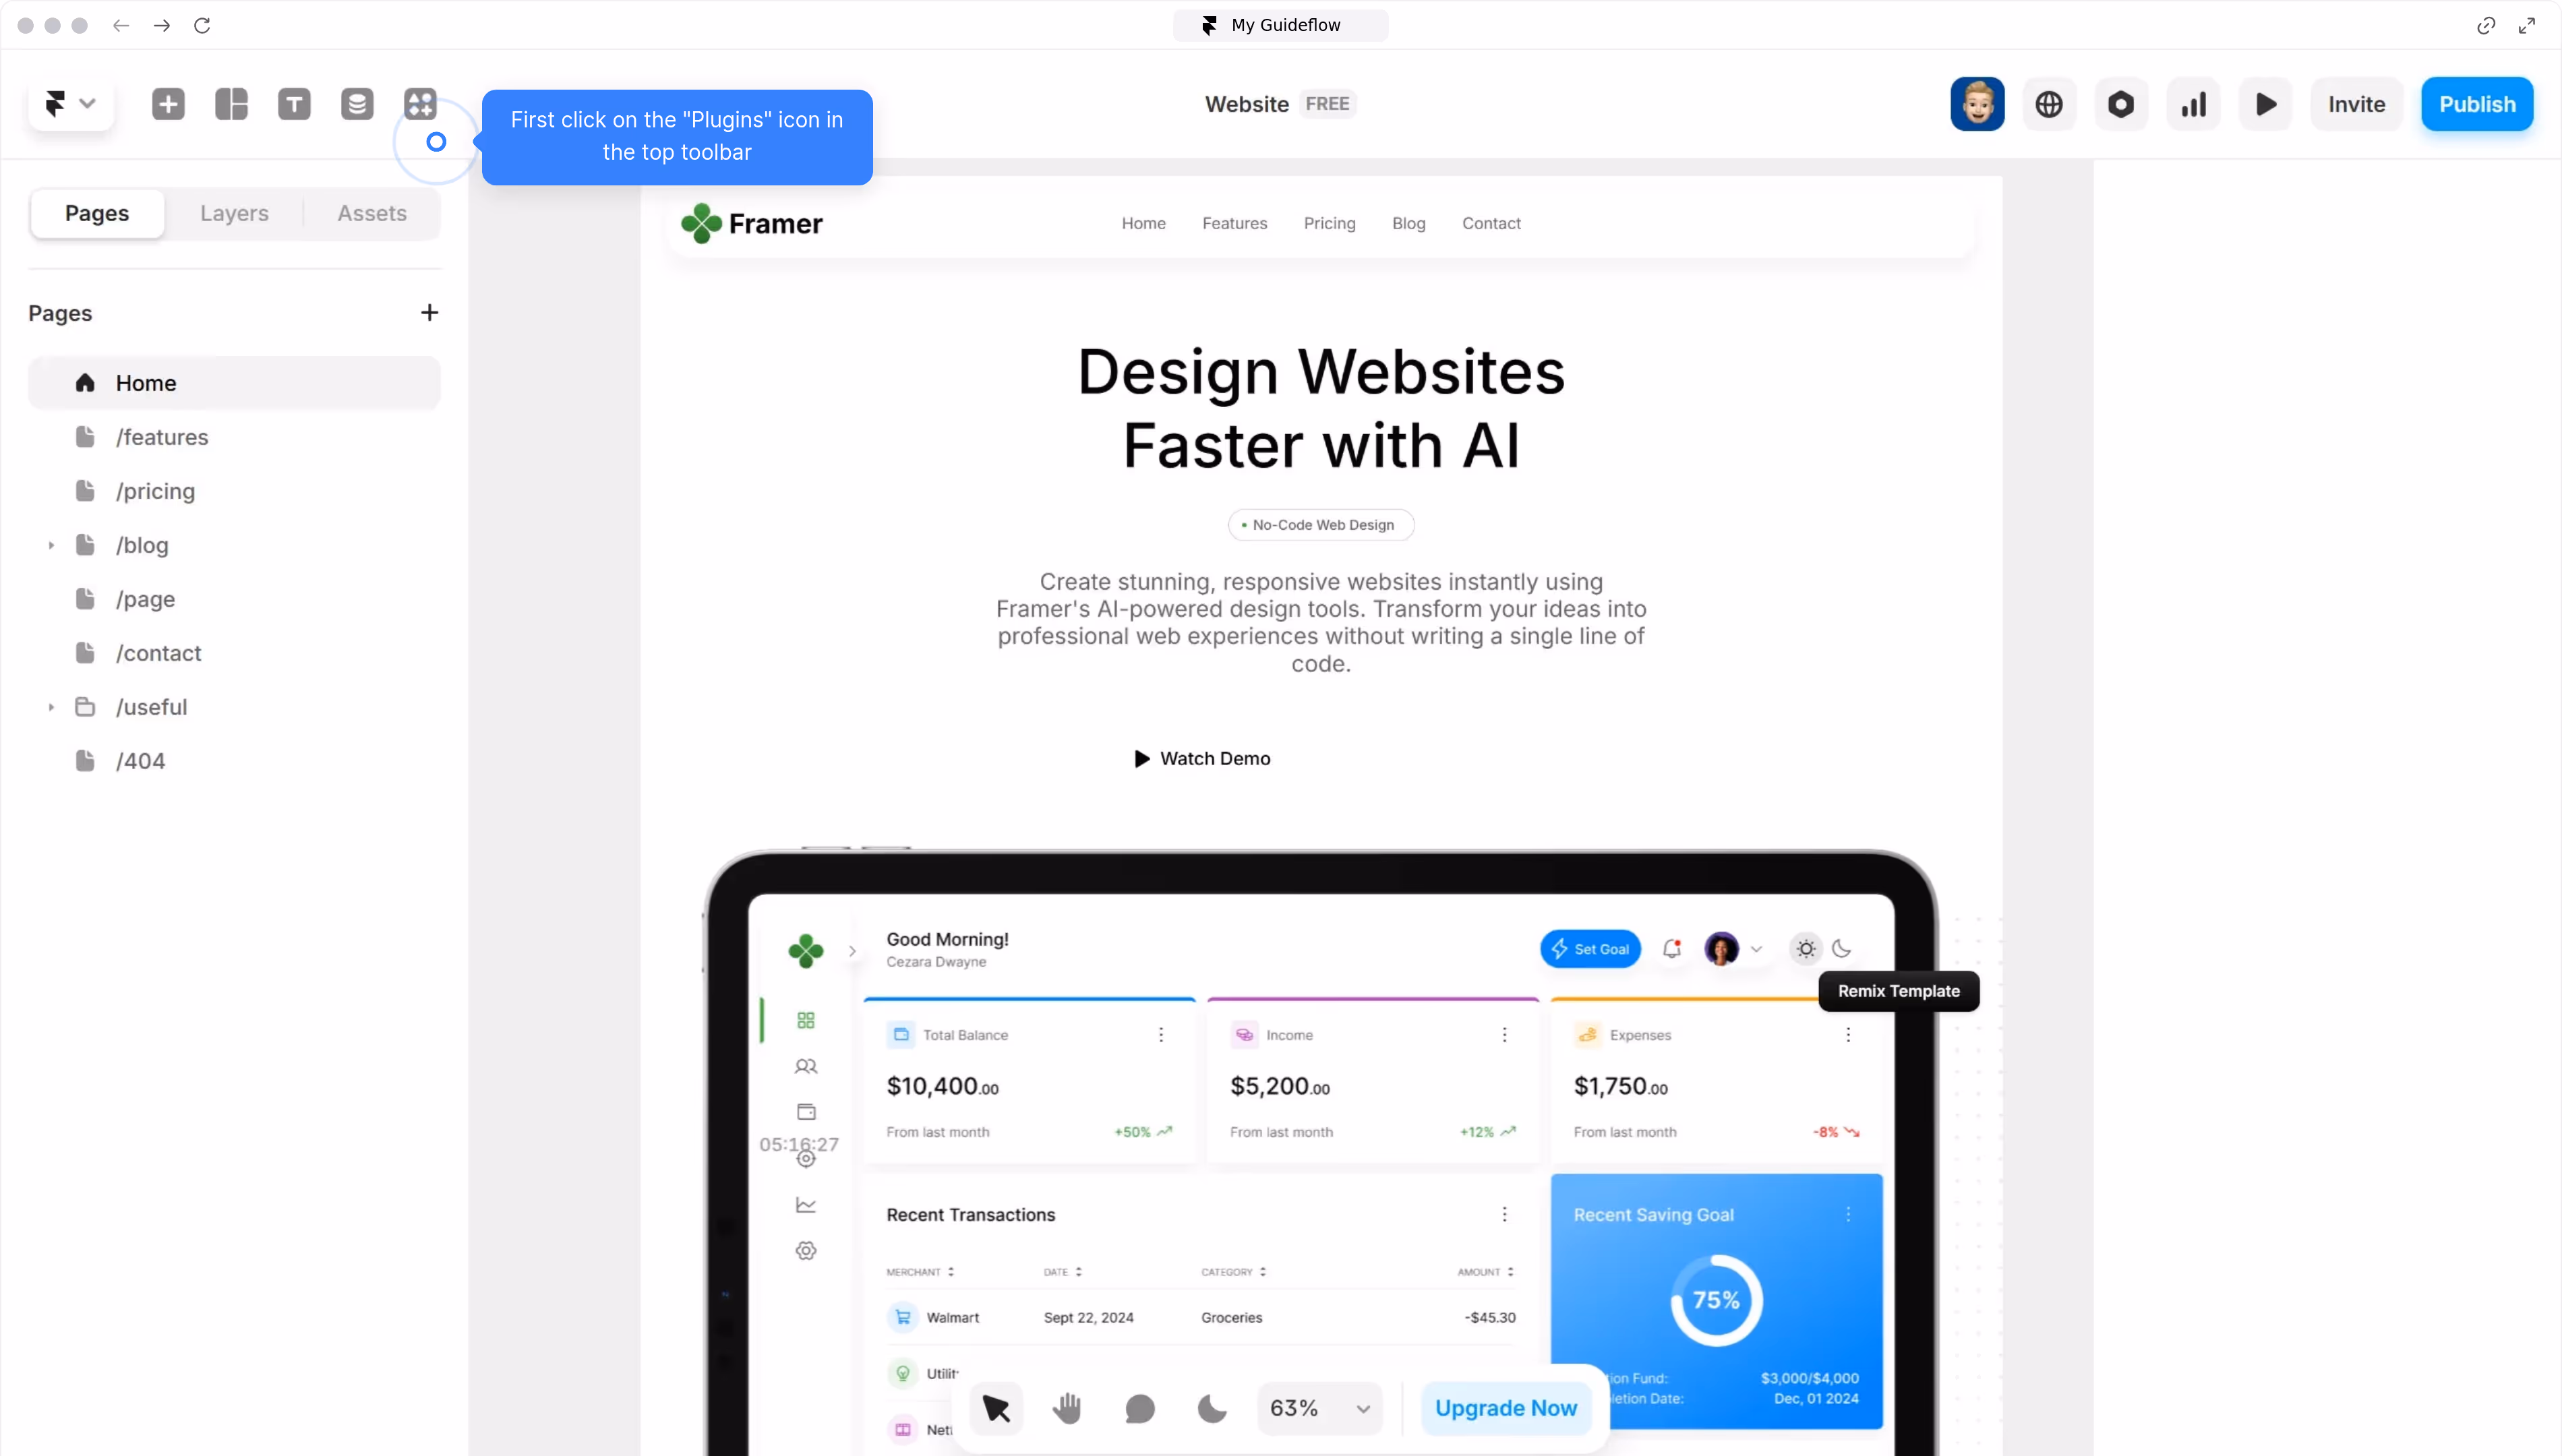
Integrating the HubSpot plugin into Framer enhances your marketing and design synergy effortlessly. By activating this feature, you enable seamless data flow and enriched user experiences without breaking your design flow.
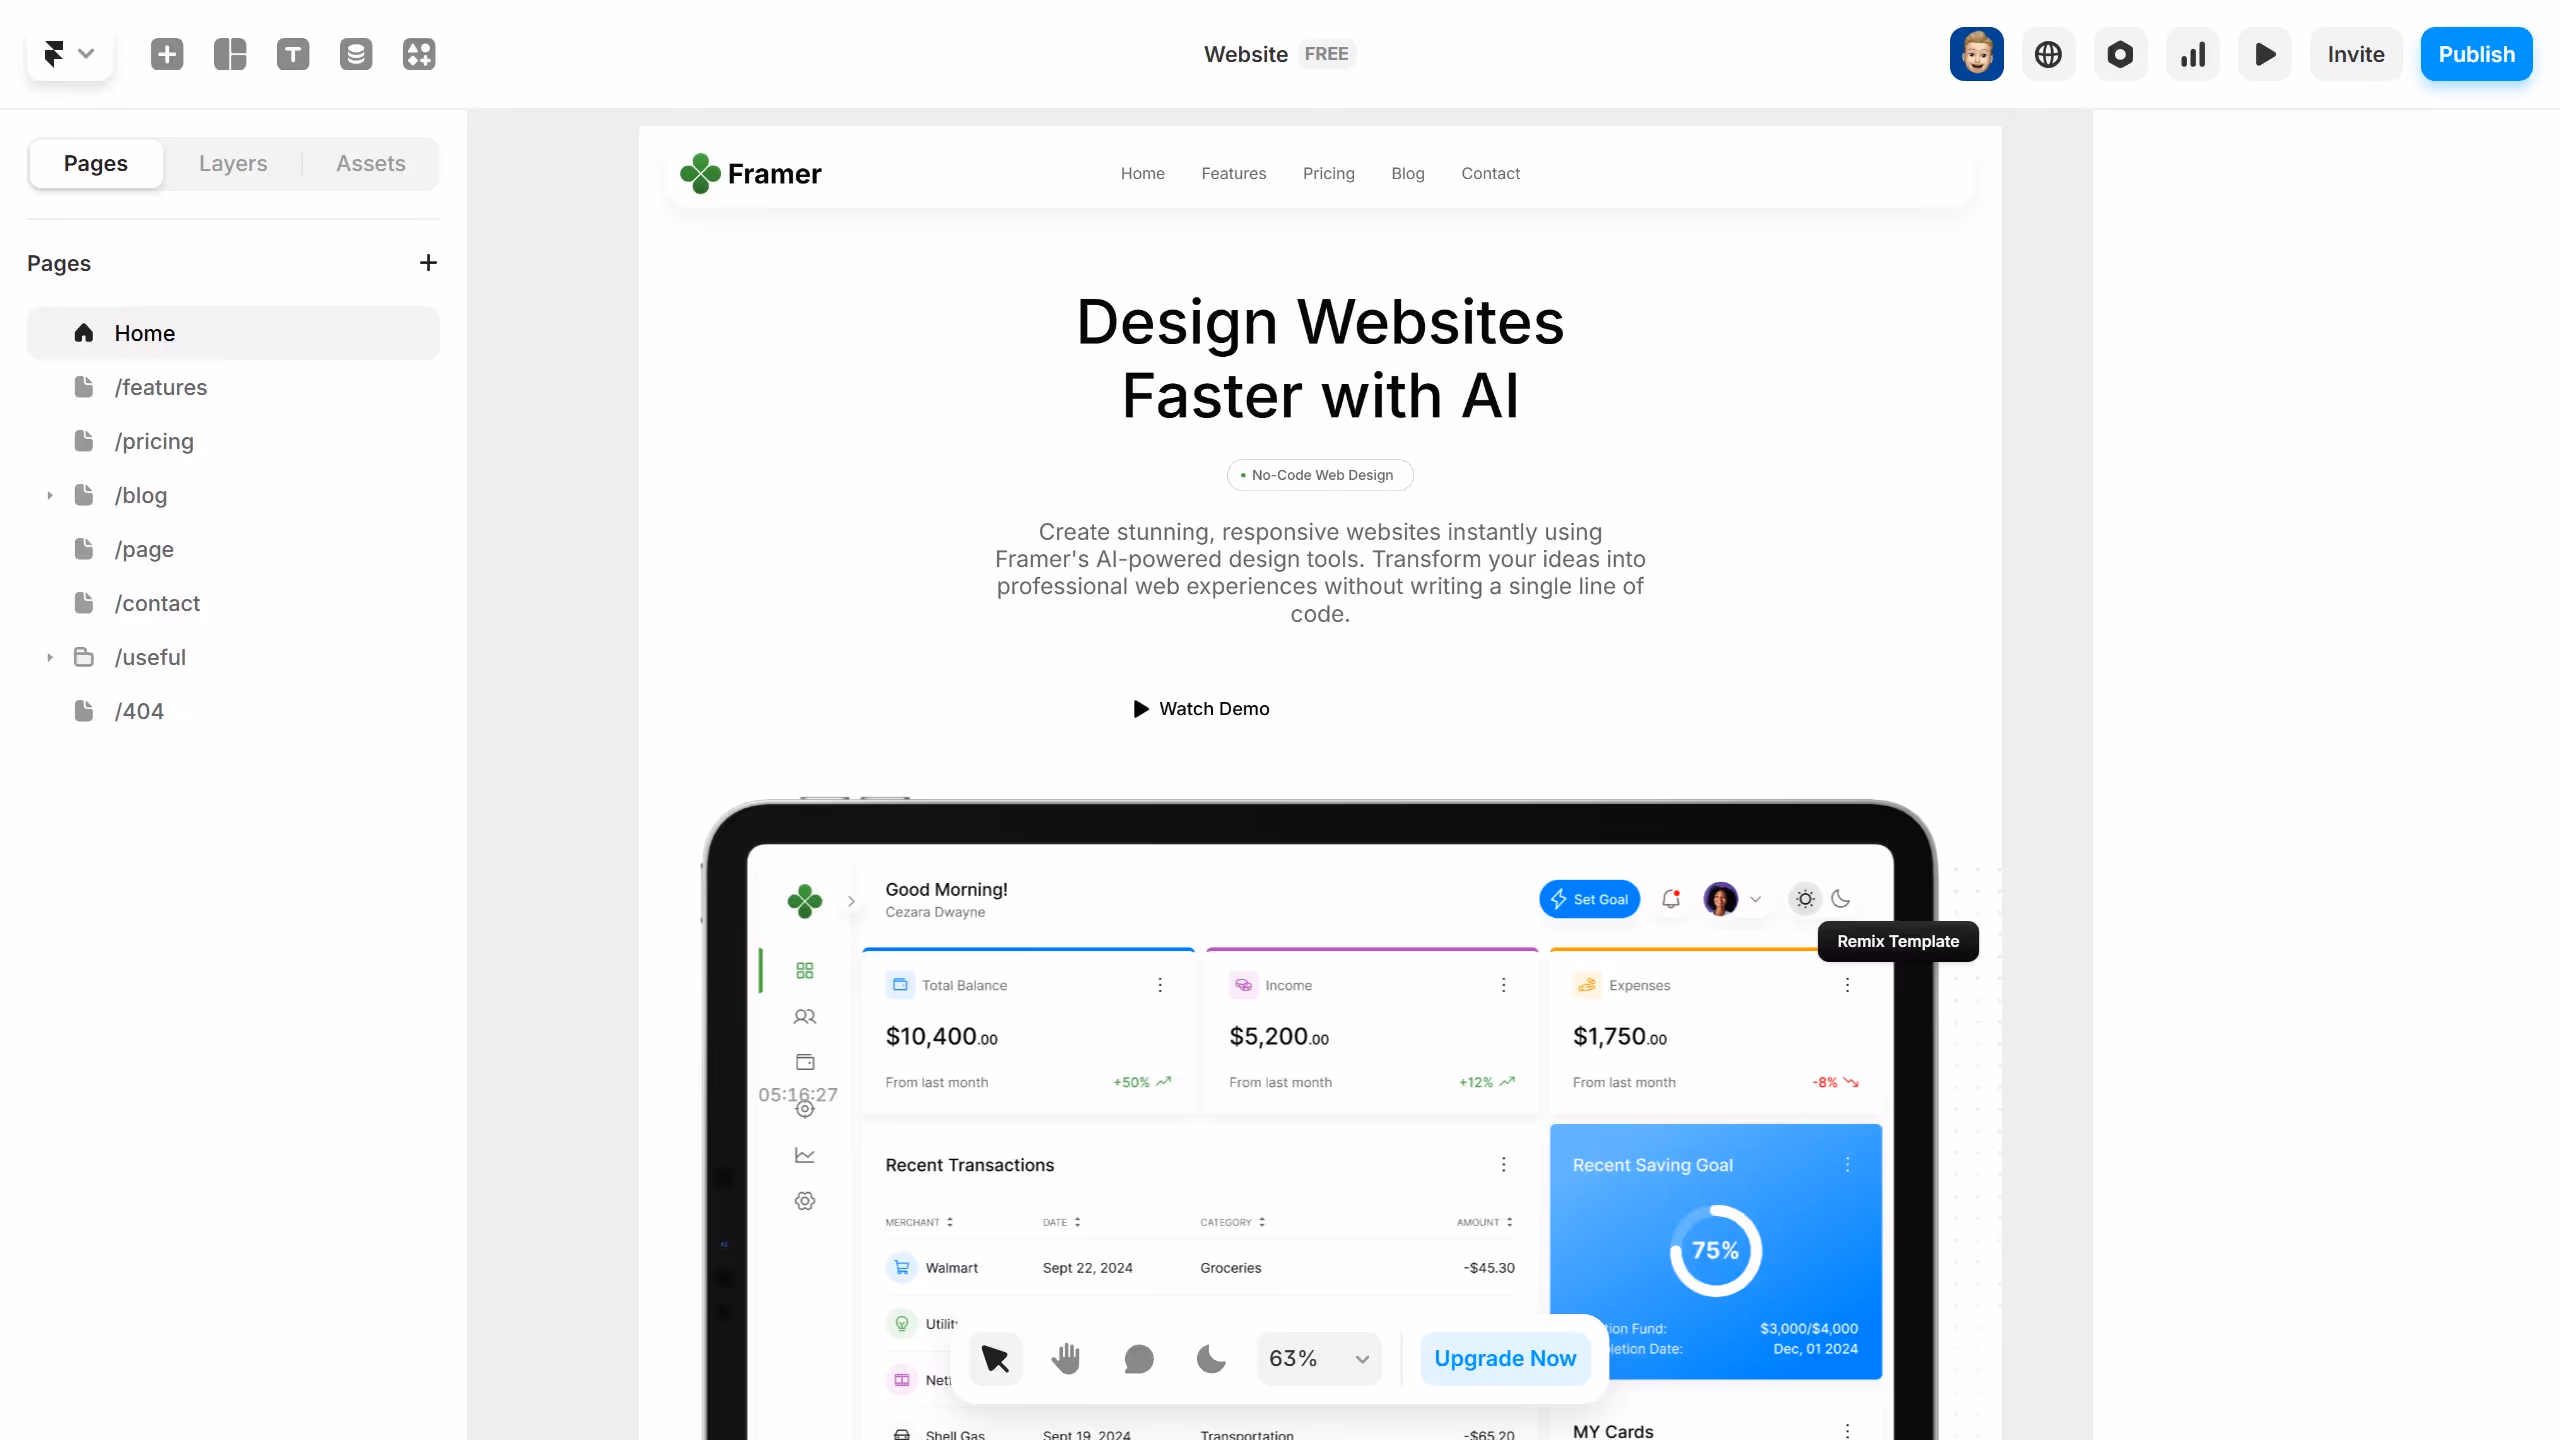
This integration allows you to leverage HubSpot's robust marketing tools directly from your design workspace, optimizing efficiency and collaboration.
As a result, teams can design with actionable insights in mind, fostering smarter decision-making and greater project success.
Built to impress
Why leading companies build with Guideflow


