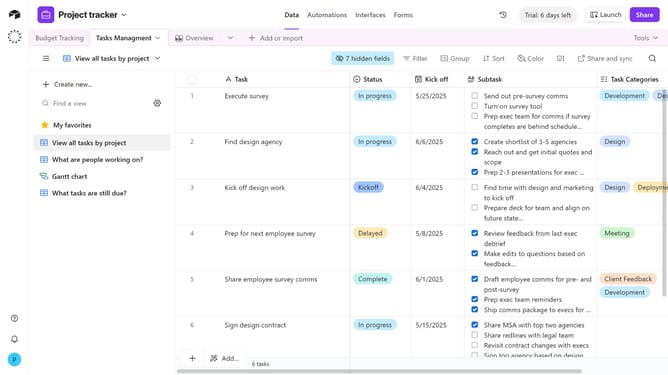
How to sync data to another base using the view share menu in Airtable
Here is how to sync data to another base using the view share menu in airtable
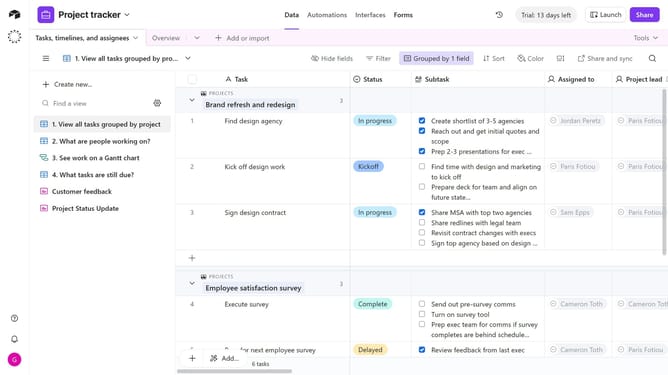
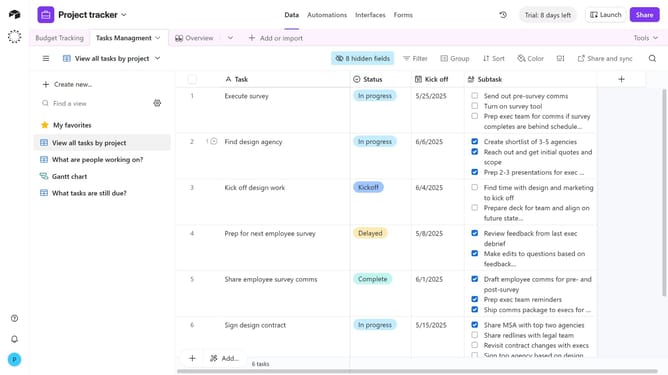
- First, navigate to a base and open the table containing the view you want to share
- Open the view sidebar and select the view you want to sync
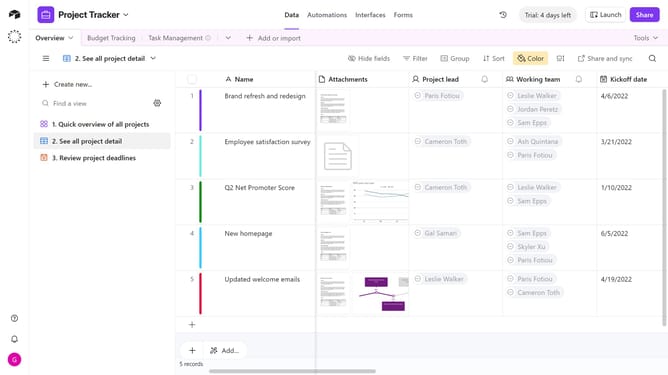
- Next click on the "Share and sync" button in the top toolbar
- Click on "Sync data to another base" option in the dropdown menu
- Then toggle on “Allow data in this view to be synced to other bases”
- In the additional options that appear, click “Sync this view”
- In the new tab that opens, click the Workspace dropdown
- Select your desired workspace from the workspace options
- Next click the Base dropdown and choose the destination base
- Select either “Create a synced table that will be kept up-to-date as this data changes” or “Copy this data into a new table that you can edit”, depending on your preference
- Finally, click the “Create table” button at the bottom to complete the sync and move the view to the selected base
Why should you sync data to another base using the view share menu in Airtable
Airtable is a versatile platform that transforms your data into a dynamic workspace tailored to your needs.
By using the view share menu feature in Airtable, you can seamlessly sync data to another base, ensuring your team always has access to updated and consistent information.
This feature fosters collaboration, enhances productivity, and minimizes errors by keeping everyone on the same page across different projects.
Enjoy streamlined workflows and improved data accuracy, all within the user-friendly interface of Airtable.
Last update