How to set up an event type in Calendly
Here is how to set up an event type in calendly
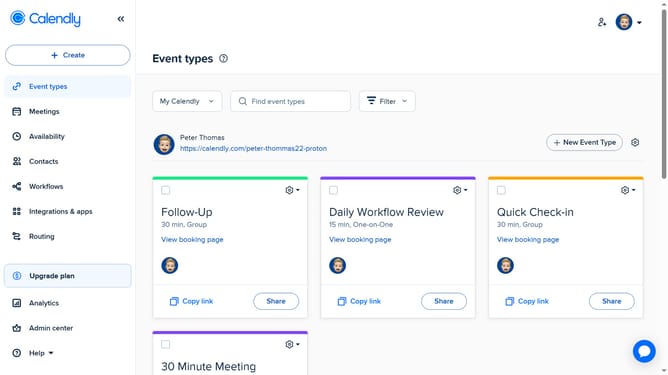
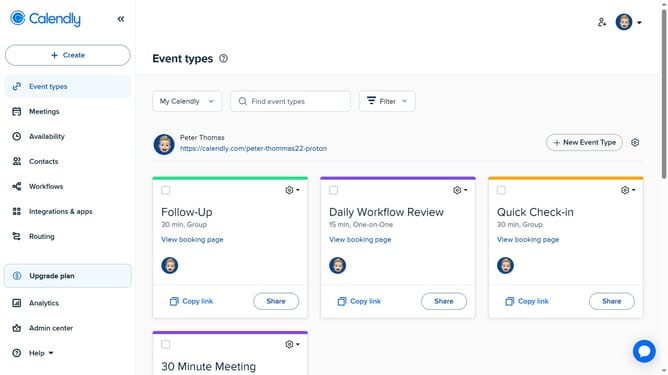
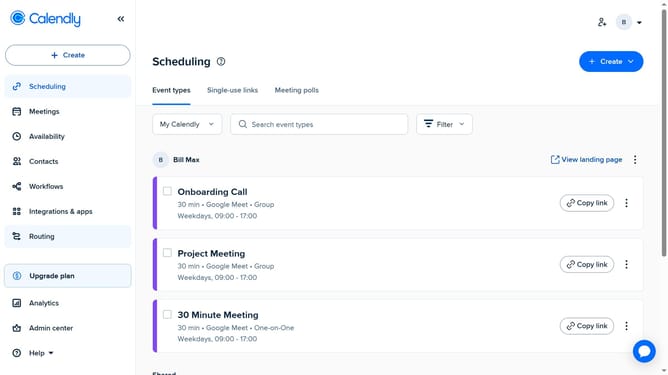
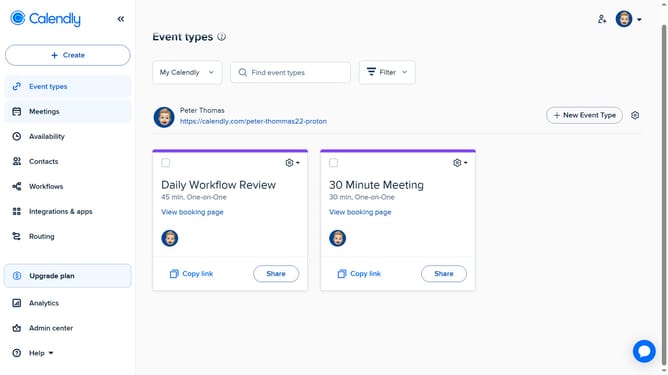
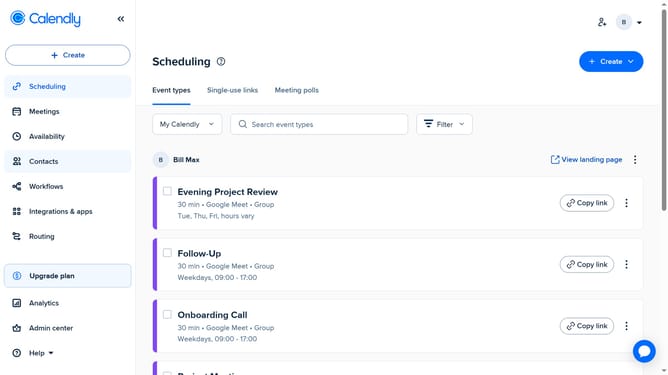
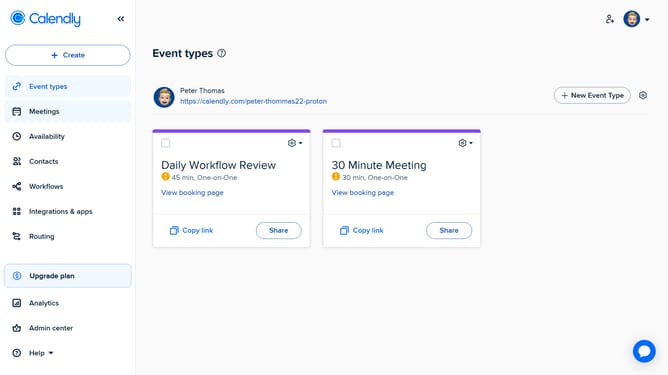
- First click on the "Event types" tab in the left sidebar
- Next click the "New Event Type" button in the top right corner
- Choose your preferred event type from the dropdown menu
- In the Name field, enter a title for your event
- Click the color dropdown and select a color from the color picker
- Next click the “Duration” dropdown
- Select the desired length for your event
- In the "Location" section, select how and where the meeting will take place
- Click on "Availability" section to view scheduling options
- Here you can configure when people can book this event
- Next click the "More options" link at the bottom of the form
- Here, you can add additional details like a description, buffer time, booking page options, or other custom settings
- When everything is set, click the "Save changes" button to confirm your settings and create the event
- Finally, click the “Exit” button (×) in the top-right corner to return to your dashboard
Why should you set up an event type in Calendly
Calendly is a seamless scheduling tool designed to simplify setting up meetings.
Creating an event type in Calendly allows you to customize how and when others can book time with you. This feature streamlines your scheduling process by defining available slots that suit your needs, minimizing back-and-forth communications.
By setting up an event type, you enhance your productivity and ensure that your scheduling aligns perfectly with your availability. This clarity helps you maximize your time management and maintain focus on what truly matters.
Last update