How to set dataset access for a user in Zendesk Explore
Here is how to set dataset access for a user in zendesk explore
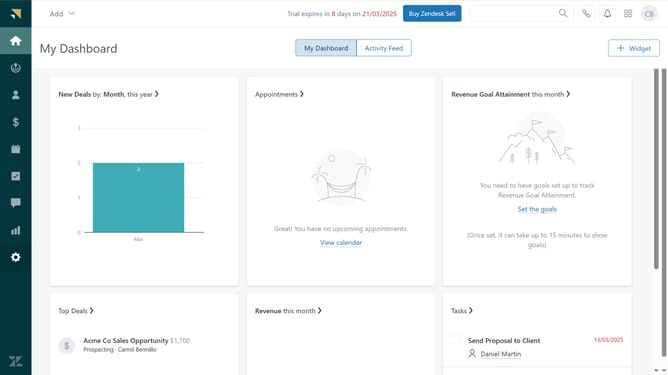
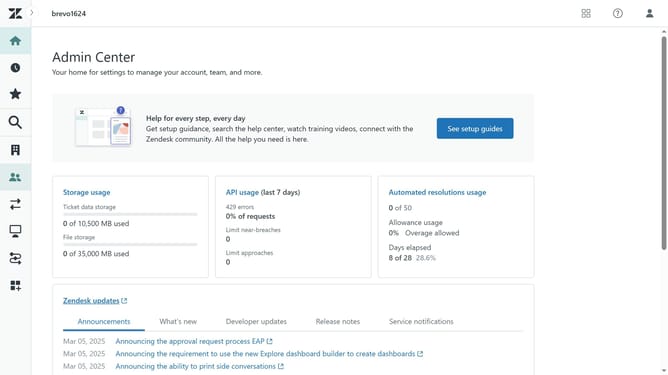
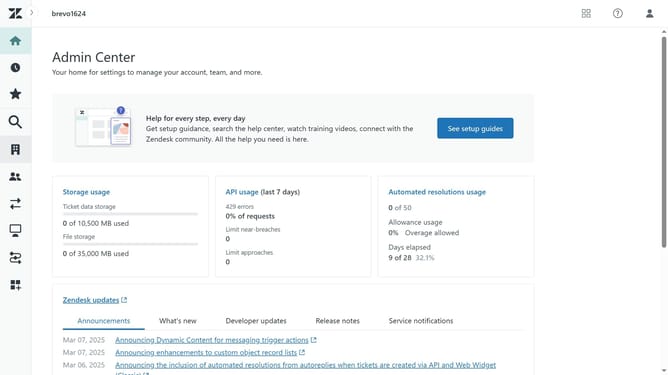
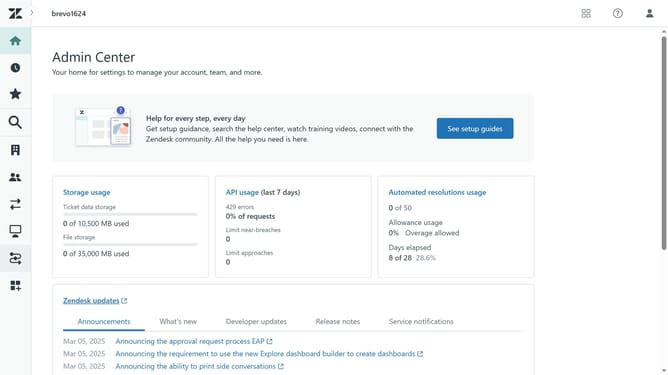
- First in Zendesk Explore, click on the "Settings" icon in the left sidebar
- Click on the "Dataset access" tab
- Click on the "User" dropdown menu to expand it
- Select the user you want to grant access to from the user dropdown list
- Then for each dataset, set a permissions for the selected user
- Click on the dropdown arrow in the "Reports" column for a dataset
- Select the desired access level for the user from the dropdown menu
- Repeat this process for each dataset in the list
- Alternatively, scroll down and locate the "All datasets" row
- Click on the the Reports dropdown menu for "All datasets"
- Select the desired access level from the dropdown, and it will apply directly to all datasets
- Finally, once done click the "Save" button to confirm the access permissions
- The selected user will now have the appropriate access to each dataset
Why should you set dataset access for a user in Zendesk Explore
Zendesk is a powerful tool designed for improving customer support and streamlining communication.
Setting dataset access for a user in Zendesk Explore enhances team collaboration by allowing tailored data visibility.
This feature ensures users access only relevant information, boosting efficiency and security.
It enables precise data management, fostering informed decision-making and improving overall workflow.
Last update