How to create a report from a dashboard in Zendesk Explore
Here is how to create a report from a dashboard in zendesk explore
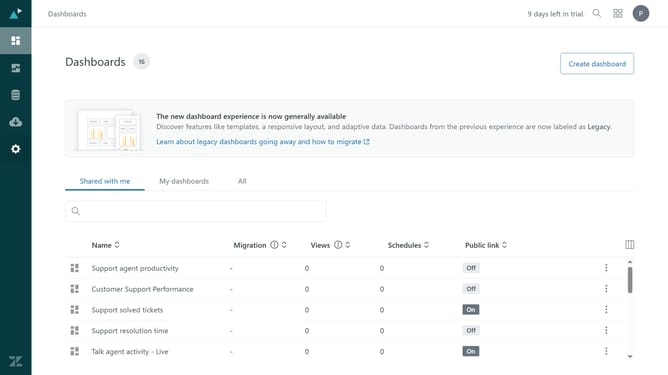
- First in Zendesk Explore, click on the "Create dashboard" button in the top right corner
- In the dashboard selection modal, select a template and click on "Select"
- Next click the "+" button in the top right corner to add a new component
- In the panel menu that appears, select "Report" under the Reporting data section
- Click on the "+" icon in the reports panel to create a new reports
- On the "Select a dataset" view, select the Zendesk product you want to create reports for
- Next select a specific dataset within that Zendesk product
- Click on "Start report" button in the bottom-right corner
- In the left sidebar, add Metrics, Columns, Rows, Explosions, and Filters
- Next give a title for your report by clicking on the title field
- Then enter your desire title
- Finally, click on "Save and add to dashboard" button in the top-right corner to save the new report
- Your new report has been successfully created from the dashboard
Why should you create a report from a dashboard in Zendesk Explore
Zendesk is a powerful customer support platform designed to enhance and streamline customer interactions.
Creating a report from a dashboard in Zendesk Explore allows users to derive actionable insights directly from the data they visualize.
By converting dashboards into reports, teams can focus on specific metrics and trends that matter, fostering better decision-making. This capability accelerates understanding of customer behavior and operational efficiencies.
Leveraging this feature ensures that your team remains aligned with strategic goals, improving overall customer experience.
Last update