How to set and manage share link permissions for a view in Airtable
Here is how to set and manage share link permissions for a view in airtable
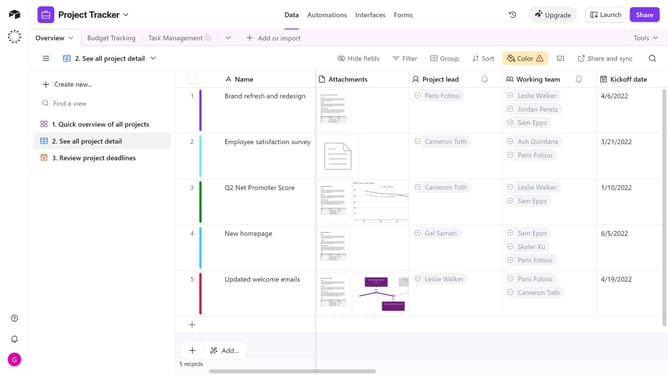
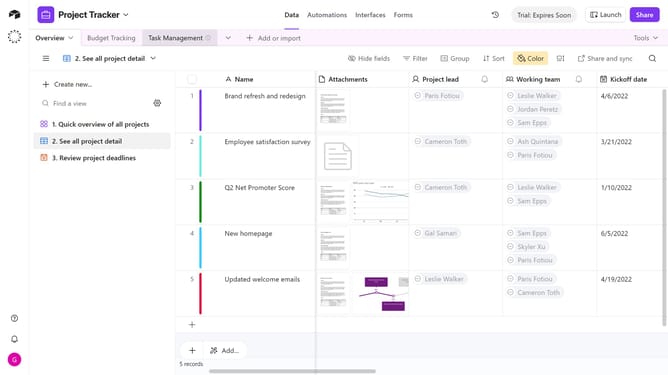
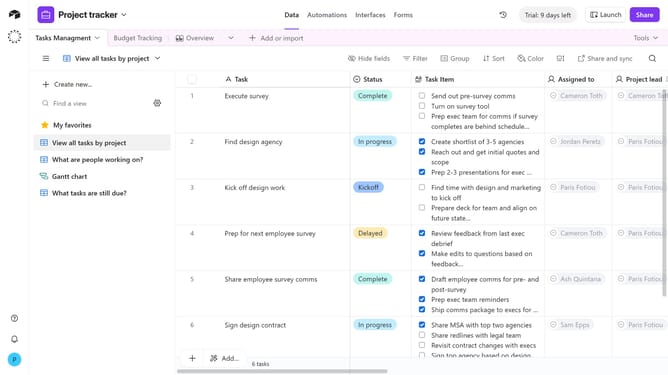
- First, navigate to the base and open the table containing the shared view
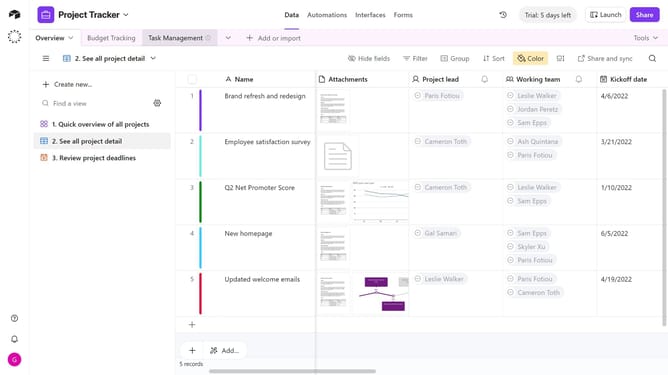
- Open the view sidebar and select the view you want to manage the share link permissions
- Next, click on the "Share and sync" button in the top toolbar
- Click on "Link settings" option in the share menu
- A permissions menu will then open, allowing you to manage the link settings
- Finally, toggle on or off your preferred permissions
Why should you set and manage share link permissions for a view in Airtable
Airtable is a versatile platform designed to foster seamless teamwork through customizable databases.
The feature of setting and managing share link permissions in a view enables users to control access with precision. By configuring who can view or edit particular data sets, it ensures that sensitive information remains secure while collaboration is optimized.
This functionality encourages efficient workflows, reducing errors by ensuring that team members access only relevant data. Consequently, it enhances productivity and maintains data integrity across projects.
Last update