How to set a stop date for sending a workflow in Intercom
Here is how to set a stop date for sending a workflow in intercom
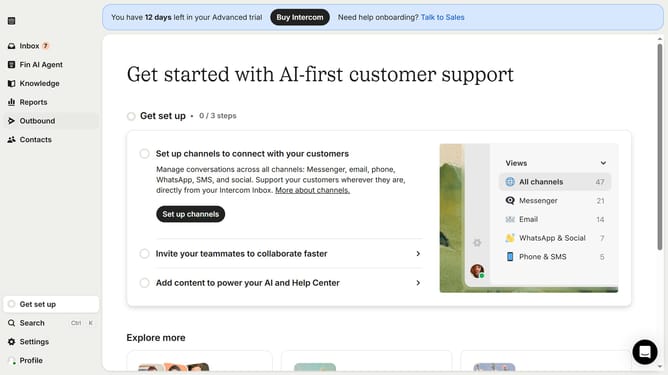
- First click on "Outbound" in the left sidebar menu
- Then click on the "New message" button in the top right corner of the Messages section
- Next click on the "Workflow" template option from the available templates
- Then click on the scheduling toggle switch to enable workflow scheduling
- Next click on "Custom date" under the Stop sending section
- Finally select the stop date and time in the custom date picker
Why should you set a stop date for sending a workflow in Intercom
Intercom is a versatile customer communication platform designed to streamline interactions and support.
Setting a stop date for sending a workflow in Intercom provides users with precise control over their communication strategies.
By defining a specific ending point for messages, businesses avoid sending outdated or repetitive content, ensuring relevance and engagement.
This feature enhances campaign effectiveness by aligning communication with campaign timelines and customer journeys.
Last update