How to save changes in Webflow?
Here is how to save changes in webflow
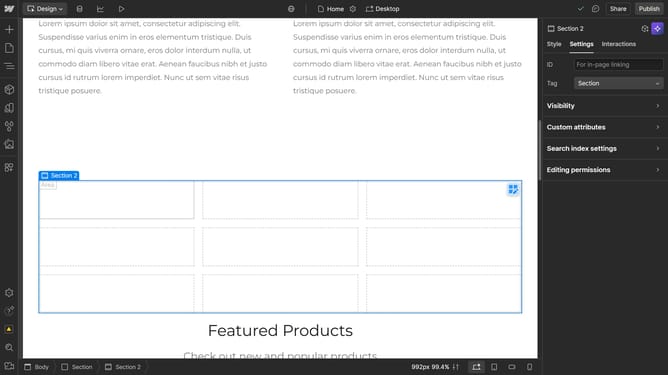
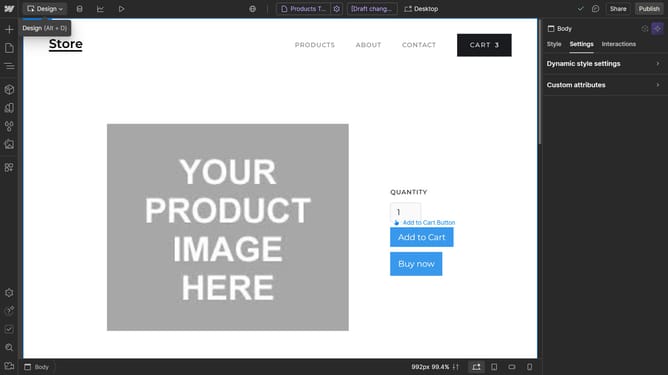
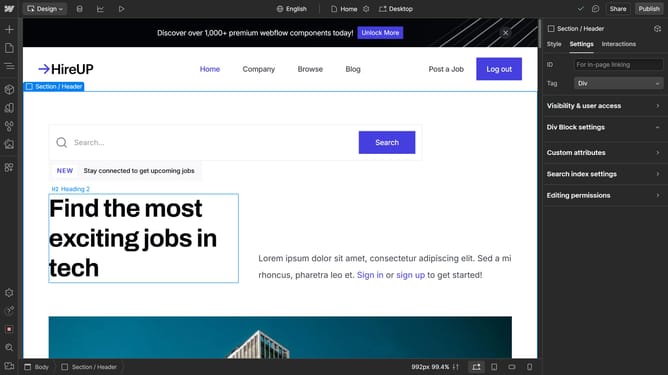
- First, be aware that Webflow automatically saves changes as you work, so there’s no need to manually save most of them
- Some panels and windows specifically for settings will have a "Save button" to save your changes, such as this page settings page
- In the top-right corner, you’ll see a save icon. You can verify that changes are saved by hovering over it
- You can also manually save your work by pressing "Ctrl+Shift+S" (Windows)
- Then give your save a name and click on the save button
- Next, click on the "Settings" panel in the left sidebar
- Click on "Backups"
- You can confirm that the backup save you created is available
- Next, click on the three dots
- Finally, select either '"Restore" or "Rename"
Why should you save changes in Webflow?
Webflow is a dynamic platform empowering designers to craft visually engaging websites without extensive coding.
Saving changes in Webflow is a streamlined experience that ensures all your creative adjustments are securely stored. Every action you perform is auto-saved incrementally, allowing you to focus more on design and less on remembering to click save.
This feature not only enhances productivity but also preserves every tweak, guaranteeing that none of your innovative ideas are lost. Such a reliable system instills confidence, enabling a seamless workflow where your evolving creativity is effortlessly documented and retrievable.
Last update