How to make your facebook social card in Mailchimp
Here is how to make your facebook social card in mailchimp
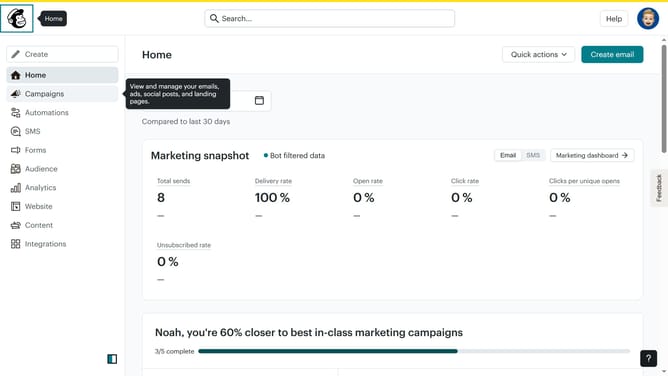
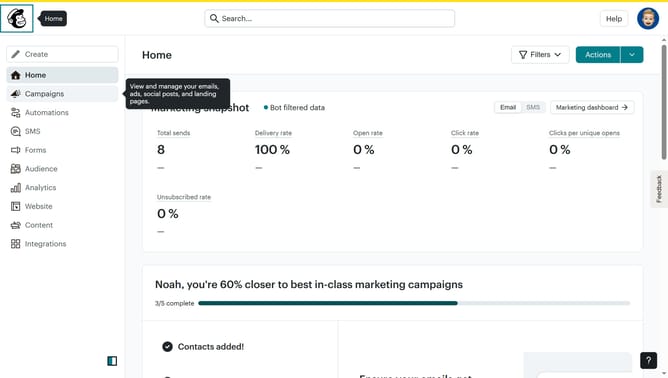
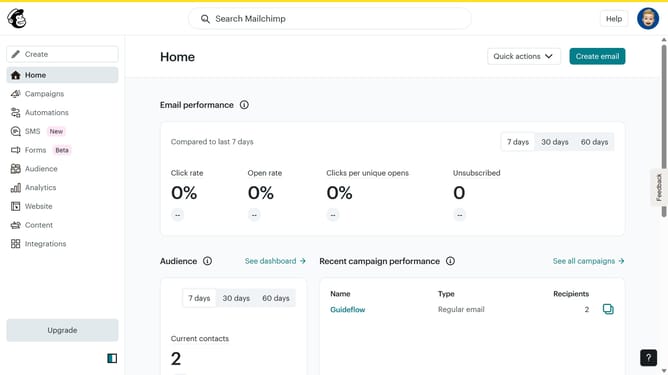
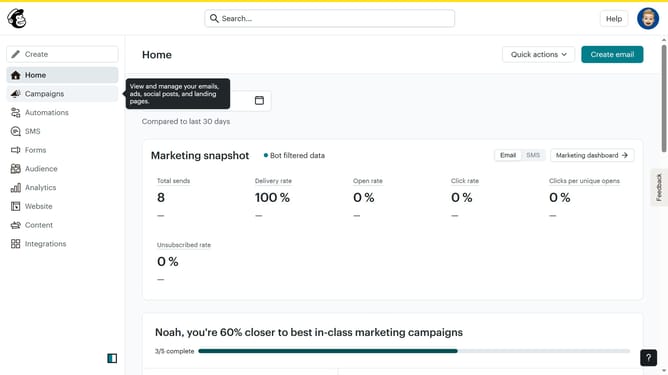
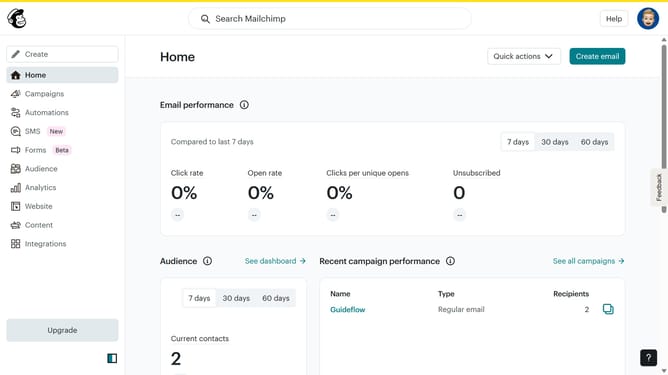
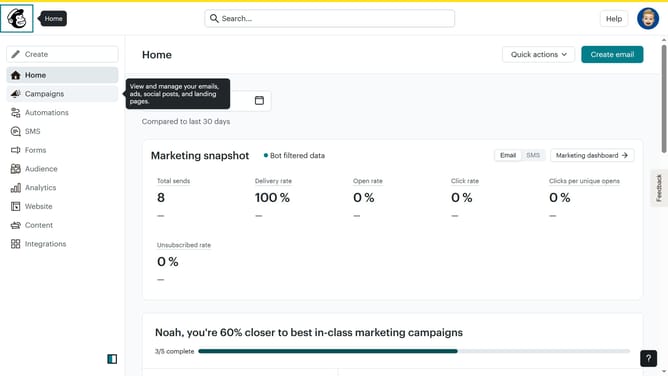
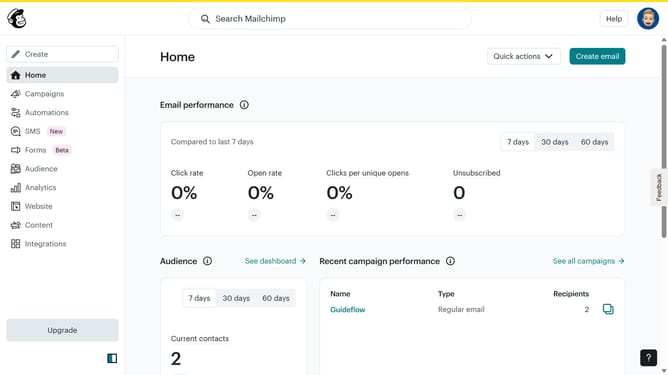
- First click on the "Campaigns" item in the left sidebar menu
- Then click on "Plain Text Email" in the campaigns list
- Click on "Preview and Test" dropdown button in the top navigation bar
- Select "Social Cards" option from the preview dropdown menu
- Click on "Facebook" tab in the social cards preview window
- Click "Upload an image" link in the Featured Image section
- Select the app icon image from the Content Studio library
- Click the "Move To" button in the top toolbar
- Click and enter the Title of your social account in the input text field
- Click and type the description of your image in the description text field
- Finally, click the "Save & Close" button to save the social card settings
Why should you make your facebook social card in Mailchimp
Mailchimp is a robust platform designed to simplify your marketing efforts.
With the ability to create a Facebook social card in Mailchimp, you can easily enhance your social media presence.
This feature allows for seamless integration, offering a visually cohesive and engaging presentation on Facebook when you share your email campaigns or landing pages.
Using Facebook social cards helps to attract attention, increase engagement, and maintain brand consistency across multiple platforms.
Last update