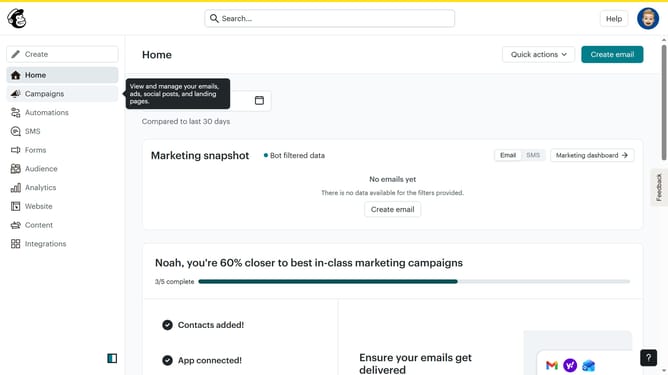
How to insert a divider block in an email in Mailchimp
Here is how to insert a divider block in an email in mailchimp
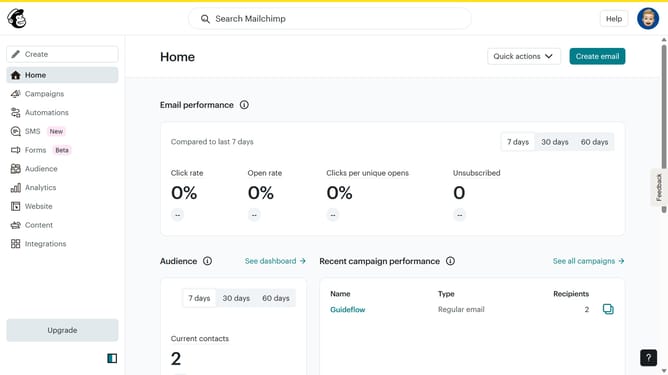
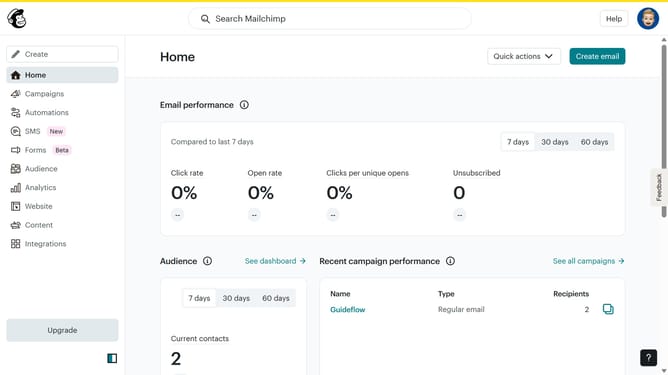
- First click on the "Campaigns" menu item in the left sidebar
- Then click on the "Edit" button next to the Testing Email campaign
- Next click on the "Edit design" button in the email preview panel
- Next click and drag on the "Divider" block in the left sidebar blocks menu
- Then click on the Style dropdown menu in the left sidebar settings panel
- Next select the "Dotted" style option from the dropdown list
- Finally adjust the divider thickness using the slider in the left sidebar settings panel
Why should you insert a divider block in an email in Mailchimp
Mailchimp is a versatile platform designed to streamline email marketing and enhance engagement.
Inserting a divider block in a Mailchimp email can significantly elevate your email design. This simple feature allows you to create visual breaks between sections, enhancing readability and organization.
The benefits are clear: your content becomes more accessible and visually appealing, capturing and maintaining the reader’s attention. It’s a subtle yet powerful tool to enhance the overall impact of your email communications.
Last update