How to export datasets with Zendesk Explore
Here is how to export datasets with zendesk explore
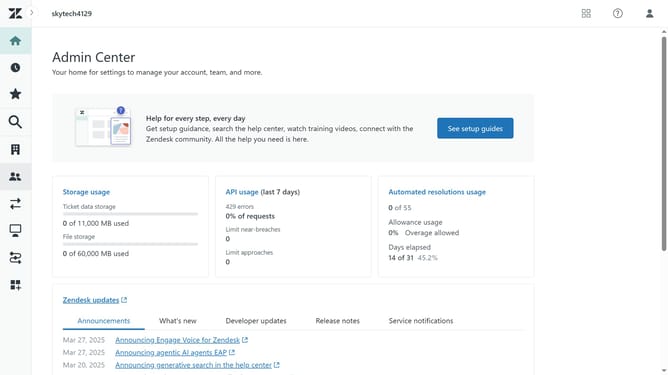
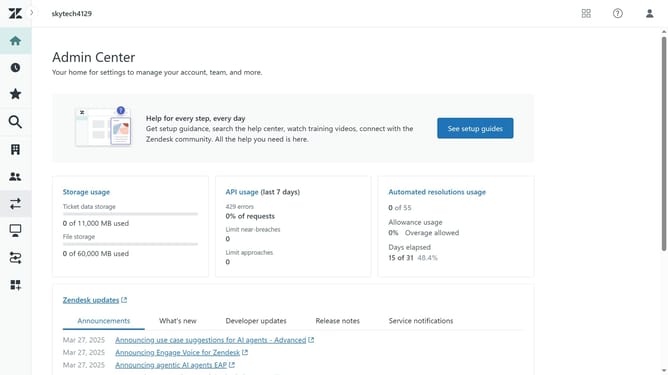
- First in Zendesk Explore, click on the "Export" icon in the left sidebar
- Then choose between "Create recurring export" for regular, scheduled exports or "Create one-time export" for a one-time export
- Click on the "Select" dropdown in the Dataset field
- Select the dataset you want to export from the dataset dropdown menu
- Click on the Time dropdown menu
- Select the time period the data should cover from the time period dropdown
- Click the "Create" button in the bottom right corner to start the export process
- Then you’ll receive an email when the exported CSV file is ready to download
- Finally you can now download the file by clicking on the "Download" button
Why should you export datasets with Zendesk Explore
Zendesk is a premier customer service software that streamlines customer interactions for businesses.
Exporting datasets with Zendesk Explore provides invaluable insights into support metrics. With just a few clicks, you can turn complex datasets into easy-to-analyze files, enhancing data transparency.
This feature allows businesses to make data-driven decisions quickly, facilitating the crafting of responsive strategies.
Embrace efficiency and visibility with Zendesk Explore's seamless dataset exporting capabilities, bridging gaps in your analytics journey.
Last update