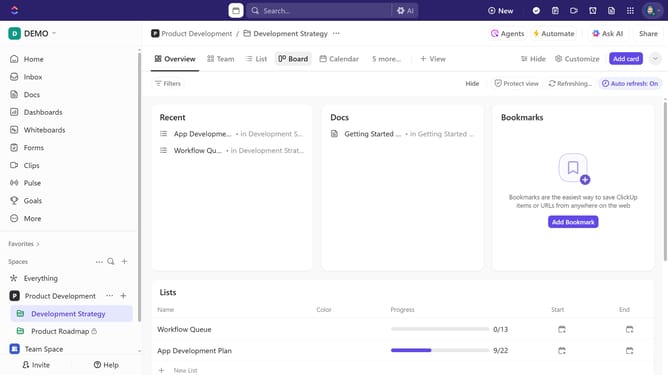
How to create an event from the toolbar in ClickUp
Here is how to create an event from the toolbar in clickup
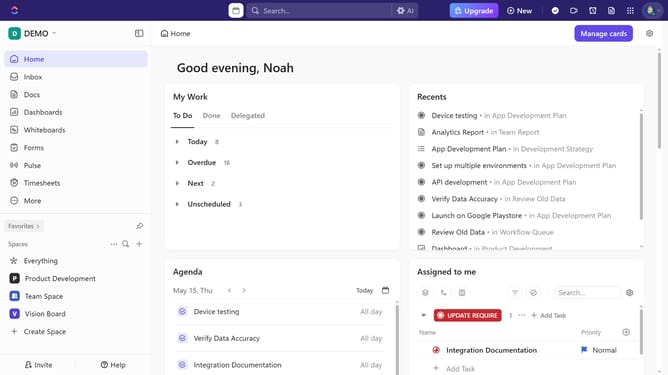
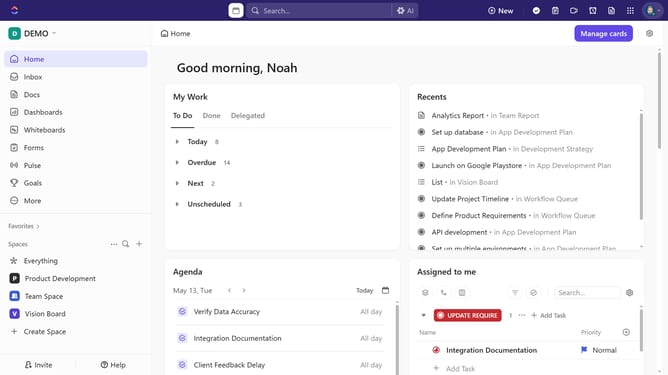
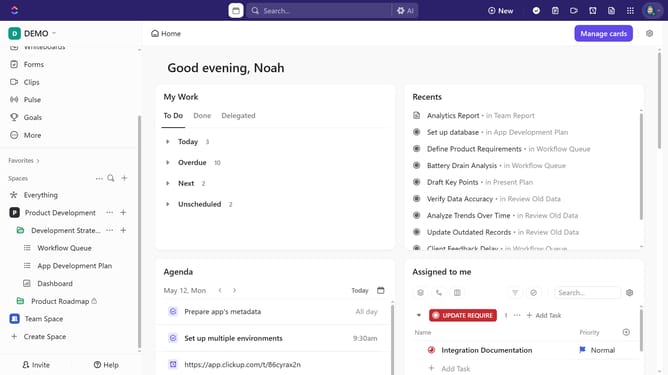
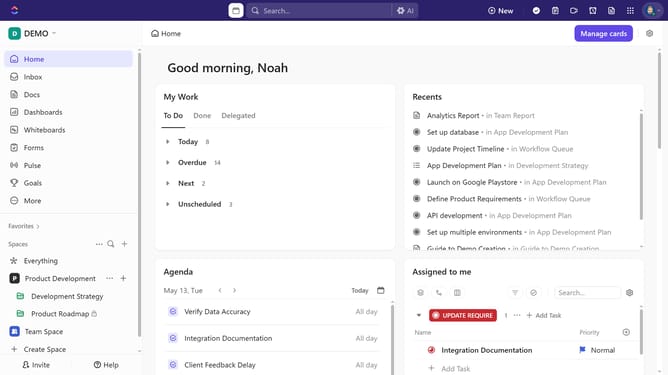
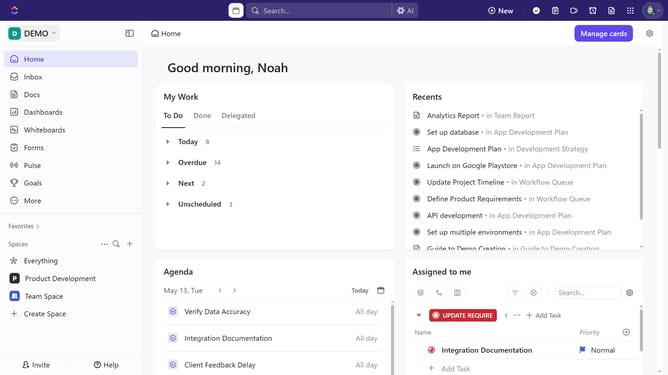
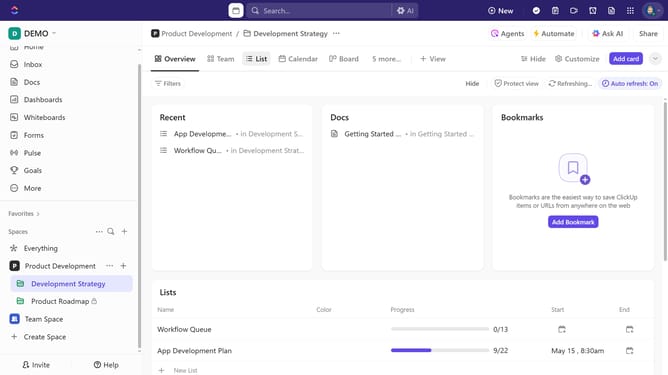
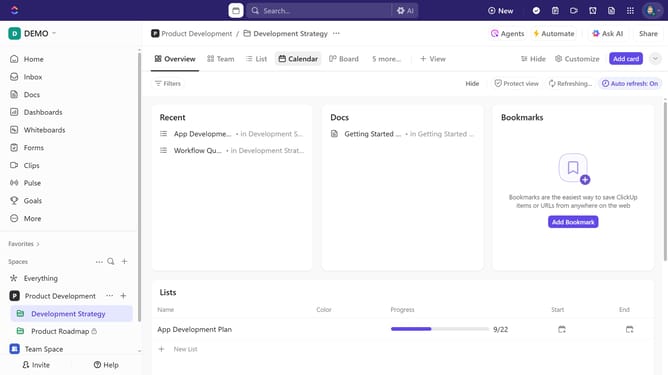
- First click on the Calendar icon in the toolbar to open the Calendar view
- In the Calendar view and click on the time slot where you want to create the event
- At the top, choose an event type using the tabs
- Enter a title for the event in the title field
- Then adjust time, add participants, link tasks or Docs, and use AI Suggestions if available. Add a short description for context
- Set privacy settings for the event if needed (public or private) and choose the transparency level (e.g., free or busy)
- To add a reminder, click the notifications icon
- Next select an option from the notification dropdown menu
- Finally click on the "Send Invite" or "Save" button to save the event
Why should you create an event from the toolbar in ClickUp
ClickUp is a versatile productivity platform designed to streamline project management and team collaboration.
Creating an event from the toolbar in ClickUp simplifies scheduling, ensuring you never miss an important meeting or deadline.
This feature enhances efficiency by allowing quick event setup and easy access, promoting more organized workflows.
With seamless integration, it centralizes task management, helping teams stay on track while maintaining clarity and communication.
Last update