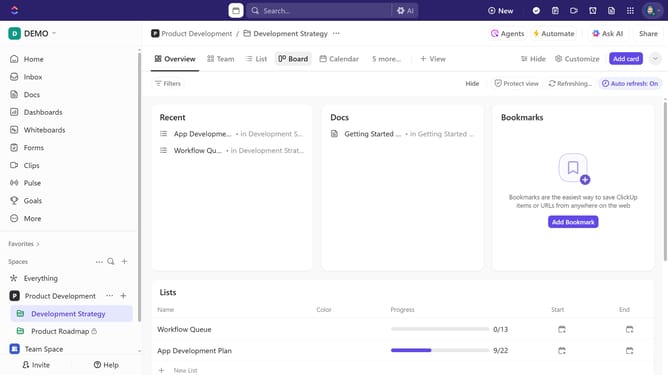
How to add a time entry from Timesheets in ClickUp
Here is how to add a time entry from timesheets in clickup
- First click the "Timesheets" in the left sidebar menu
- Locate the task where you want to add a time entry
- To the right of a task, hover over the date field and click the clock icon
- Next click on the "Enter time" field to add time manually
- Then enter the amount of time worked (e.g., 30m or 2h25m) and press "Enter"
- Select a date and time period to specify when the work was done.
- Mark the entry as billable or non-billable and add a note or time tracking tags if needed
- Finally, click the "Save" button to save the time entry
Why should you add a time entry from Timesheets in ClickUp
ClickUp is an all-in-one productivity platform designed to streamline project management and enhance team collaboration.
Adding a time entry from Timesheets in ClickUp allows you to effortlessly track the duration spent on various tasks. This feature is instrumental in maintaining an accurate workflow, ensuring every minute is accounted for without missing crucial deadlines.
By leveraging Timesheets for time entries, teams can efficiently allocate resources and gauge productivity, making it an invaluable tool for optimizing project timelines and maximizing efficiency.
Last update