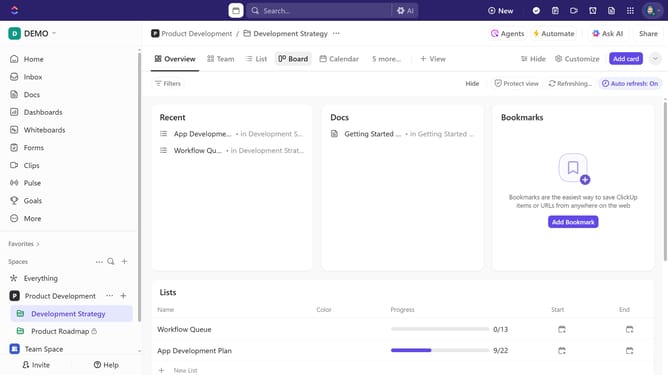
How to add a time entry from the toolbar in ClickUp
Here is how to add a time entry from the toolbar in clickup
- First click the time tracking icon pinned in the toolbar to open the Track Time modal
- Next click the "Select task" dropdown in the time tracking panel
- From the task list dropdown, choose the task where you want to add a time entry
- Click on the "Enter time" field to add time manually
- Then enter the amount of time worked (e.g., 30m or 1h15m) and press "Enter"
- Next select a date and time range to specify when the work was done
- Mark the entry as billable or non-billable and add a note or time tracking tags if needed
- Finally, click the "Save" button to save the time entry
- Your time entry has been added successfully, ensuring precise tracking for your task
Why should you add a time entry from the toolbar in ClickUp
ClickUp is an all-in-one productivity platform designed to revolutionize how teams collaborate.
One of its standout features is the ability to swiftly add a time entry directly from the toolbar, streamlining time management processes.
By utilizing this feature, users can easily track their hours, ensuring tasks are completed efficiently and deadlines are met without fuss.
This not only boosts productivity but also provides valuable insights into project durations, enhancing overall organizational effectiveness.
Last update