How to create a validation rule in Salesforce
Here is how to create a validation rule in salesforce
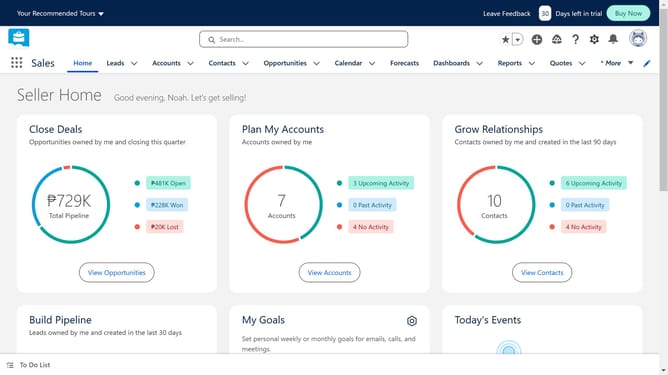
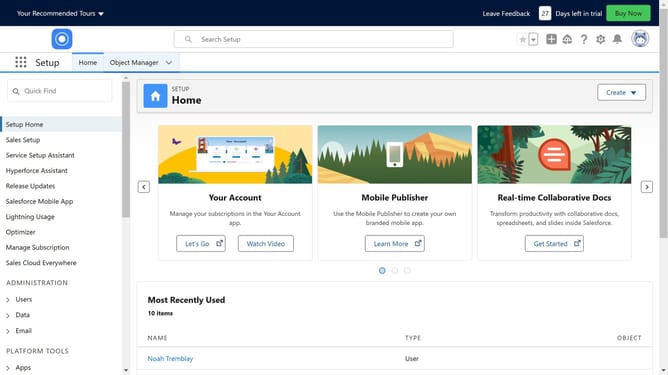
- First click on "Object Manager" in the top navigation bar
- Go to the object where you want to enforce the rule on
- Find the "Validation Rules" section and click on it
- Click the "New" button in the top right corner
- Give your rule a clear name
- Select "Active" to make the rule enforceable
- Use the formula builder to define the criteria that must be met to avoid an error message
- Craft a clear message displayed to users when the validation fails
- Finally click on "Save" button at the bottom of the form
Why should you create a validation rule in Salesforce
Salesforce is a powerful platform designed to enhance customer relationship management and streamline business processes.
Creating a validation rule in Salesforce ensures that your data remains accurate and consistent. This feature checks the information entered into your system against specified criteria, preventing incorrect data from being saved.
By implementing validation rules, you maintain high-quality data, reduce errors, and ensure compliance with company standards. This leads to improved decision-making and operational efficiency.
In essence, validation rules empower your team to work smarter, fostering a more reliable and trustworthy data environment.
Last update