How to create a public link for a dashboard in Zendesk Explore
Here is how to create a public link for a dashboard in zendesk explore
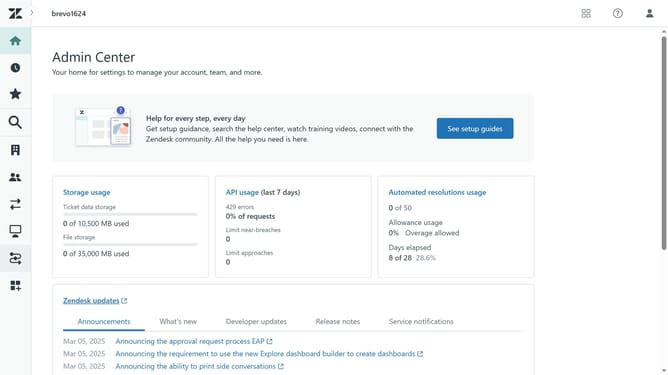
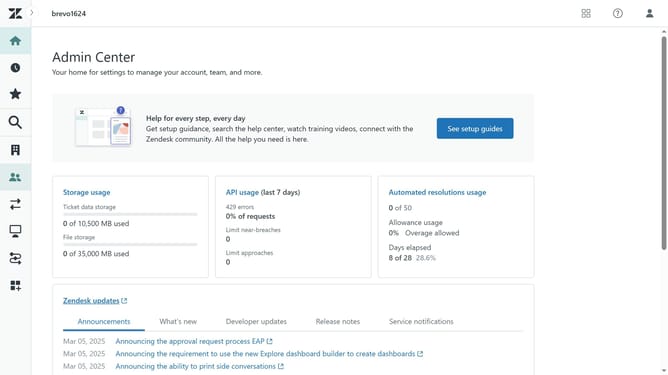
- First in Zendesk Explore, click on the "Dashboards" icon in the left sidebar
- Then click on the "My dashboards" tab in the dashboard list
- Next find the dashboard you want to create a public link for
- Click on the dropdown arrow next to the "Save" button in the top right
- Select "Get link" option from the share menu
- In the Create link dialog, click on the "Access type" dropdown menu
- Select your desired access options from the available access type options
- Check the "Protect with password" checkbox to password-protect the dashboard
- Enter the desired password in the password input field
- Then click the "Create link" button to generate the shared link
- A public link will be generated. Copy this link to share the dashboard with anyone
- Finally click "Done"
Why should you create a public link for a dashboard in Zendesk Explore
Zendesk is a powerful tool designed to enhance customer service and streamline support interactions.
Creating a public link for a dashboard in Zendesk Explore is an invaluable feature that allows you to share insights effortlessly. This feature enables you to make your data more accessible, fostering collaboration without the need for complex processes or permissions.
By generating public links, you can quickly distribute important data and insights outside your team, ensuring key stakeholders are always informed and engaged. Leveraging this simple tool can enhance transparency and drive informed decision-making across your organization.
Last update