How to add text labels to connection lines on Miro
Here is how to add text labels to connection lines on miro
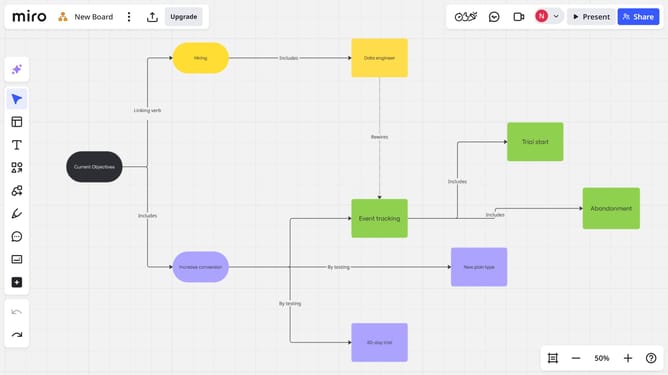
- First, open your Miro board and select the connection line where you want to add a text label
- Then, double-click on the line to activate the text field and type your desired text
- Use the toolbar to edit the text as needed, such as changing the font, size, color, or alignment
- Finally, click outside the text box to save the changes. The label has been successfully added to the connection line
Why should you add text labels to connection lines on Miro
Miro is an innovative online collaborative whiteboard platform designed to unleash team creativity and boost productivity.
By adding text labels to connection lines on Miro, you enhance clarity and communication, making your visual diagrams more informative and insightful.
This feature supports teams in articulating relationships and processes clearly, fostering effective collaboration and efficient decision-making.
Utilizing text labels enriches your visual storytelling, ensuring every connection is meaningful and contributes to an engaging, comprehensible narrative.
Last update