How to add and remove dates on a card in a Miro board
Here is how to add and remove dates on a card in a miro board
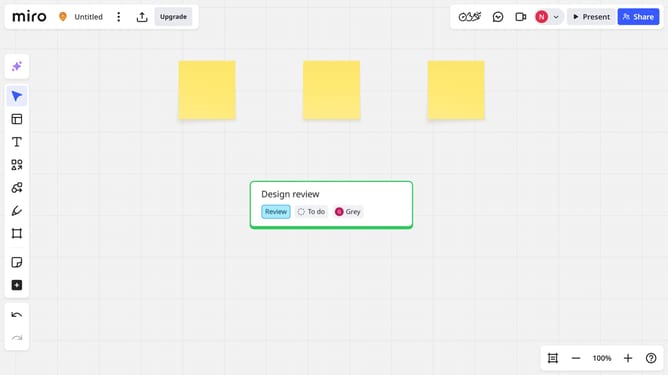
- First locate the card you want to add a date
- Click on the "Calendar" icon in the toolbar menu that appears
- Next look for the “Start date” and “Due date” field
- Then click on it and choose a date from the calendar picker
- To remove a date, click the “X” to remove it if needed
Why should you add and remove dates on a card in a Miro board
Miro is an intuitive online collaborative whiteboard platform that empowers teams to brainstorm, strategize, and execute projects together.
One of its dynamic features is the ability to add and remove dates on a card, boosting project organization and time management.
By assigning dates, users can prioritize tasks and track deadlines seamlessly, ensuring everyone stays aligned on timelines.
Removing dates when no longer needed keeps the board tidy and relevant, enhancing overall productivity and focus.
Last update