How to add an area to a grid in Webflow
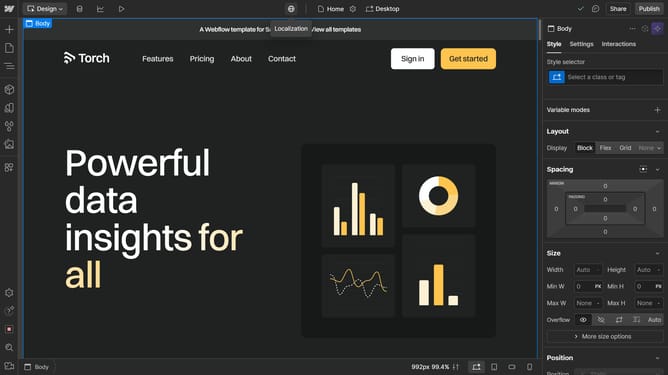
Here is how to add an area to a grid in webflow
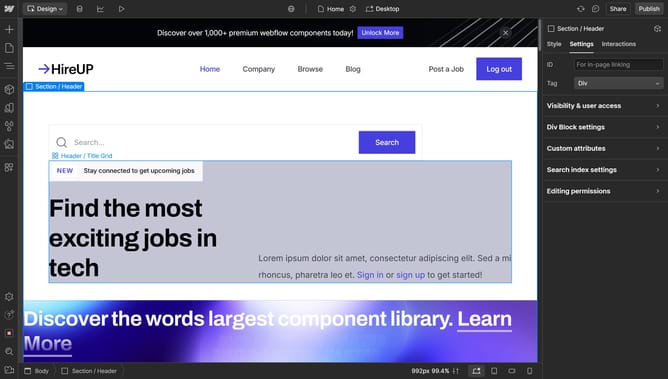
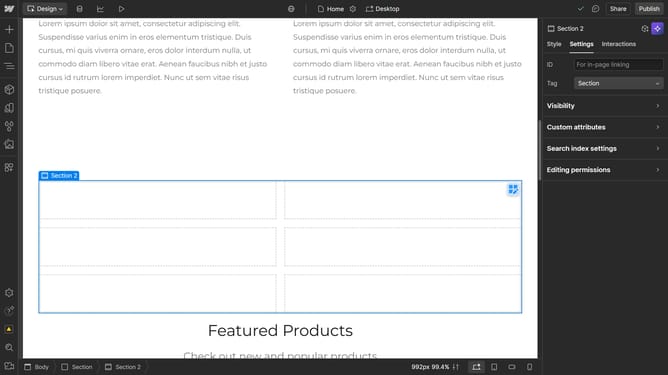
- First click the element with the grid layout to start editing
- Then click on "Style" tab in the right sidebar
- Next click on "Layout" option in the style settings panel
- Then click on "Configure grid" button in the Layout section
- Next click on "Add areas" button in the Grid settings panel
- Finally click on the "Done" button
Why should you add an area to a grid in Webflow
Webflow empowers designers to build responsive websites visually, without coding.
Adding an area to a grid in Webflow enhances layout customization, offering seamless control over design elements. This feature simplifies complex design tasks by enabling precise placement and alignment of content, ensuring a cohesive aesthetic.
The flexibility of grid areas allows for dynamic and adaptive viewing across devices, ensuring an optimal user experience. By using this feature, designers can create professional-grade designs efficiently and effectively.
Last update