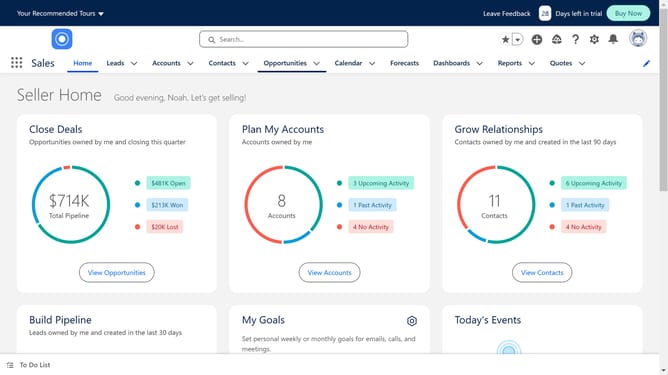
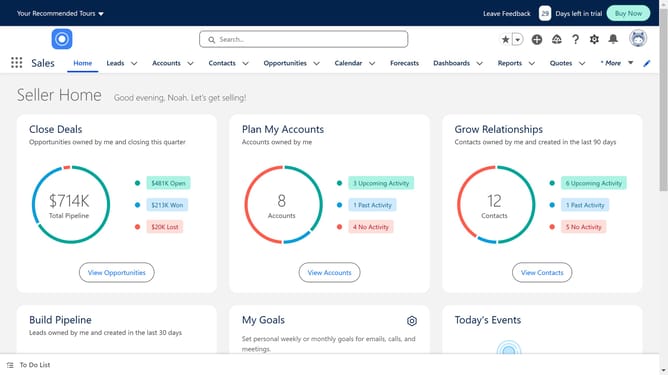
How to add a utility bar in Salesforce
Here is how to add a utility bar in salesforce
- First click on the gear icon in the top menu to open Setup menu
- Then click on "Setup" option in the dropdown menu
- Click on "Apps" item in the left sidebar menu
- Select "App Manager" from the expanded Apps menu
- From the list of apps, locate the Lightning app where you want to add the utility bar. And Click on the options button
- Click the "Arrow" button to open more options
- Click "Edit" option from the dropdown menu
- In the App Settings sidebar, click on "Utility Items (Desktop Only)" option
- Click the "Add Utility Item" button
- You'll see a list of available components you can add to the utility bar
- Finally, click the "Save" button to apply the changes
Why should you add a utility bar in Salesforce
Salesforce is a comprehensive platform designed to streamline and optimize customer relationship management.
Incorporating a utility bar into your Salesforce interface enhances workflow efficiency by giving users quick access to essential tools and features.
A utility bar boosts productivity by keeping critical applications just a click away, reducing the time spent navigating through multiple pages.
Utilizing this feature ensures that teams can maintain focus on their core tasks, resulting in quicker decision-making and a more organized workspace.
Last update