How to add a filter to an image in Webflow
Here is how to add a filter to an image in webflow
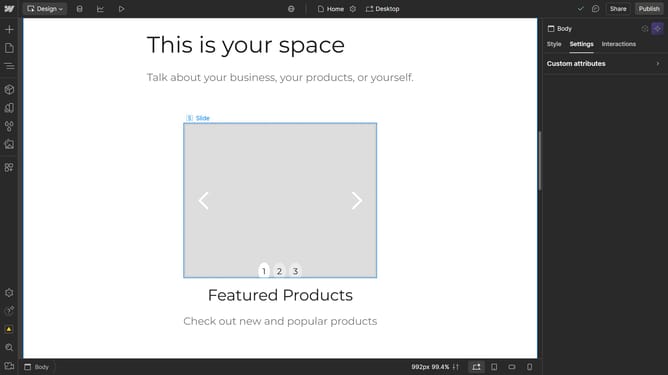
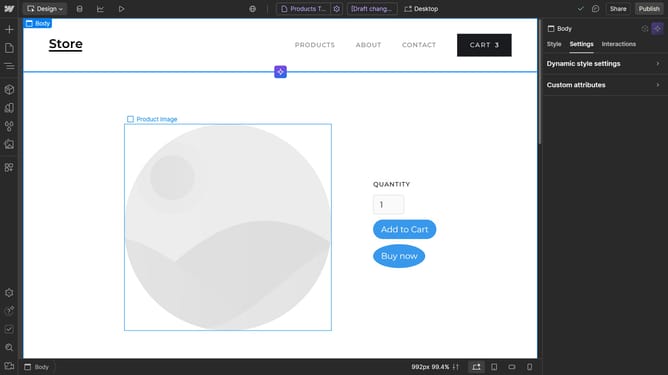
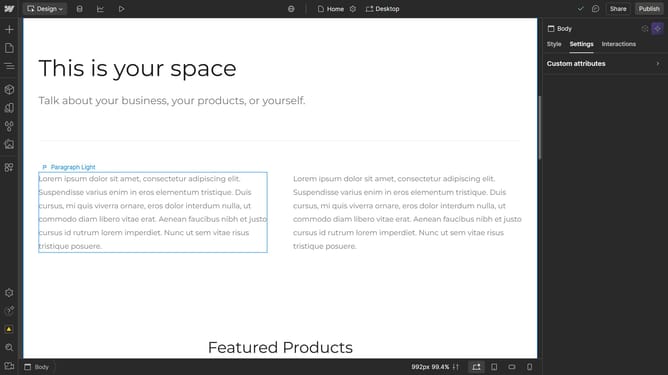
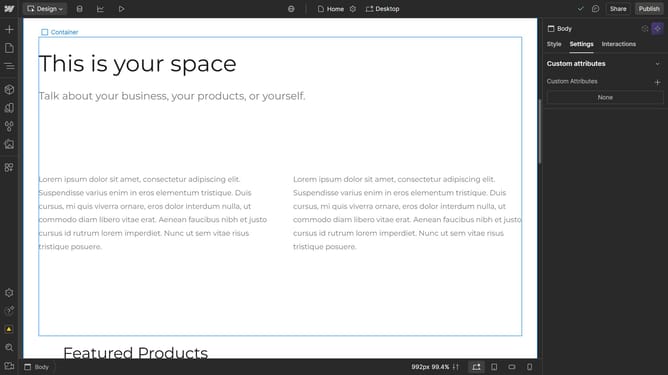
- First click on the image in the content area to select it
- Then click on the "Style" tab in the right sidebar
- Next click on the "Effects" section in the style panel
- Then click the "+" button next to "Filters" in the Effects panel
- ClClick the Filters dropdown menu
- Finally click the desired filter option from the dropdown menu
Why should you add a filter to an image in Webflow
Webflow is a powerful web design tool that combines the flexibility of a visual editor with the functionality of a CMS.
Adding a filter to an image in Webflow enhances visual appeal, allowing designers to experiment with aesthetics seamlessly.
Filters can emphasize the mood of your content, making the images more engaging and aligned with the brand's message.
Using Webflow's intuitive interface, incorporating filters becomes an effortless task, diversifying the design and boosting the site's overall impact.
Last update