How to style a shape in a Miro board
Here is how to style a shape in a miro board
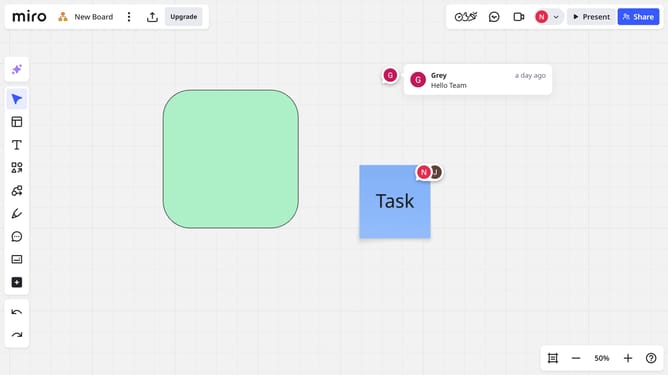
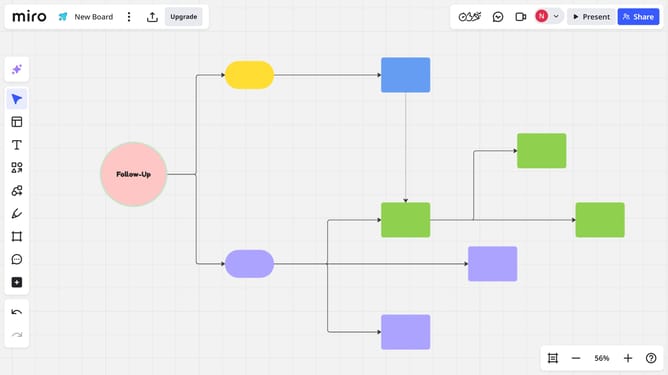
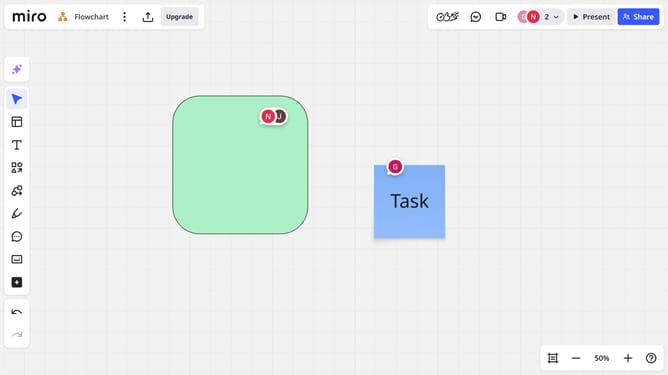
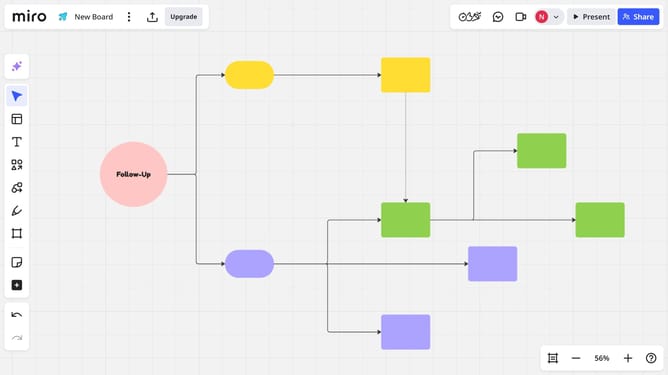
- First select the shape you want to style by clicking on it
- A formatting toolbar will appear near or above the selected shape
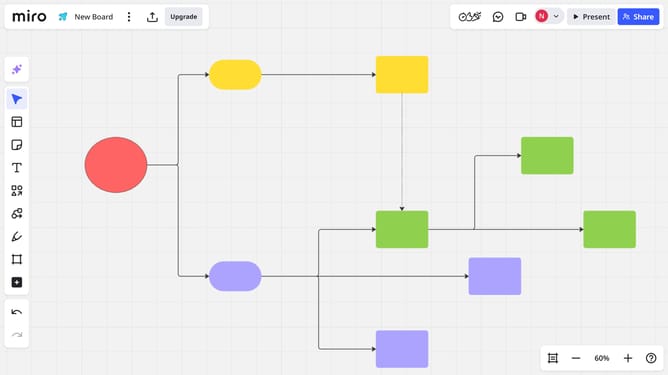
- Next click the fill color icon to change the opacity and the inside color of the shape
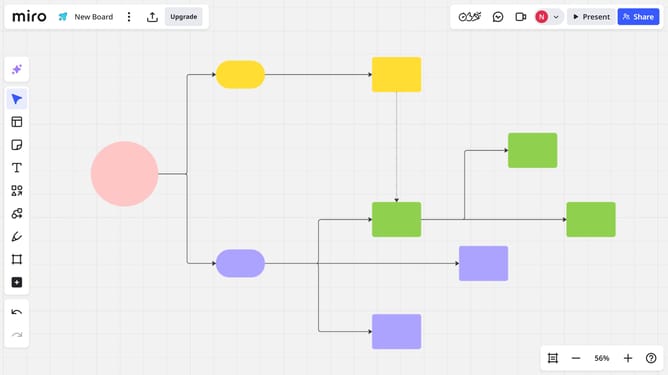
- In the color settings panel, locate the opacity option
- Use the opacity slider if you want to make the shape color more or less transparent
- Then choose a different border color if needed
- Next, click the "Border style" icon to customize the shape’s border appearance
- From the style menu, you can choose the line type and adjust the border thickness using a slider
- Next use the opacity slider if you want to make the border more or less transparent
- Then under the "Brand colors" section, select a different border color if needed
- The shape is now fully styled according to your preferences in the Miro board
Why should you style a shape in a Miro board
Miro stands at the forefront of digital collaboration, offering a versatile online whiteboard platform for teams.
Styling shapes on a Miro board enhances visual communication, making it easier to convey ideas clearly and creatively.
With its intuitive design tools, customizing shapes adds a personal touch, elevates the board’s appearance, and aligns with branding or presentation styles.
This feature supports visual learners, enabling brainstorming sessions to thrive, while also fostering a more engaging and interactive remote team environment.
Last update