How to set dates for a subtask in ClickUp
Here is how to set dates for a subtask in clickup
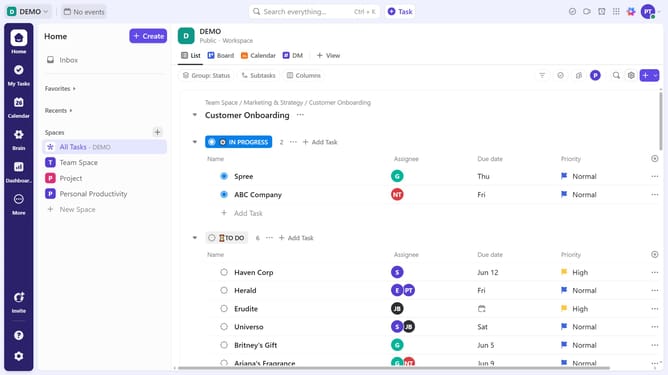
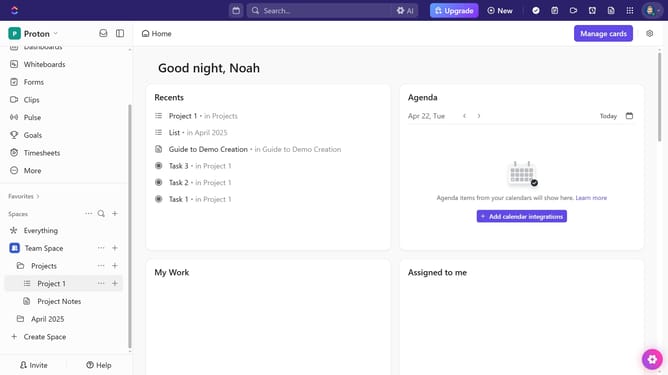
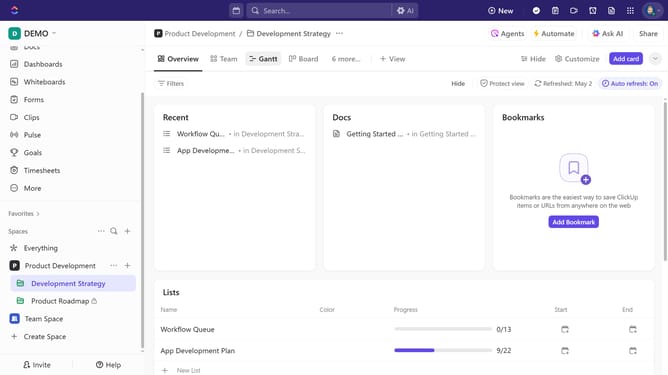
- First in the left sidebar, under the relevant Space, click on the Folder or List that contains the subtask
- Then in your preferred view, locate the task containing the subtask you want to set dates for
- Next click on the subtasks dropdown menu under the task
- Then in the expanded task list, click on the subtask to view its details
- Next click on the "Dates" field to open the date picker
- Finally in the date picker dialog, select the desired start date and due date from the calendar
- The subtask now has its start and due dates set, ensuring a clear timeline for completion
Why should you set dates for a subtask in ClickUp
ClickUp is an all-in-one productivity platform designed to streamline your workflow and enhance team collaboration.
One of its standout features is the ability to set dates for subtasks, allowing users to efficiently track and organize their workload. By setting specific dates, team members can clearly understand deadlines and allocate time effectively.
This feature helps prioritize work, ensuring that no task is overlooked. It supports team accountability and improves time management by breaking down larger projects into manageable chunks, keeping projects on track and stress-free.
Last update