How to set a stop date for sending a banner in Intercom
Here is how to set a stop date for sending a banner in intercom
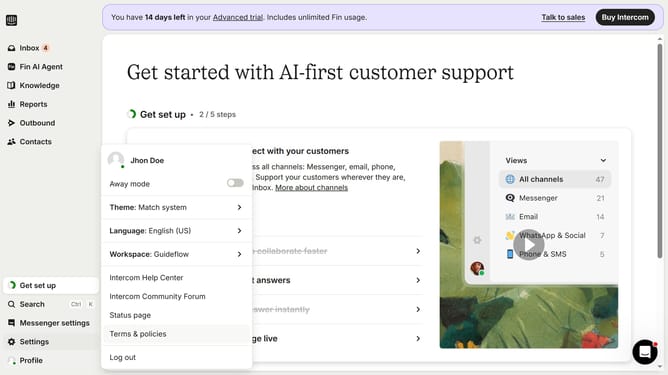
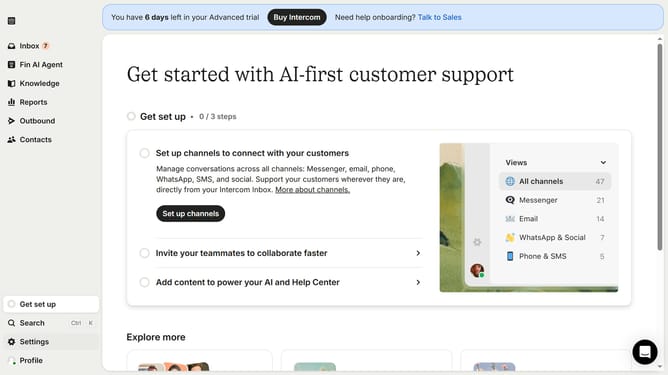
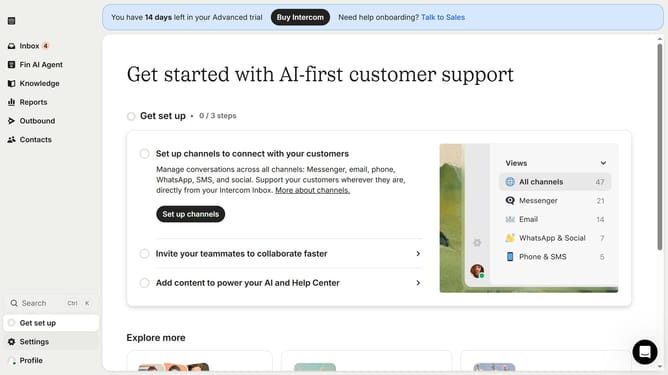
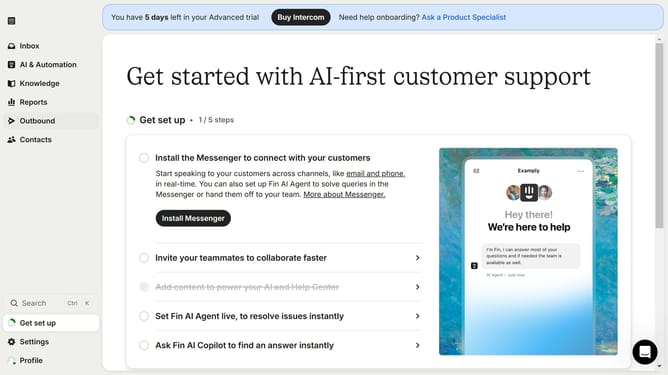
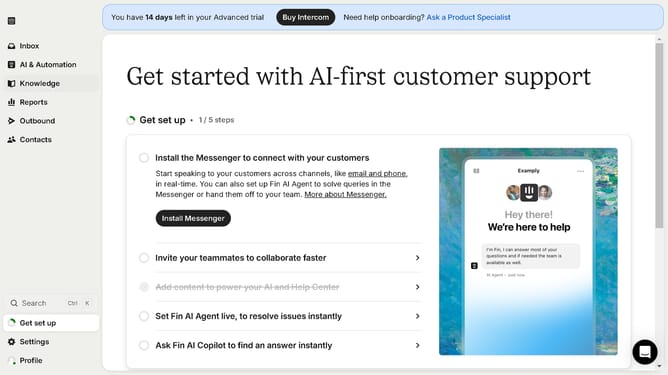
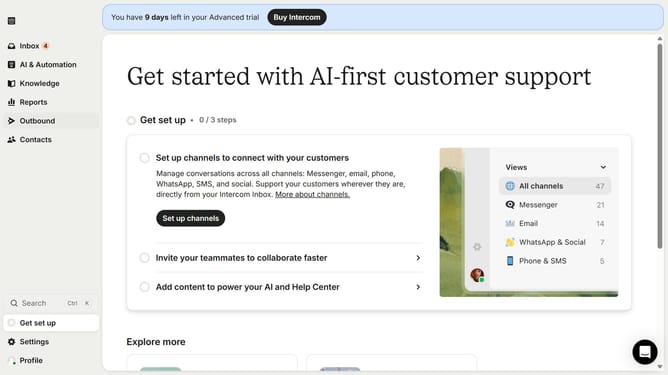
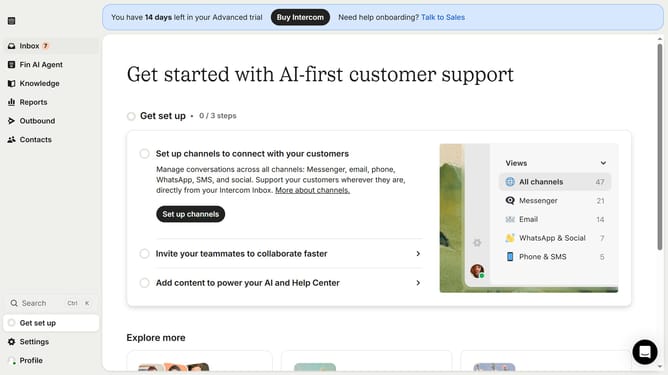
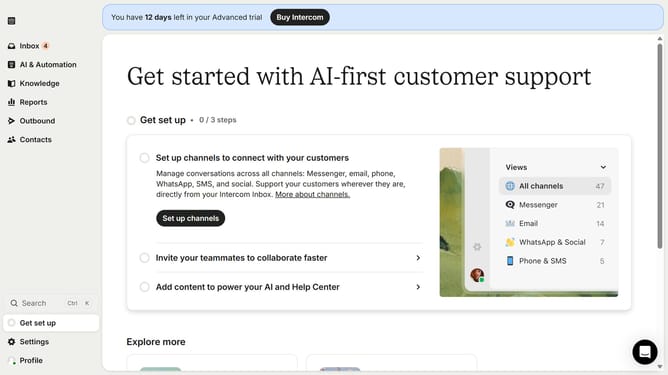
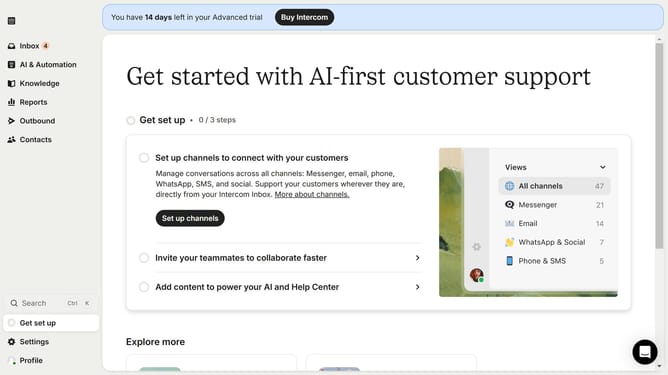
- First click on the "Outbound" option in the left sidebar menu
- Then click on the "New message" button in the top right corner of the screen
- Next click on the "Banner" template option in the message creation dialog
- Click on the "Frequency and scheduling" section to expand messaging options
- Select the "Custom date" radio button under Stop sending
- Finally select the stop date and time in the custom date picker
Why should you set a stop date for sending a banner in Intercom
Intercom is a powerful platform designed to streamline customer communication and boost engagement.
The feature to set a stop date for sending a banner is an invaluable tool within Intercom that enhances your message management capabilities.
By setting a specific stop date, users can orchestrate timely banner displays that align with campaign durations, ensuring information is relevant and concise.
This not only enhances user experience but also reduces the risk of outdated messaging, keeping communications fresh and targeted.
Last update