How to set a custom cursor for inactive links in Webflow
Here is how to set a custom cursor for inactive links in webflow
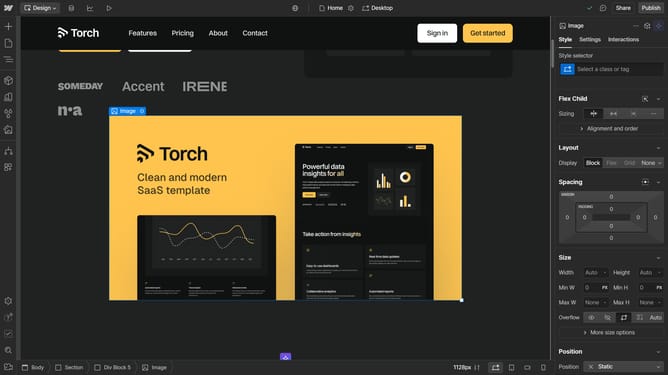
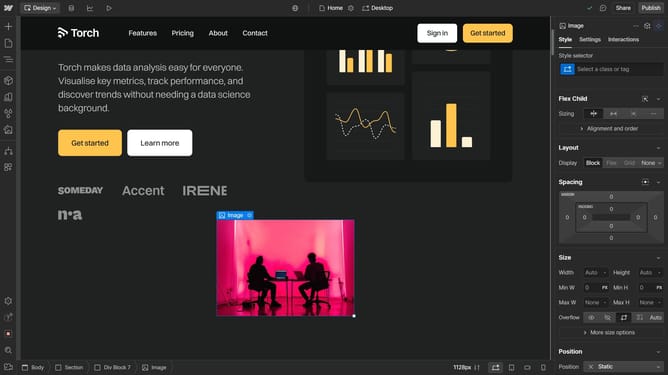
- First click on the button in the main content area
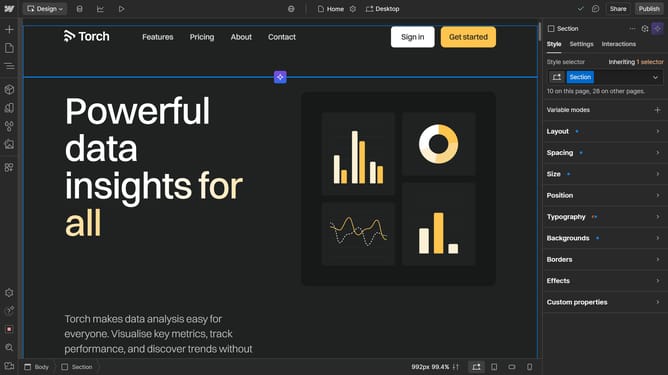
- Then click on the "Style" tab in the right sidebar
- Next click on the "Effects" section in the right sidebar settings panel
- Then click on the "Cursor" dropdown menu in the Effects section
- Finally select "not-allowed" from the cursor options dropdown menu
Why should you set a custom cursor for inactive links in Webflow
Webflow is a powerful tool that enables creators to design stunning websites without writing code.
One of its impressive features is setting a custom cursor for inactive links, enhancing user interaction and visual feedback.
This feature not only improves user experience but also clearly differentiates between active and inactive elements.
By using custom cursors, you can guide visitors intuitively, making your site more engaging and easier to navigate.
Last update