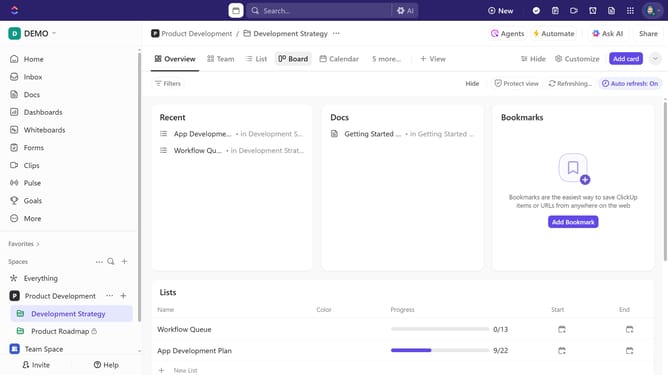
How to move a Timeline view in ClickUp
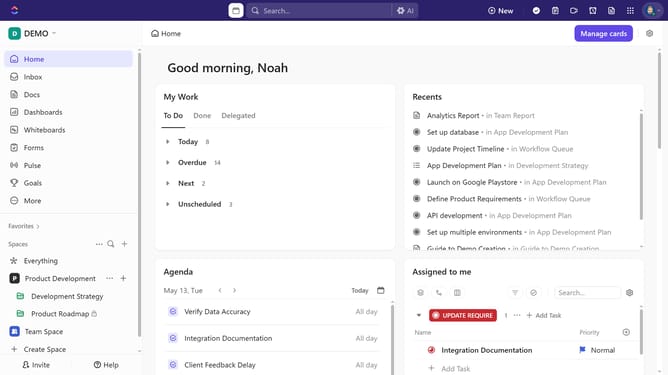
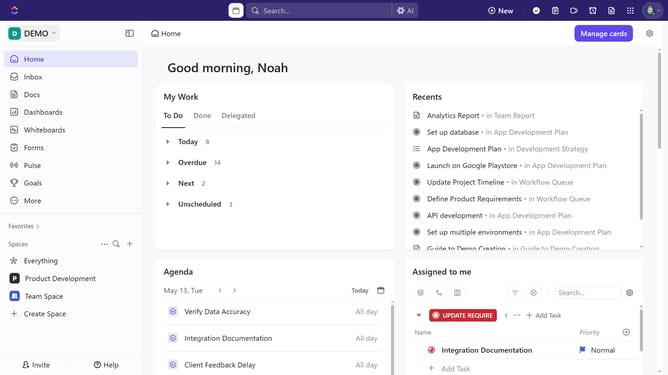
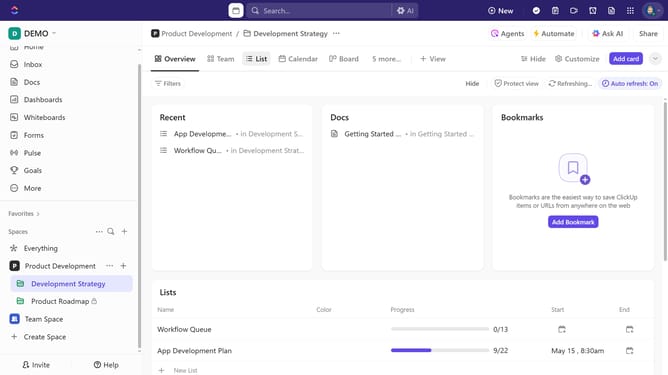
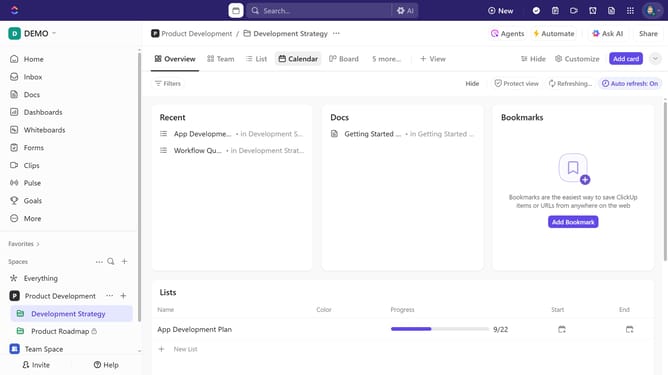
Here is how to move a timeline view in clickup
- First navigate to the Timeline view you want to move
- Next click on the settings icon in the top toolbar to open view settings
- Click on "Layout options" in the customization sidebar menu
- Then click on "Move view" option located at the bottom of the layout settings panel
- Finally select the new location where you want to move the Timeline view (Space, Folder, or List)
- You have successfully moved your Timeline view to a new location
Why should you move a Timeline view in ClickUp
ClickUp is a dynamic project management tool designed to help teams achieve more.
One of its standout features is the ability to move a Timeline view, offering users a seamless way to organize tasks visually.
This flexibility enhances productivity by allowing teams to adjust timelines according to project needs, ensuring everyone stays aligned and projects remain on track.
By easily rearranging the timeline, teams can adapt to changes swiftly, fostering an environment of efficiency and collaboration.
Last update