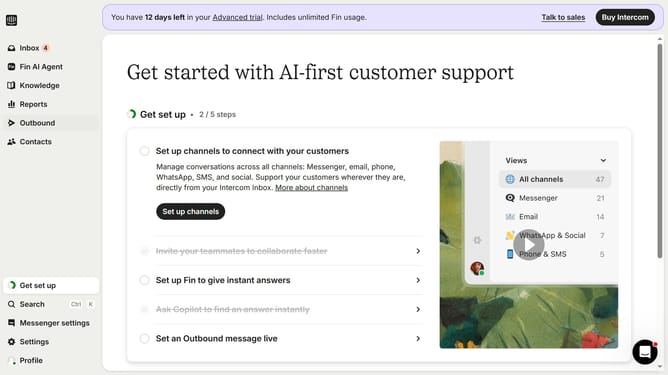
How to create custom inbox views on Intercom
Here is how to create custom inbox views on intercom
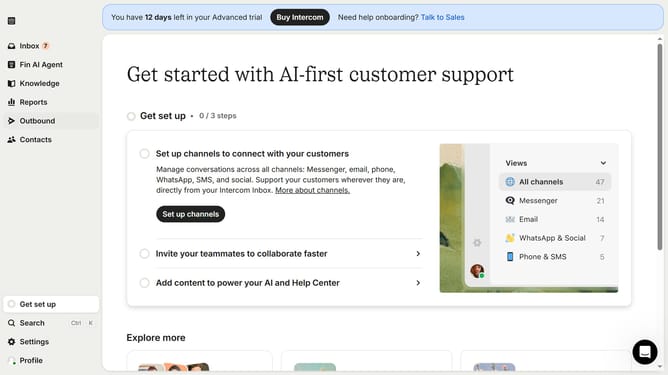
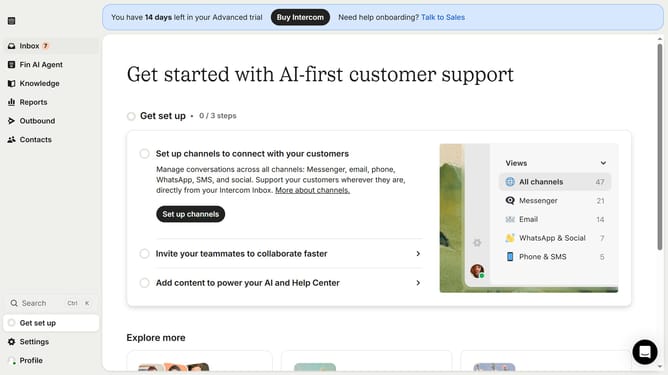
- First, click on the "Inbox" tab in the left sidebar
- Next, click on the "+" icon next to "Views" in the left sidebar
- Then, click on the "+ New view" button
- After that, enter a view name in the "Name your view" input field
- Then, click on the "+ Add filter" button
- Next, select from the filter options
- Then, click on the "Done" button
- Finally, click on the "Save" button to create the new view
Why should you create custom inbox views on Intercom
Intercom is a powerful platform designed to enhance customer communication and engagement.
Creating custom inbox views on Intercom allows users to tailor their workspace according to their specific needs.
This feature improves efficiency by enabling users to filter and organize conversations in ways that make sense for their workflow.
By having a personalized view, customer support teams can prioritize and handle queries more effectively, resulting in improved response times and higher customer satisfaction.
Last update