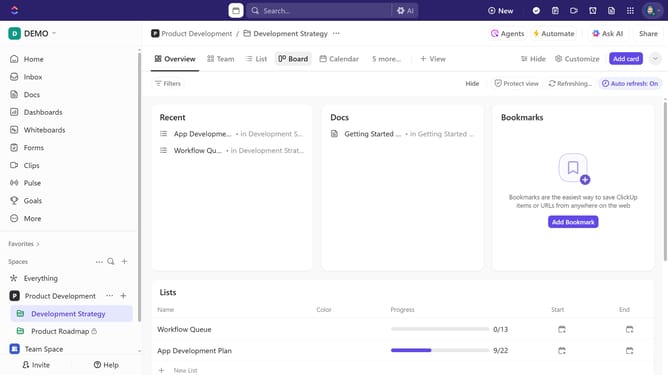
How to create a task from Table view in ClickUp
Here is how to create a task from table view in clickup
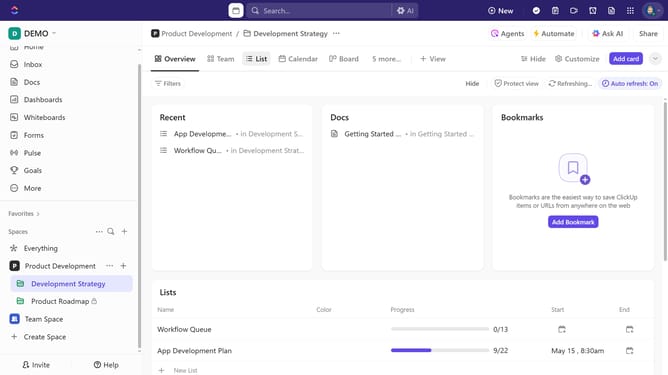
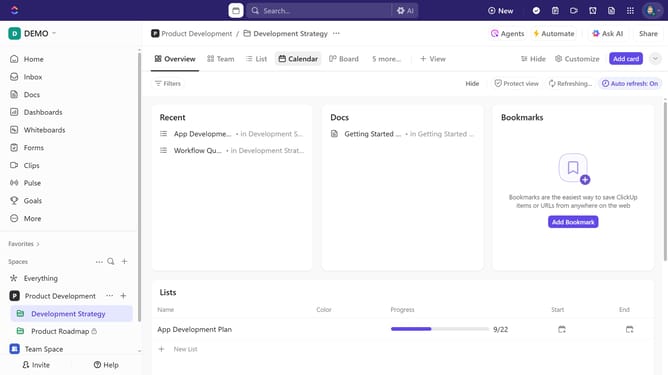
- First navigate to Table view from the views bar at the top
- Next click "+" button at the bottom of the table
- Then enter a name for the task in the new task input field
- Click the "Select List..." dropdown to choose a list
- Select a list from the list options
- Next, add additional details such as status, assignees, due date, and priority
- Finally click the "Save" button in the top right corner to create the new task
Why should you create a task from Table view in ClickUp
ClickUp is a versatile project management tool designed to streamline productivity and collaboration.
Creating a task from Table view in ClickUp brings a new level of convenience and efficiency. This feature allows users to swiftly add tasks directly within the organized and structured layout of a table.
By using this method, team members can maintain a clear overview of assignments and priorities without losing sight of project details. It enhances coordination by making task creation a seamless part of data management and strategy planning.
Last update