How to add image border in a landing page in Mailchimp
Here is how to add image border in a landing page in mailchimp
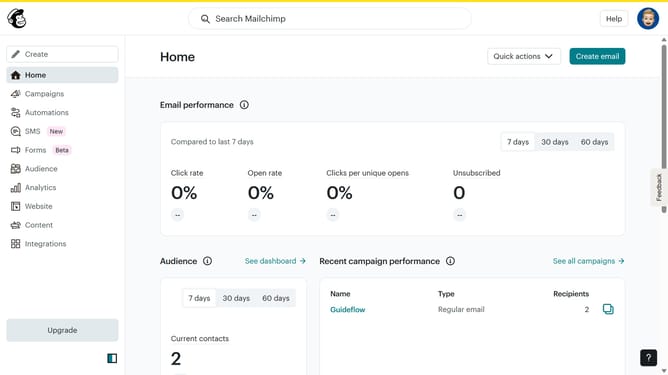
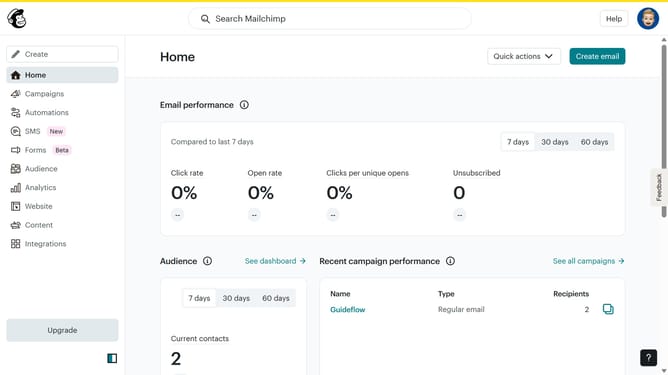
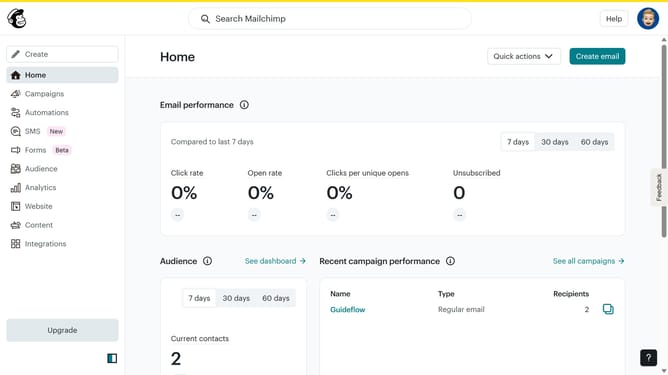
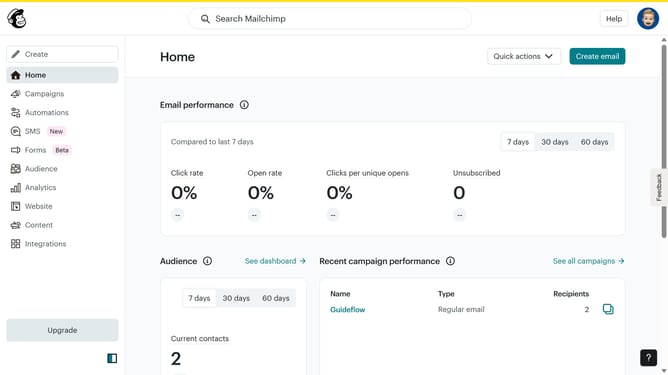
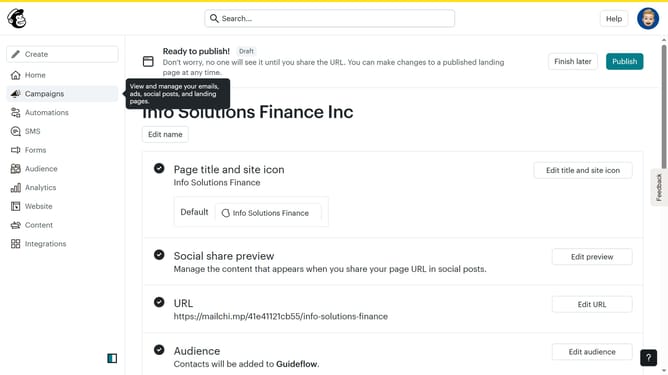
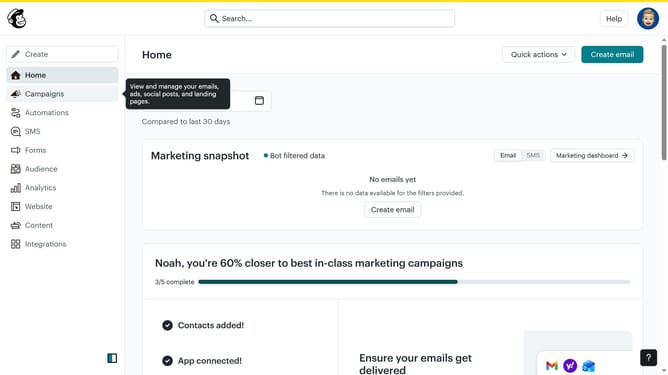
- First, click on the "Campaigns" item in the left sidebar
- Then, click on the "Edit" button
- Next, click on the "Edit design" button
- After that, click on the image of the first person that you want to manage
- In the right panel, click on the "Style" tab
- Then, click on the "Border" dropdown menu
- Next, select "Inset" from the list of border styles
- Finally, click on the "Save & Close" button
Why should you add image border in a landing page in Mailchimp
Mailchimp is an intuitive platform designed to enhance your marketing strategies through email campaigns and landing pages.
Adding an image border in a landing page within Mailchimp is a simple yet effective feature that can significantly enhance the visual appeal of your content. This function allows you to define the edge of images, making them stand out more prominently, attracting attention and improving engagement.
Utilizing image borders can create a more organized and professional look for your landing pages, potentially increasing viewer retention and conversion rates. A well-designed border can guide viewer focus and improve overall user experience.
Last update