How to add event buffers in Cal.com
Here is how to add event buffers in cal.com
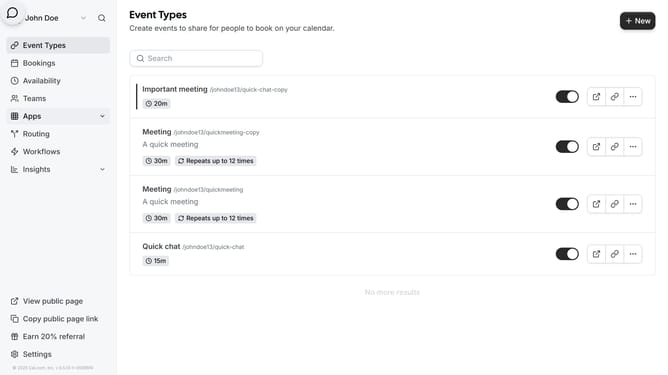
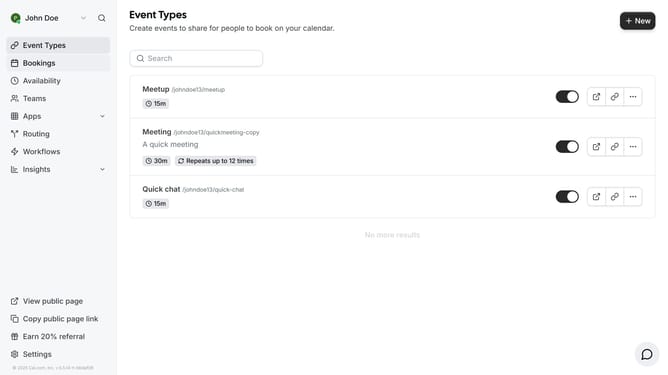
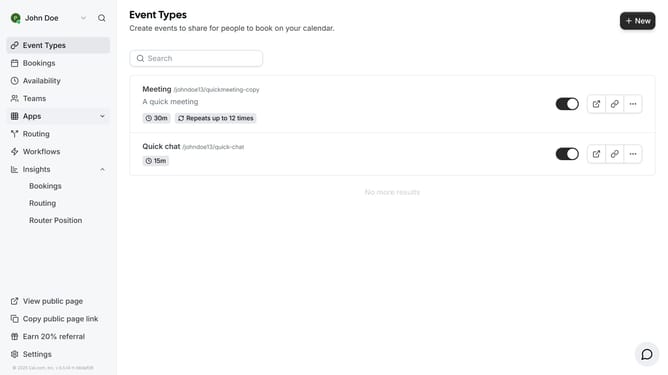
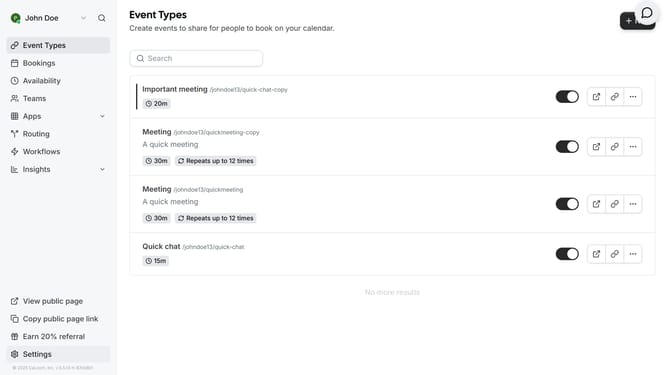
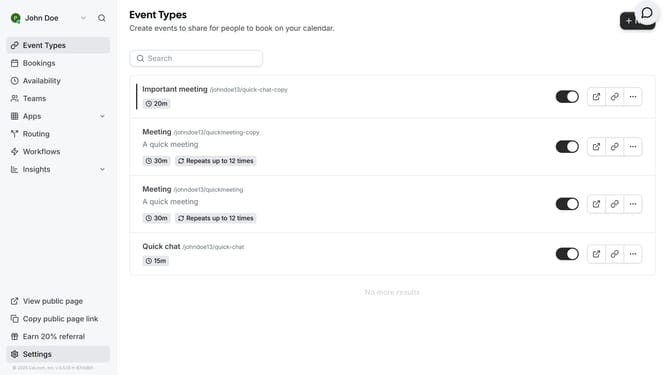
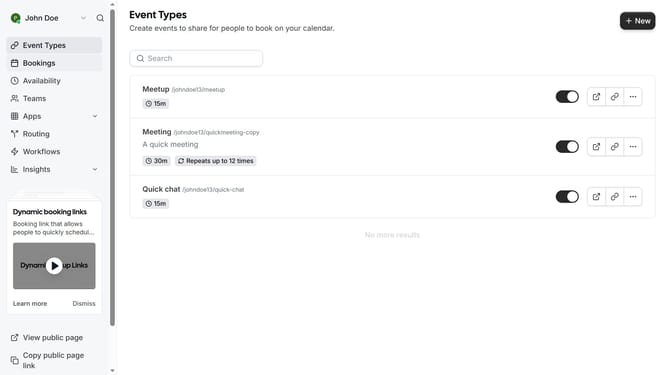
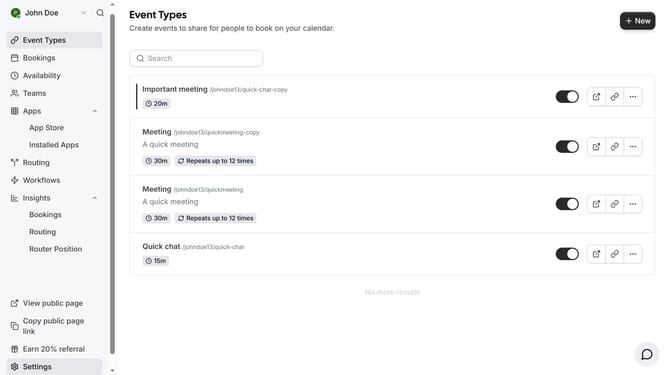
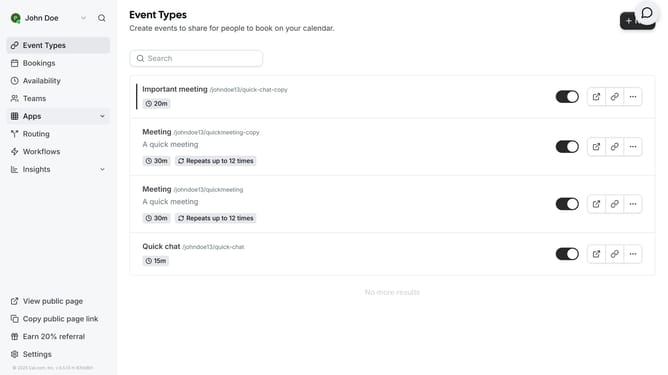
- First click on "Event Types" in the left sidebar menu
- Then click on an event you want to manage the buffer time in the main content area
- Next click on "Limits" option in the left settings panel
- In the dropdown for "Before event", click to open the buffer time options
- Select the preferred time from the buffer time dropdown for before event
- Click to open the "After event" buffer time dropdown menu
- Select the preferred time from the buffer time options for after event
- Finally click the "Save" button in the top right corner to apply the changes
Why should you add event buffers in Cal.com
Cal.com is a versatile scheduling platform designed to streamline appointment booking effortlessly.
The event buffer feature in Cal.com allows users to schedule breaks before and after appointments, enhancing productivity by preventing back-to-back meetings.
Adding event buffers ensures necessary downtime for preparation, recovery, or travel, contributing to better time management.
This thoughtful approach aids in maintaining focus and energy throughout the day, fostering a stress-free scheduling experience.
Last update