How to add a rule in an automation in Mailchimp
Here is how to add a rule in an automation in mailchimp
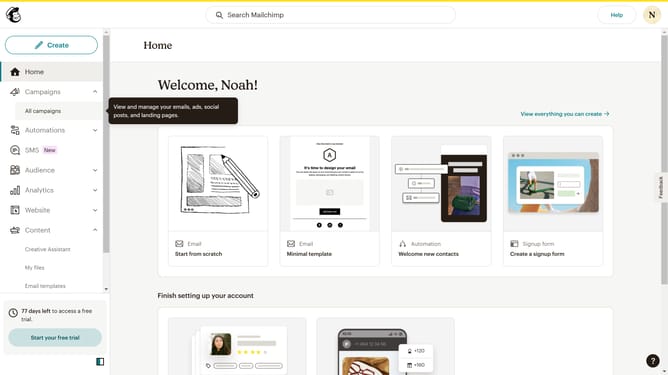
- First click on the "Automations" item in the left sidebar menu
- Next click on the "Finish Setup" button in the main automation flow screen
- Then click on the "If/Else" and "Split Path" options in the "Rules" section
- Next click on the "Add a step" button in the flow diagram
- Click on "Tags" option under the "How your contacts are tagged" section in the Segment Builder
- Click on the "Select or search a tag" dropdown in the filter configuration
- Click on "2025" tag from the available tag options
- Finally click on "Use segment" button to apply the selected filter
Why should you add a rule in an automation in Mailchimp
Mailchimp is a powerful platform designed to effortlessly create and manage targeted marketing campaigns.
Adding a rule in an automation on Mailchimp allows users to fine-tune their customer engagement strategies through personalized interactions.
This feature enables you to segment your audience, ensuring that messages are delivered at the perfect moment based on user actions or preferences.
By optimizing communication, you enhance customer satisfaction and drive greater results for your business.
Last update