How to add a minimum notice time for an event in Cal.com
Here is how to add a minimum notice time for an event in cal.com
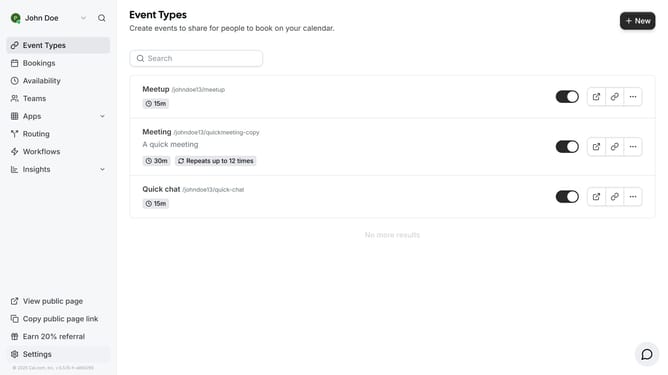
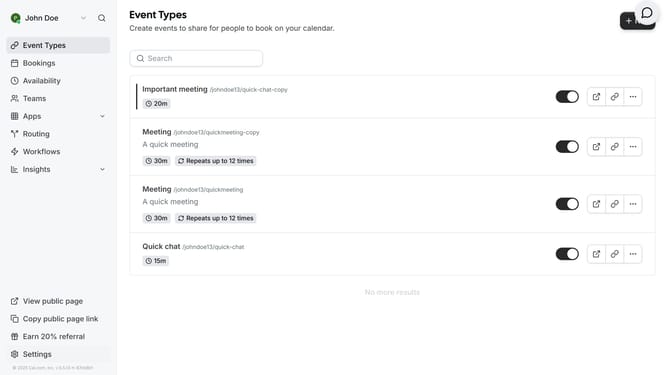
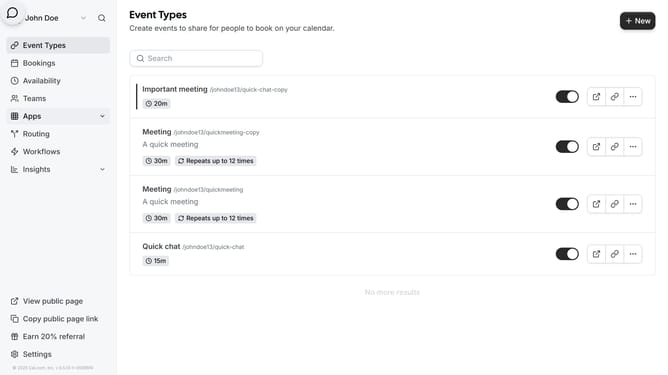
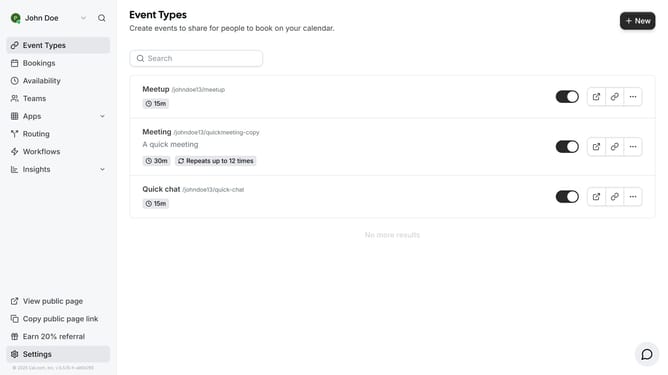
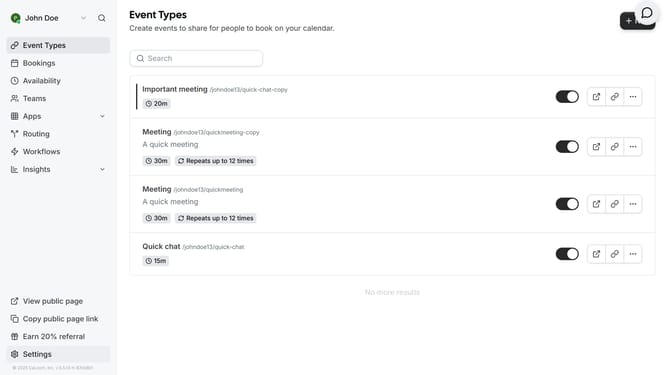
- First click on "Event Types" in the left sidebar
- Then click on an event in the event types list
- Next click on "Limits" option in the left settings menu
- Click on the time unit dropdown under the "Minimum Notice"
- Then select the preferred time unit from the dropdown menu
- Next click on the minimum notice time value
- Change the minimum notice time to your preferred time
- Finally click the "Save" button in the top right corner
Why should you add a minimum notice time for an event in Cal.com
Cal.com is a versatile scheduling tool designed to streamline event planning efficiently.
One of its standout features is the ability to add a minimum notice time for events. This feature ensures that you have ample time to prepare for meetings or appointments, providing a more structured approach to time management.
By setting a minimum notice time, you prevent last-minute bookings that might disrupt your schedule, offering you peace of mind and enhanced productivity.
Ultimately, this feature not only safeguards your time but also enhances communication with participants, creating a smoother scheduling experience for everyone involved.
Last update