How to manage delays to workflows in Zapier
Here is how to manage delays to workflows in zapier
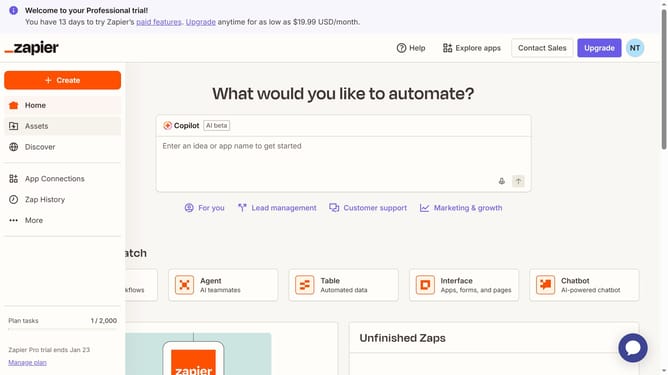
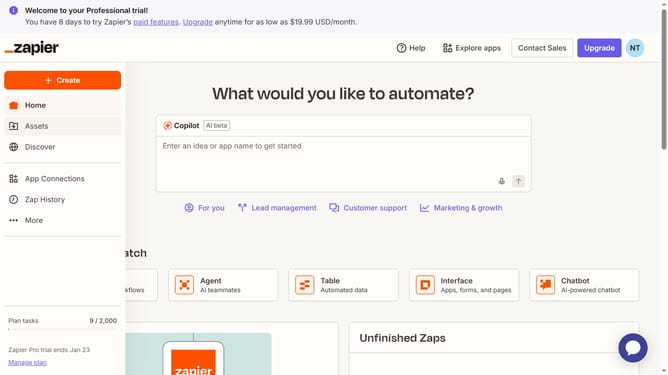
- First click on "Assets" link in the left sidebar
- Then click on "Zaps" item in the left sidebar
- Next click on the zap link in the Zaps list
- Then click on the edit icon button for the "Delay For" step
- Next click on the "Time Delayed For (value)" input field and enter the time value
- Then click on the "Time Delayed For (unit)" field
- Next select an option from the dropdown menu
- Then click on the "Continue" button at the bottom of the right panel
- Finally click on the "Test step" button in the Test section to confirm it works correctly
Why should you manage delays to workflows in Zapier
Zapier is a powerful automation tool that streamlines tasks by connecting your favorite apps and services.
Managing delays in Zapier workflows offers a strategic advantage by enabling users to schedule operations at the perfect time—no more rushing around or unnecessary waiting.
This feature is particularly useful when transitioning data or actions across time-sensitive platforms that do not require instant processing.
By incorporating delay management, businesses can enhance efficiency, ensuring each automated step aligns perfectly with their operational timetable.
Last update