How to insert a table into your project brief in Asana
Here is how to insert a table into your project brief in asana
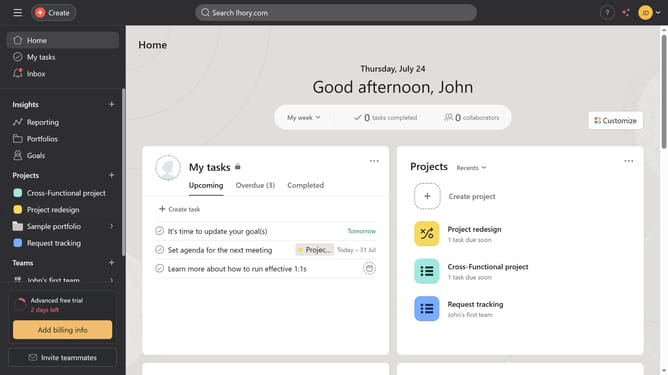
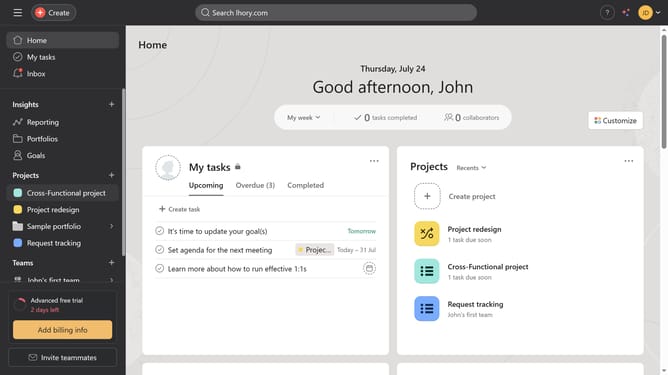
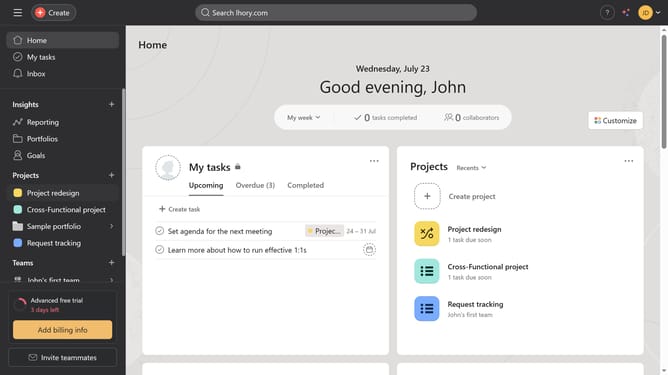
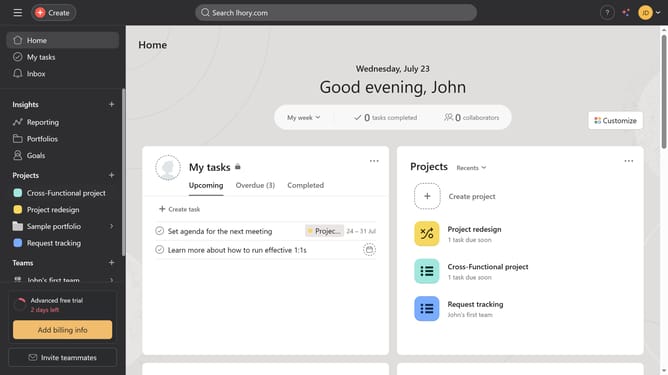
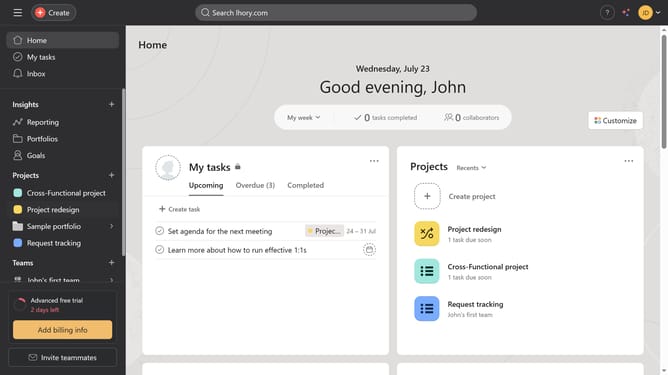
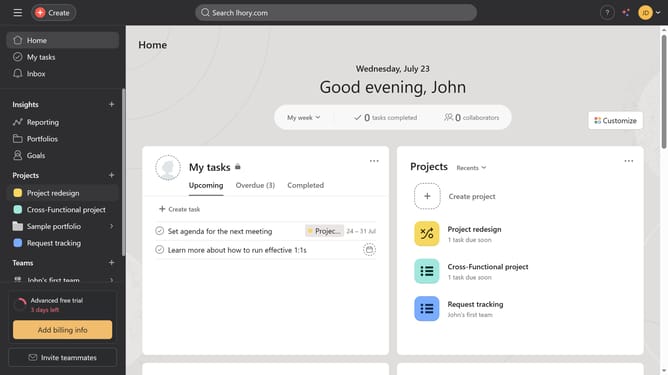
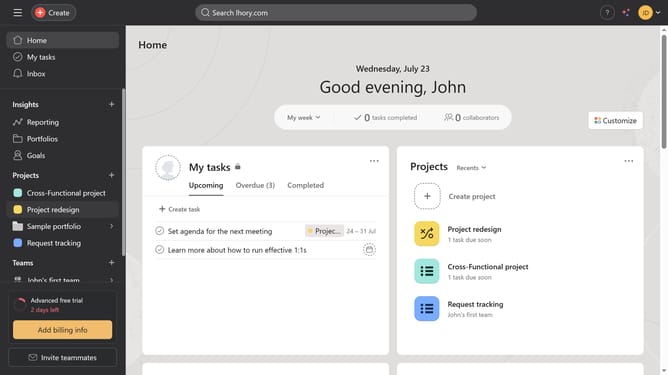
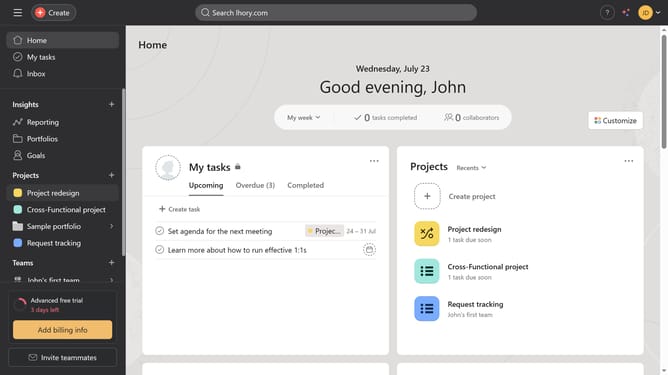
- First click on a project in the left sidebar under Projects section
- Then click on "Overview" tab in the top navigation menu
- Next scroll down on the overview page until you see the key resources section
- Then click the project brief you want to insert a table into under the key resources
- Next click on the "+" button in the document editor
- Then click on "Table" option from the insert menu
- Next type the information you want to include in the table
- Finally click on the "Done" button in the top-right corner of the project brief editor
Why should you insert a table into your project brief in Asana
Asana is a powerful tool designed to help teams organize their work and achieve seamless project management.
One of the standout features in Asana is the ability to insert tables into your project briefs.
This feature enhances information clarity, enabling teams to outline tasks, responsibilities, and timelines in a structured manner.
Integrating tables fosters better understanding and collaboration, ensuring everyone stays aligned and informed.
Last update