How to include time in a table in Zapier
Here is how to include time in a table in zapier
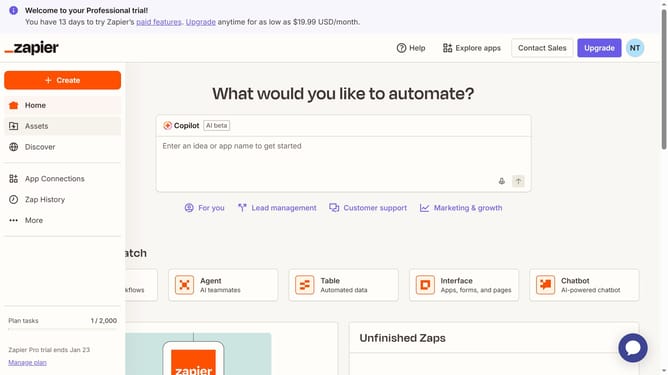
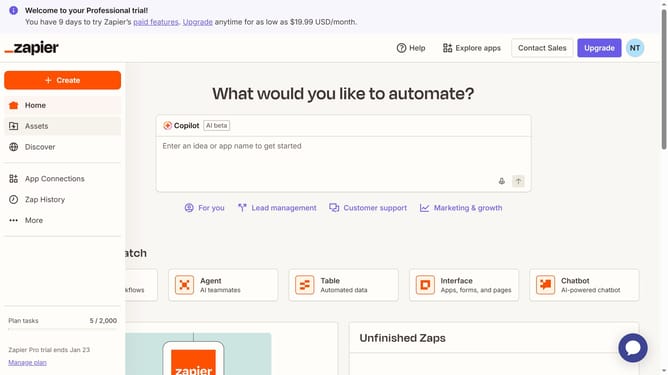
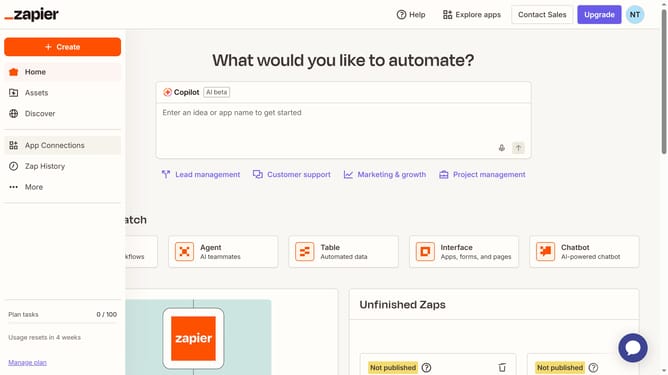
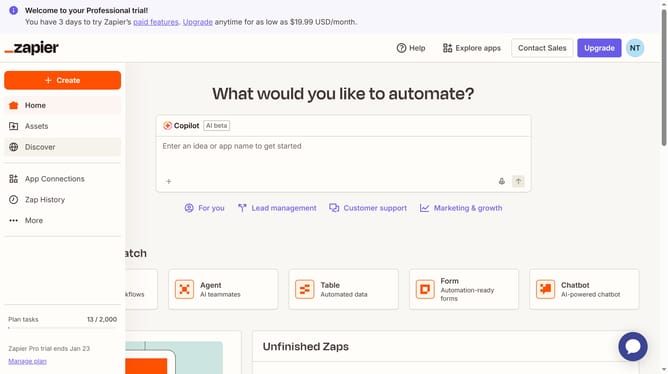
- First click on "Assets" in the left sidebar navigation menu
- Then click on "Tables" in the left sidebar submenu under Assets
- Next click on the table name in the main content area
- Then click on the column header to open the column menu
- Next click on "Edit field" option in the dropdown menu
- Then click on the "Include time" checkbox to enable time tracking for the date field
- Finally click on the "Save" button to confirm the field changes
Why should you include time in a table in Zapier
Zapier is an automation powerhouse, streamlining tasks by connecting your favorite apps.
Including time in a table on Zapier can enhance your data management by providing precise timestamps to your workflows.
This feature is perfect for tracking progression, scheduling, and ensuring your tasks are executed at the right moment.
By adding time to your tables, you gain clarity and efficiency, making your automated processes more reliable and effective.
Last update