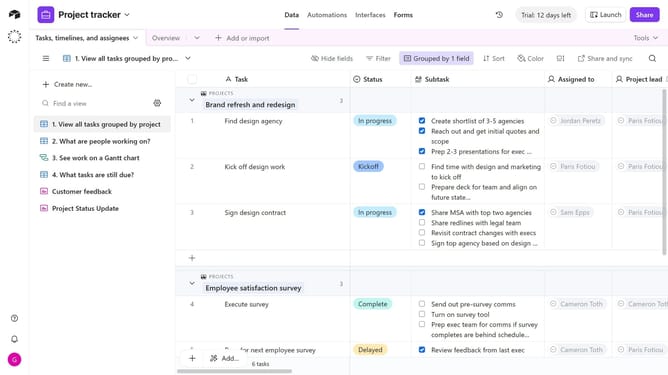
How to filter records in a view in Airtable
Here is how to filter records in a view in airtable
- First navigate to the table containing the view you want to filter
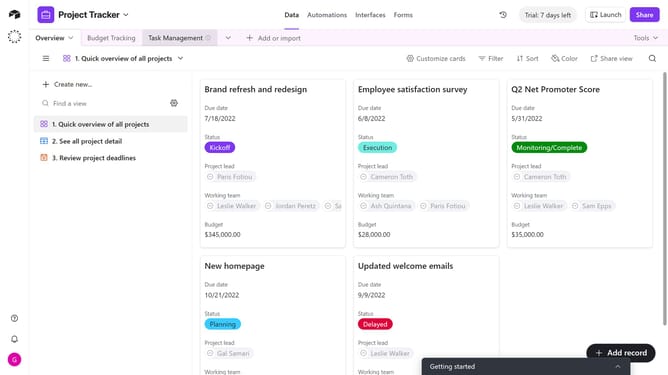
- In the view sidebar, select the specific view you want to filter
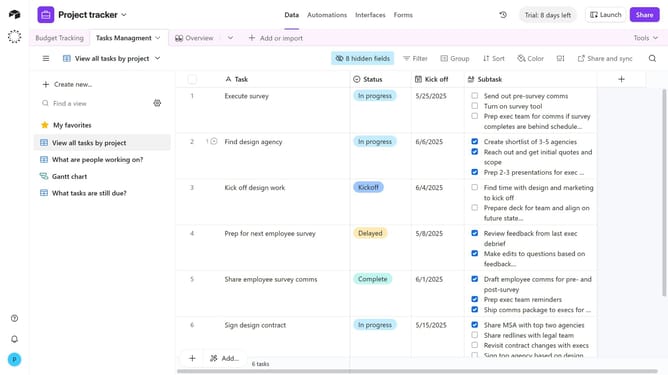
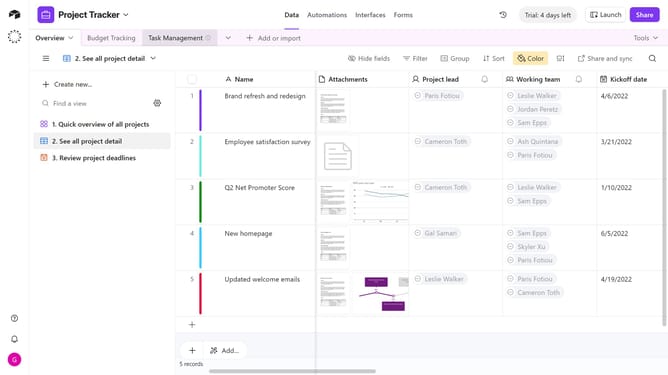
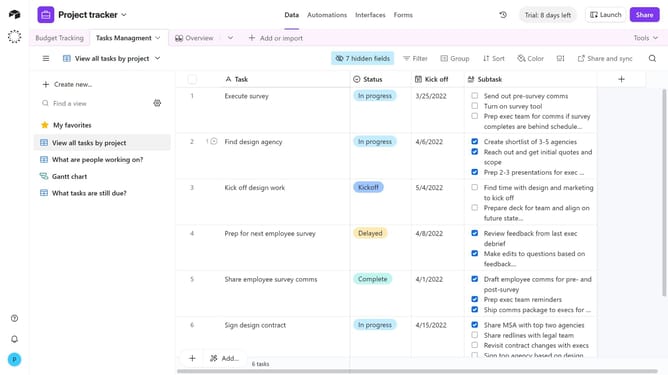
- Next click the "Filter" button in the toolbar
- Click on "Add condition" in the filter dialog
- Click on "Field" dropdown in the filter settings
- Then select a field from the field selection dropdown
- Next choose the condition (e.g., “is,” “is not,” “contains”)
- Finally enter or select the value you want to filter by
- You can add multiple filters by clicking “Add condition” again and configuring additional conditions
- The view will now display only the records that match your filter criteria
Why should you filter records in a view in Airtable
Airtable is a versatile platform that blends the functionality of spreadsheets and databases to organize and streamline information.
Filtering records in a view in Airtable allows users to hone in on specific data, improving focus and productivity.
This feature is particularly beneficial as it sifts through large datasets, displaying only relevant information, enhancing both clarity and efficiency.
Using filters, teams can customize their view to match their workflow, ensuring seamless collaboration and decision-making.
Last update