How to create a text field for a contact in Lemlist
Here is how to create a text field for a contact in lemlist
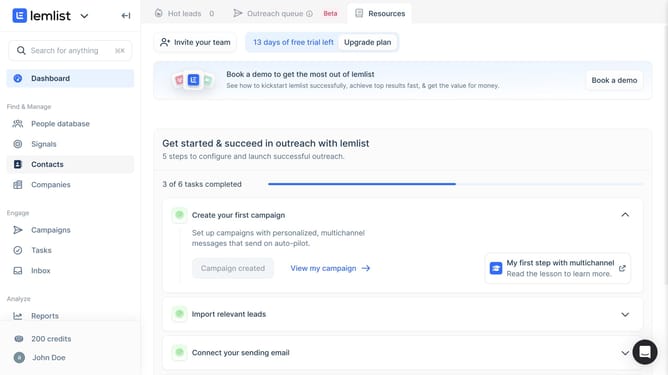
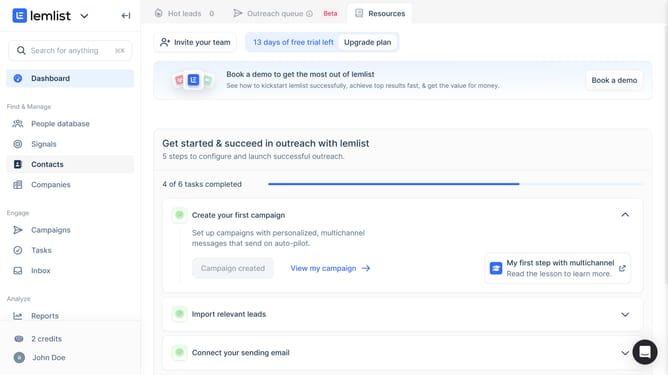
- First click on "Contacts" in the left sidebar under the Find & Manage section
- Then click on the contact name in the contacts list
- Then click on the add field button or plus icon in the Contact fields section of the contact detail panel
- Then click on the "Field name" input field in the Create contact field dialog and enter the new field name
- Then click on the "Field type" dropdown menu in the Create contact field dialog
- Then select "Text" option from the Field type dropdown menu
- Then click on the "Create field" button in the Create contact field dialog
- Then click on the settings icon (gear icon) next to the Contact fields section header
- Then click on the visibility toggle icon for the newly added field in the Contact fields visibility dialog
- Click on the "Save" button dropdown in the Contact fields visibility dialog
- Finally select "Save for this view" option from the Save dropdown menu
Why should you create a text field for a contact in Lemlist
Lemlist is a dynamic tool designed to supercharge your email outreach by making it more personalized and effective.
One of its standout features is the ability to create custom text fields for contacts, offering a tailored touch to every communication.
By using this feature, marketers can easily organize and personalize their contacts’ information, leading to more engaging and relevant email campaigns.
This personalization not only expands your reach but also significantly enhances the likelihood of engagement and response, maximizing your outreach efforts.
Last update