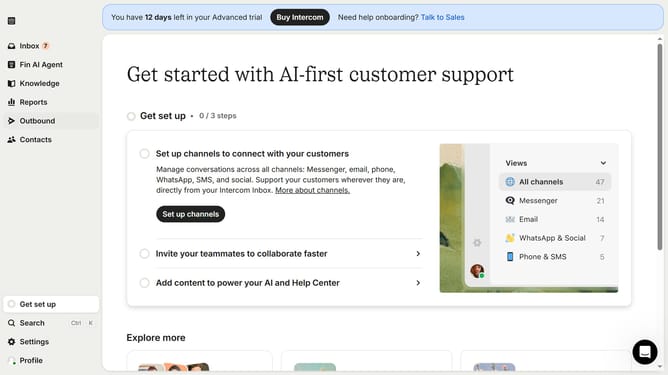
How to create a "Submitted" ticket state in Intercom
Here is how to create a "submitted" ticket state in intercom
- First click on "Settings" in the left sidebar
- Then click on "Inbox" in the settings menu
- Next select "Tickets" from the inbox submenu
- Click on "Ticket states" tab in the tickets settings
- Click "Create ticket state" button in the top right corner
- Select "Submitted" from the ticket state dropdown menu
- Enter a name for your "Submitted" ticket state in the designated field
- Finally click "Save" button to create the new ticket state
Why should you create a "Submitted" ticket state in Intercom
Intercom is a powerful communication platform designed to enhance customer engagement and streamline support.
Creating a "Submitted" ticket state in Intercom allows teams to better manage incoming requests by categorizing them efficiently.
This feature provides clarity, ensuring that new tickets are immediately acknowledged and queued for response, which enhances workflow organization.
By implementing a "Submitted" state, teams can prioritize tasks more effectively, improving customer response times and overall service quality.
Last update